


17
Settings and Printing
NOTES:
• Loading media exceeding the upper limit may
cause a media jam or miss feed.
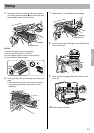
• When printing on envelopes, close the flap and
insert with the flap side on the left side into the
multi-purpose tray.
• Envelopes with openings on the shorter edge
cannot be used.
• When printing on some types of envelope, a wrinkle
may occur. For detailed information, refer to
"Envelope Specifications" in the Maintenance and
Specifications section.
• When printing on transparencies, refer to “Using
the Multi-purpose Tray” of the Basics in the
Settings and Printing section.
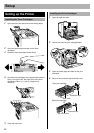
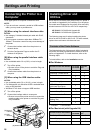
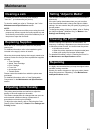
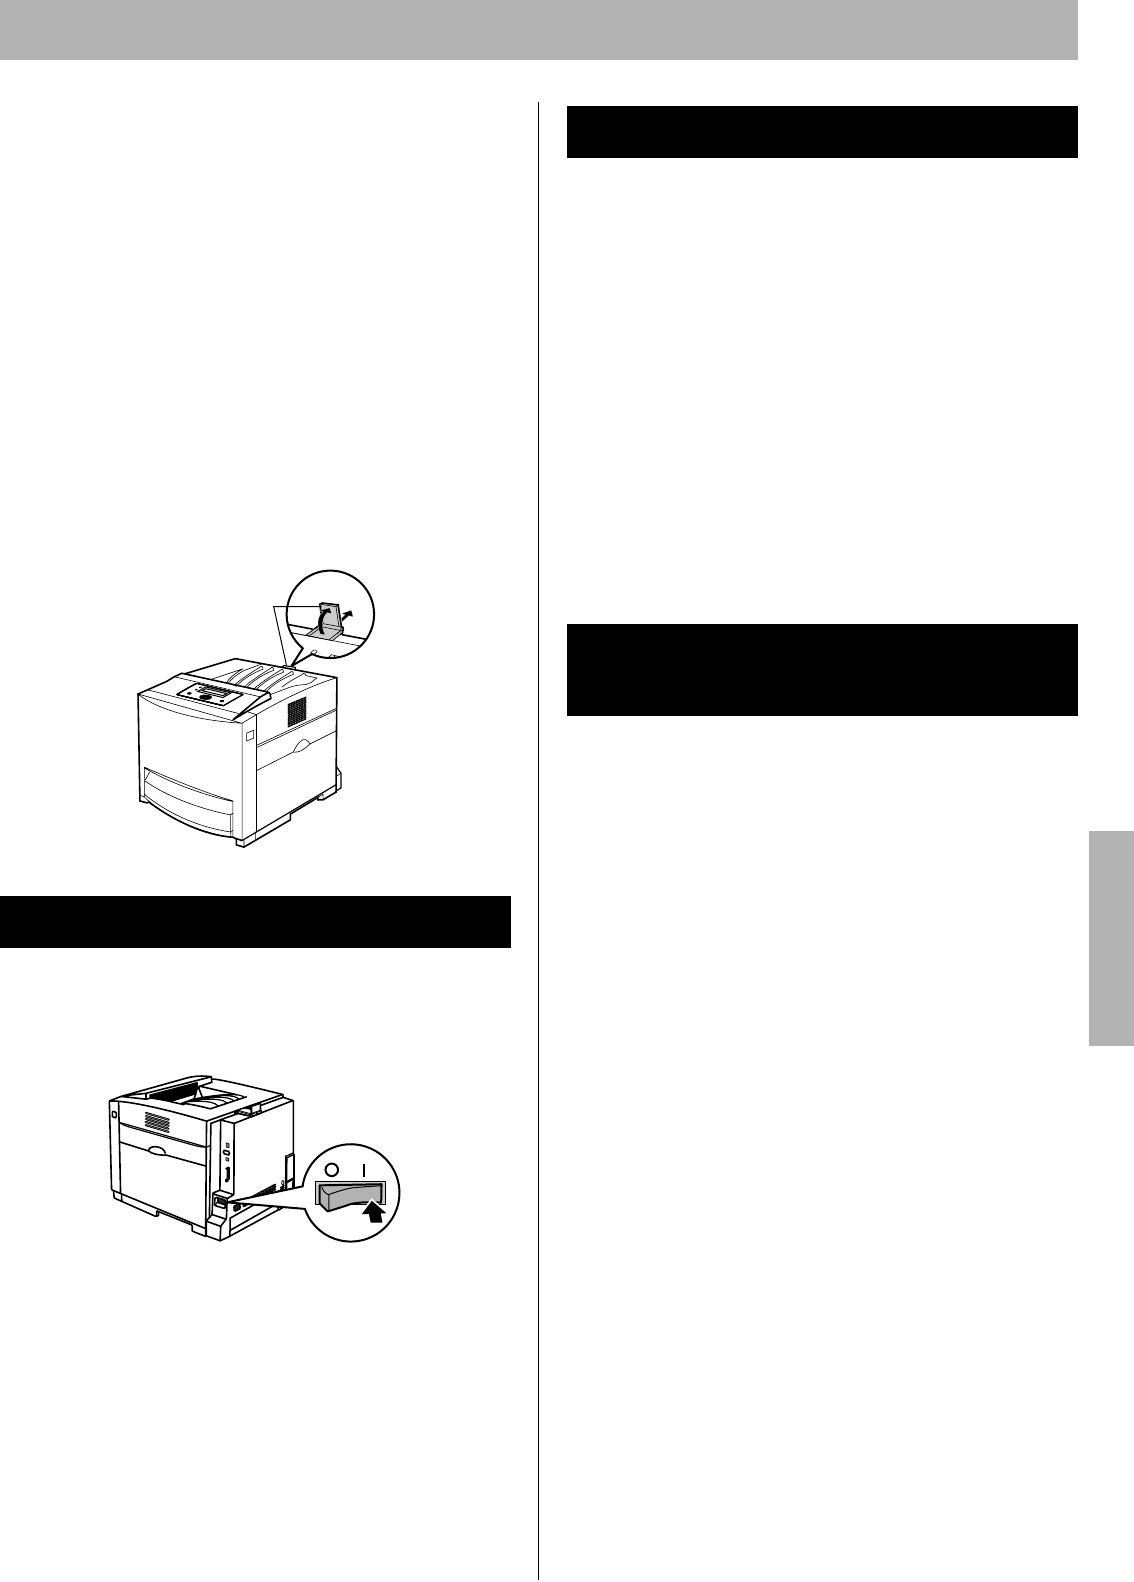
4 Pull the paper support (1) and raise (2) so that the
media does not drop from the output tray.
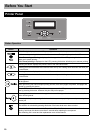
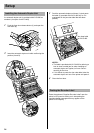
Connect the power cord to the printer. Turn the printer on.
The Power indicator lights. After the printer is ready, the
Ready indicator also lights and Ready is displayed on the
printer LCD panel.
NOTES:
• If Self Calibration is performed, it will take some time to
complete.
• When the printer enters Power Save mode, the Power
indicator will start blinking and Power Save will be
displayed on the printer LCD panel.
• When you turn on the printer for the first time, it will take
about 5 minutes to fill the printer with toner. When the
process is completed, Ready is displayed on the printer
LCD panel.
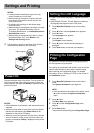
• English* is the default language. (* denotes the default
setting.)
• Select English, German, French, Spanish or Italian as
the language that appears on the LCD panel.
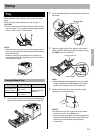
1 Press Menu/Exit (Pause) button to enter Menu
mode.
2 Press S button until the System menu appears.
3 Press X button.
The Language menu appears.
4 Press X button.
The English* menu appears.
5 Press S button until the desired language is
displayed.
6 Press Enter button to activate your selection.
It is possible to confirm the printer's settings by printing
the Configuration Page as below.
If the printer is connected to the network, consult with the
network administrator for the printer’s network setting
before printing the Configuration Page. For detailed
information, refer to “Setting up TCP/IP on the Printer” in
the Installation section.
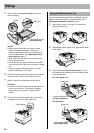
1 Press Menu/Exit (Pause) button to enter Menu
mode.
The System Information menu appears.
NOTE:
• If the hard disk drive is installed in the printer, press
S
button to display the System Information
menu.
2 Press X button.
The Menu Map menu appears.
3 Press S until the Configuration Page menu
appears.
4 Press Enter button.
The printer will start printing the Configuration Page.
Power On
Paper support
1
2
Setting the LCD Language
Printing the Configuration
Page
Settings and Printing