61
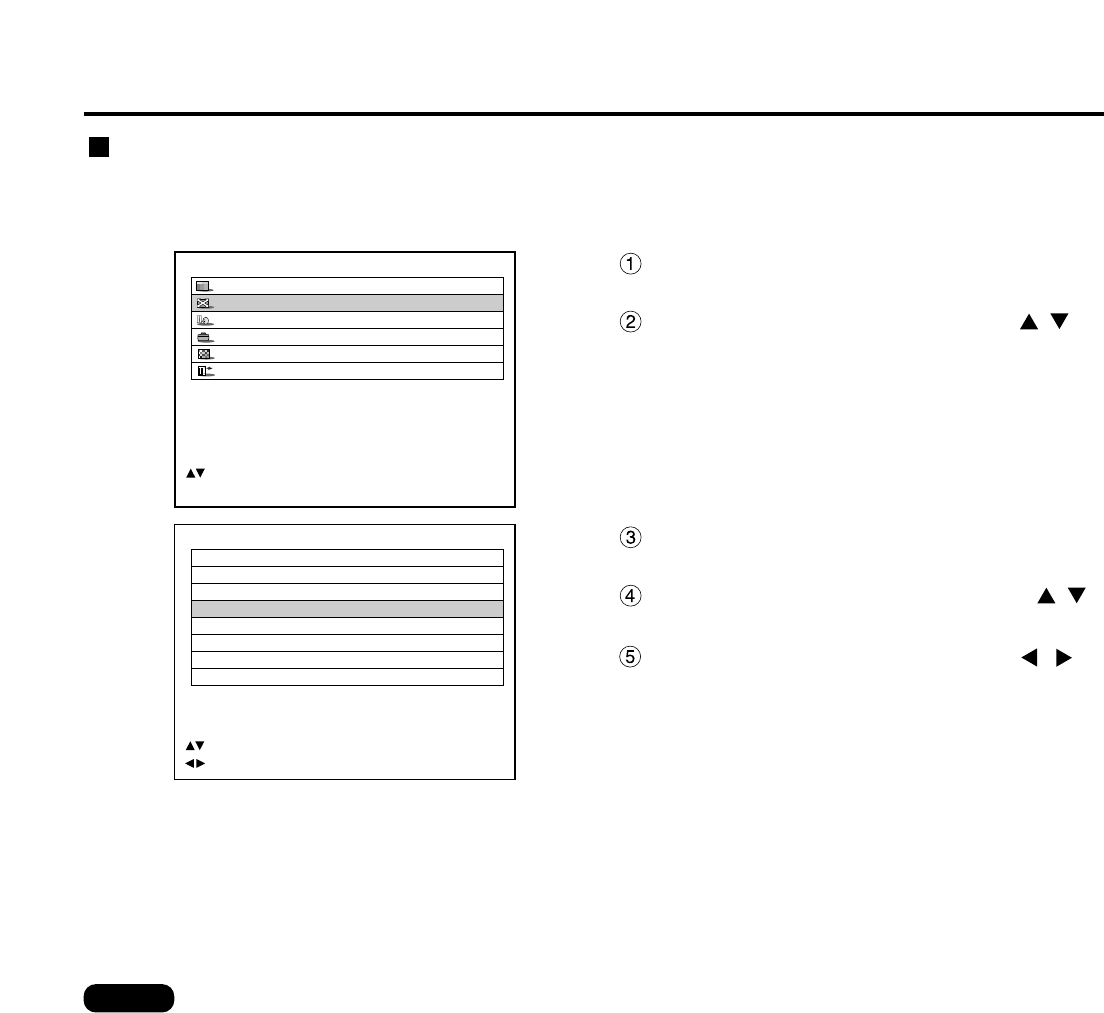
POSITION
SHIFT
SIZE DEFAULT
BLANKING
CLOCK PHASE 0
INPUT RESOLUTION
CLAMP POSITION
KEYSTONE
EDGE BLENDING
:MENU SELECT
:ADJUST
Press the “MENU” button.
The MAIN MENU screen will be displayed
Select the “POSITION” with the
buttons.
MAIN MENU
PICTURE
POSITION
LANGUAGE
OPTION
TEST PATTERN
SIGNAL LIST
:MENU SELECT
ENTER:SUB MENU
Press the “ENTER” button.
The POSITION screen will be displayed
Select “CLOCK PHASE” with the
buttons.
Adjust the clock phase with the
buttons.
The value changes from 0 to 31.
Clock phase adjustment
Clock phase adjustment achieves the best image when the screen flickers or halo is observed around the contour.
Procedure of adjustment
• No optimal value may be obtained if the output of the PC to which the signal input is applied is
unstable.
• No optimal value may be obtained if the total number of dots is not correct.
• The clock phase can be adjusted only when RGB signal input is applied with RGB1, RGB2 IN, and the
analog input module (optional: ET-MD95RGB).
Note


