


ENGLISH-41
Adjustments and settings
40-ENGLISH
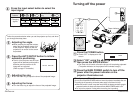
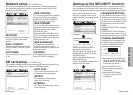
Select the item pressing the F or G
buttons on the remote control unit or
the projector.
Press the I or H buttons, to adjust
the alternative items. For the
numerically adjustable items, press
the ENTER button to display an
individual screen, and press the I
or H buttons to adjust the setting.
Some items can be adjusted
pressing the F or G buttons.
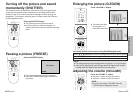
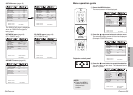
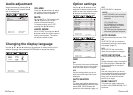
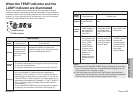
POSITION
Moves the picture position.
Press the I or H buttons to move the
picture horizontally.
Press the F or G buttons to move the
picture vertically.
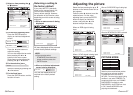
Adjusting the position
When the input signal is RGB, first
press the AUTO SETUP button to
initiate automatic positioning.
If the optimum setting is not obtained
when AUTO SETUP is carried out,
adjust by the following procedure.
POSITION
POSITION
DOT CLOCK
CLOCK PHASE
KEYSTONE
OSD POSITION
RESIZING
AUTO SETUP
FRAME LOCK
STANDARD
H: 128 V: 32
H: 0 V: 0
32
16
OFF
OFF
ON
ON
TOP LEFT
SELECT:[^][@]
ADJUST:[{][}]
ENTER:[ENTER]
ESC:[MENU]
When an RGB signal is being input
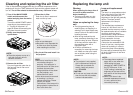
POSITION
POSITION
KEYSTONE
OSD POSITION
ASPECT
RESIZING
AUTO SETUP
STANDARD
H: 32 V: 16
H: 0 V: 0
OFF ON
TOP LEFT
AUTO
SELECT:[^][@]
ADJUST:[{][}]
ENTER:[ENTER]
ESC:[MENU]
When an S-VIDEO/VIDEO signal is
being input
POSITION
KEYSTONE
OSD POSITION
AUTO SETUP
STANDARD
H: 0 V: 0
TOP LEFT
SELECT:[^][@]
ADJUST:[{][}]
ENTER:[ENTER]
ESC:[MENU]
When the NETWORK/SD CARD is
selected
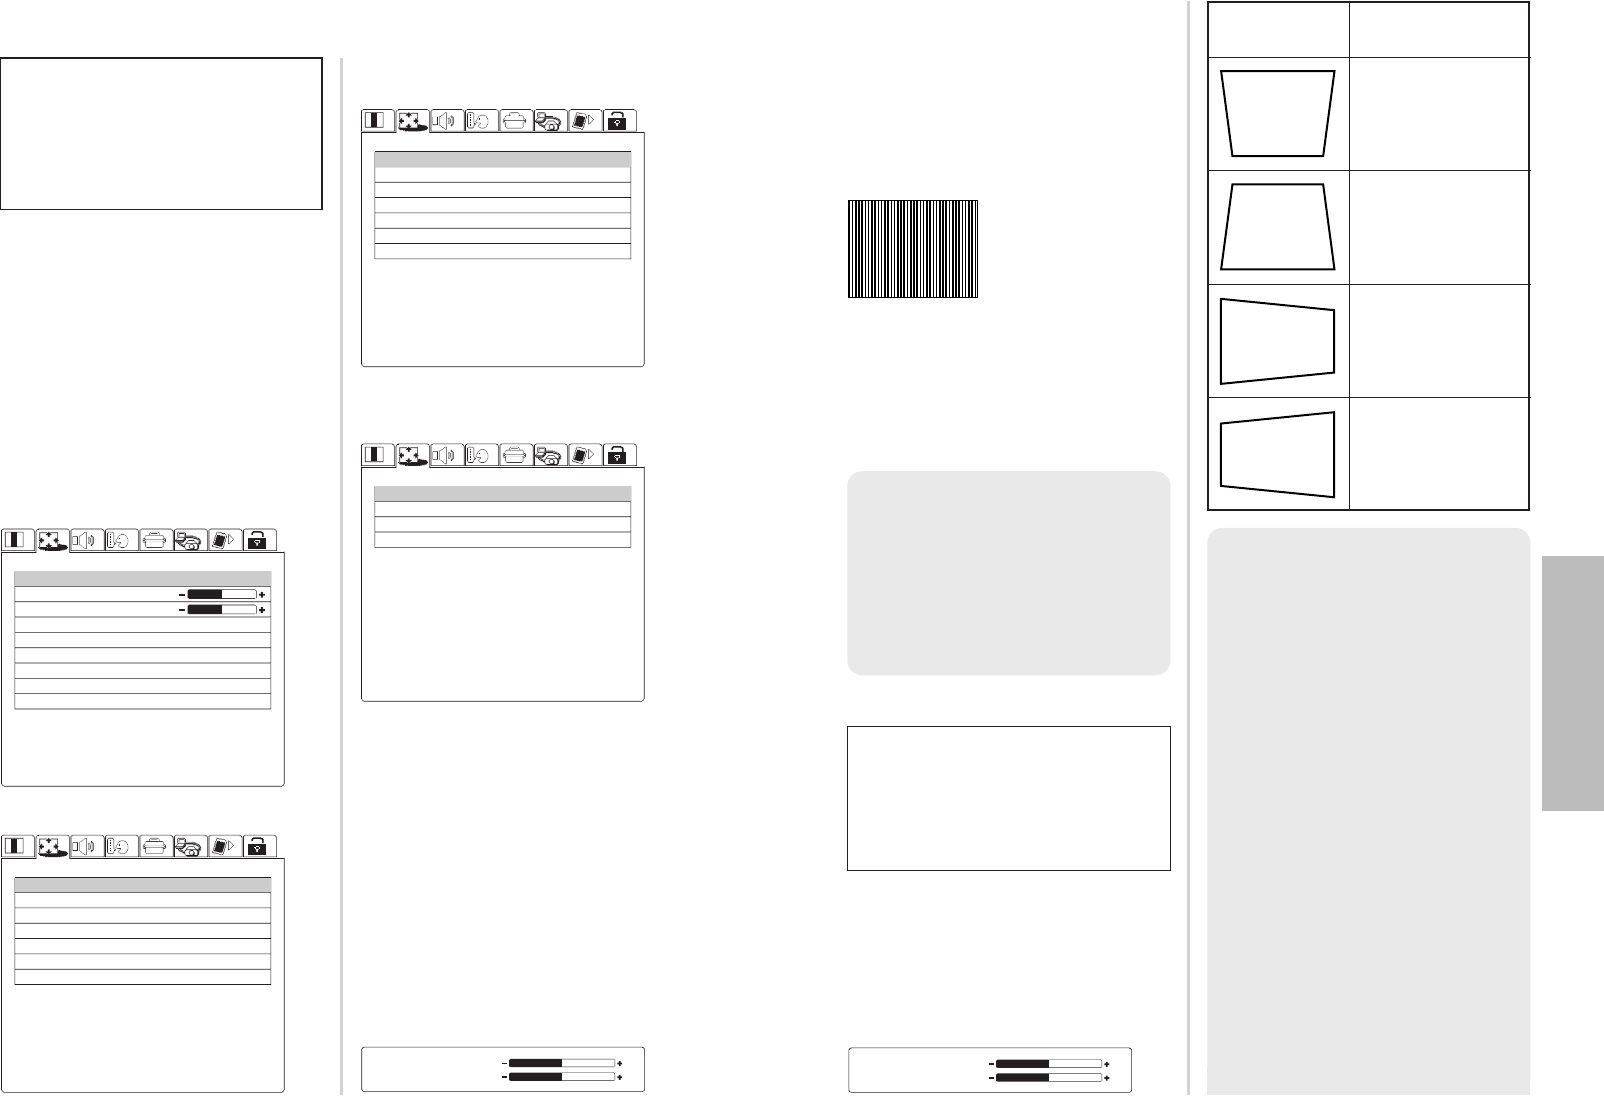
Picture
condition
Operation
Press the
FF
button.
Press the
GG
button.
Press the
II
button.
Press the
HH
button.
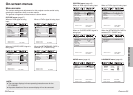
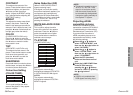
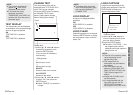
DOT CLOCK
(RGB only)
Periodic striped pattern interference
(noise) may occur when a striped
pattern such as the one below is
projected. If this happens, use the
I and H buttons to adjust so that
any such noise is minimised.
CLOCK PHASE
(RGB only)
Adjust the DOT CLOCK setting first
before carrying out this adjustment.
Use the I and H buttons to adjust so
that the noise level is least noticeable.
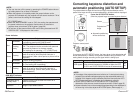
KEYSTONE
Before carrying out keystone
correction, 1) adjust the forward/back
angle of tilt of the projector by pressing
the adjuster buttons and 2) press the
AUTO SETUP buttons to correct
vertical keystone distortion. (page 27)
The vertical keystone distortion will be
automatically corrected by the
projectors automatic setup function.
However the horizontal distortion needs
to be corrected or a tilted screen needs
to be adjusted manually by following
any of the procedures in the table.
NOTE:
B
If signals with a dot clock
frequency of 100 MHz or higher
are being input, interference may
not be completely eliminated when
the DOT CLOCK and CLOCK
PHASE adjustments are carried
out.
POSITION
POSITION
KEYSTONE
OSD POSITION
ASPECT
RESIZING
AUTO SETUP
STANDARD
H: 64 V: 16
H: 0 V: 0
OFF ON
TOP LEFT
4:3
SELECT:[^][@]
ADJUST:[{][}]
ENTER:[ENTER]
ESC:[MENU]
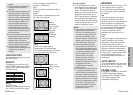
When a YP
BPR signal is being input.
POSITION
H:
V:
128
32
KEYSTONE
H:
V:
0
0
NOTE:
B
If you press the AUTO SETUP button
after correcting the keystone distortion
manually, the automatic keystone
correction function will operate and the
corrected picture will return to its
previous incorrect condition. In addition,
if you change the input signal and press
the AUTO SETUP button, the keystone
correction may be cancelled depending
on the type of signal and the angle of tilt
of the projector. To prevent them from
happening, you can set “AUTO
KEYSTONE” in the OPTION menu to
“OFF”
B
The greater the correction of keystone
distortion amount, the more the picture
quality will deteriorate, and the harder it
will become to achieve a good level of
focus. To obtain the best picture quality,
set up the projector and screen in such
a way that the amount of keystone
correction required is as minimal as