


22
You can make the setting for infrastructure mode
※
(connection through the access point
※
); however, confirm to your system
administrator on network settings before changing any settings.
※“Glossary” (See pages 64 - 65)
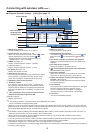
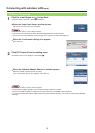
A Projector settings
1
Turn on the projector and press the [NETWORK] button on the remote control.
2
Press the menu button to open the [NETWORK] menu, and then select from among
[USER 1] through [USER 3] for [WIRELESS LAN] and press [ENTER].
3
Set the details of network and select [OK].
As for network setting items, see pages 48 - 50.
Confirm to your system administrator on network settings before changing any settings.
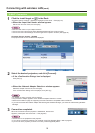
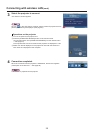
B Computer settings
4
Turn on the computer.
5
Make the network setting according to your system administrator.
6
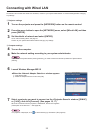
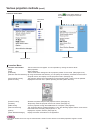
Connect to your access point.
If no projector is displayed in <Projector Search> window with which you want to connect, click [ ] to search by IP
address. (See page 25)
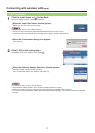
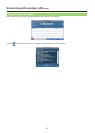
7
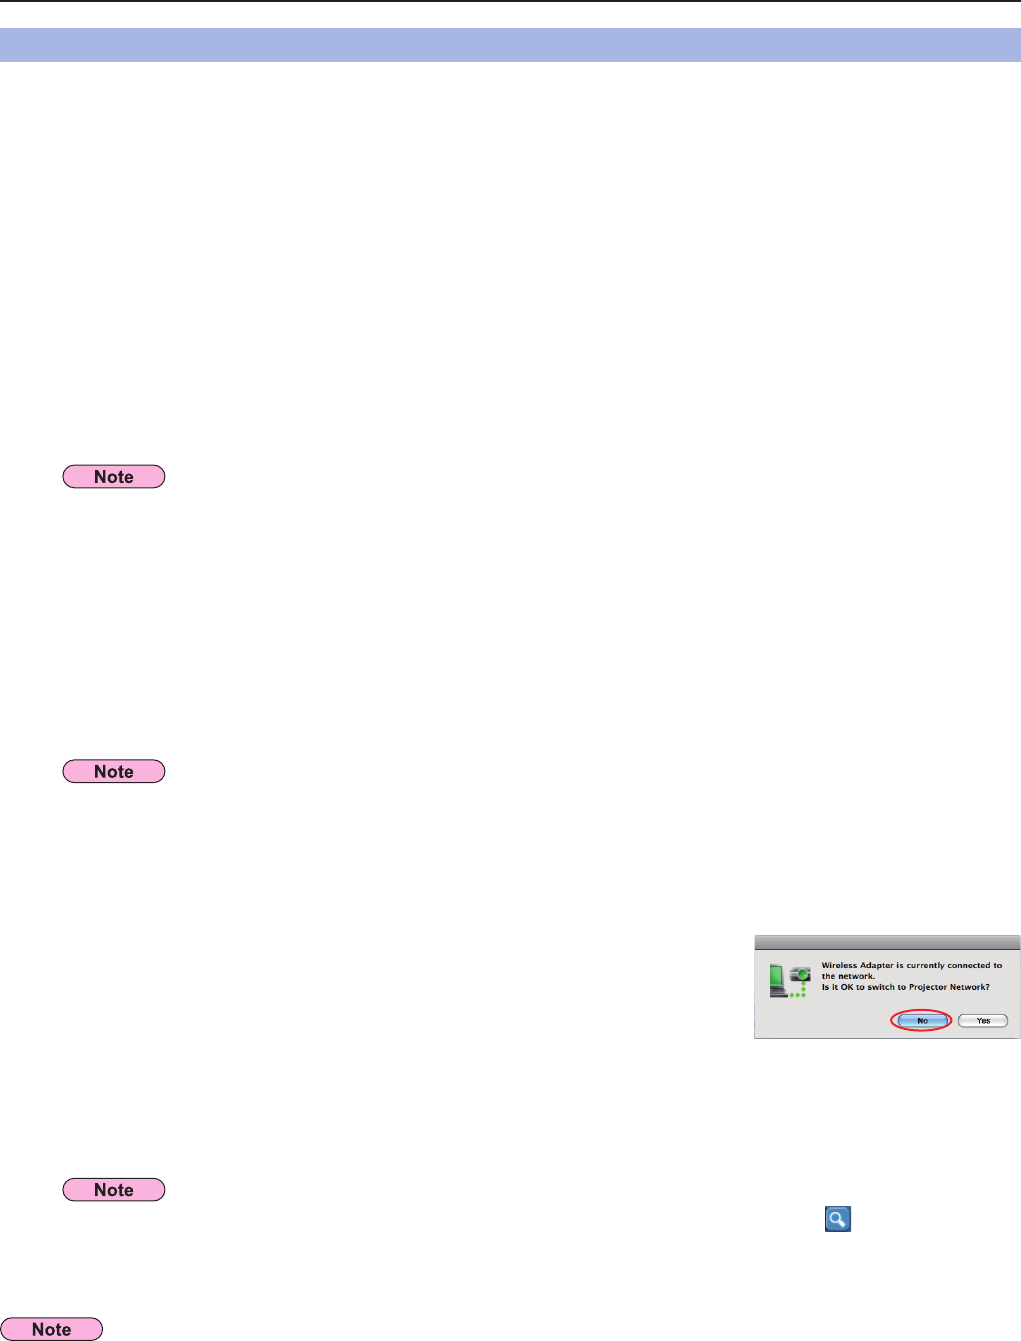
Start Wireless Manager ME 5.5.
A confirmation message appears asking whether to switch the projector to the
network or not. Select [No].
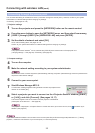
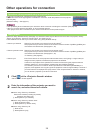
8
Select a projector you want to connect on the <Projector Search> window ([S-MAP]
or [1-4/U]), and click [Connect]. (See pages 16, 17)
The launcher appears and the connection with the projector is established.
(“Description of the launcher” → See page 28)
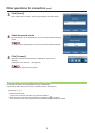
Connecting with wireless LAN (cont.)
The projector’s MAC address
※
can be checked with [STATUS] in the network menu of the projector unit.
(“Verifying settings”→ See page 54) ※“Glossary” (See page 64)
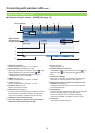
Connecting through the access point
When the user does not have the [Admin (administrator)] authority, the [Admin (administrator)]’s name and password are
required to make network settings.
If you cannot establish wireless LAN connection via an access point after performed the right steps described in “A Setting
projector”, contact the manufacturer of your access point (i.e. radio relay device).