1740 SHDSL 2/4-Wire Router User’s Guide
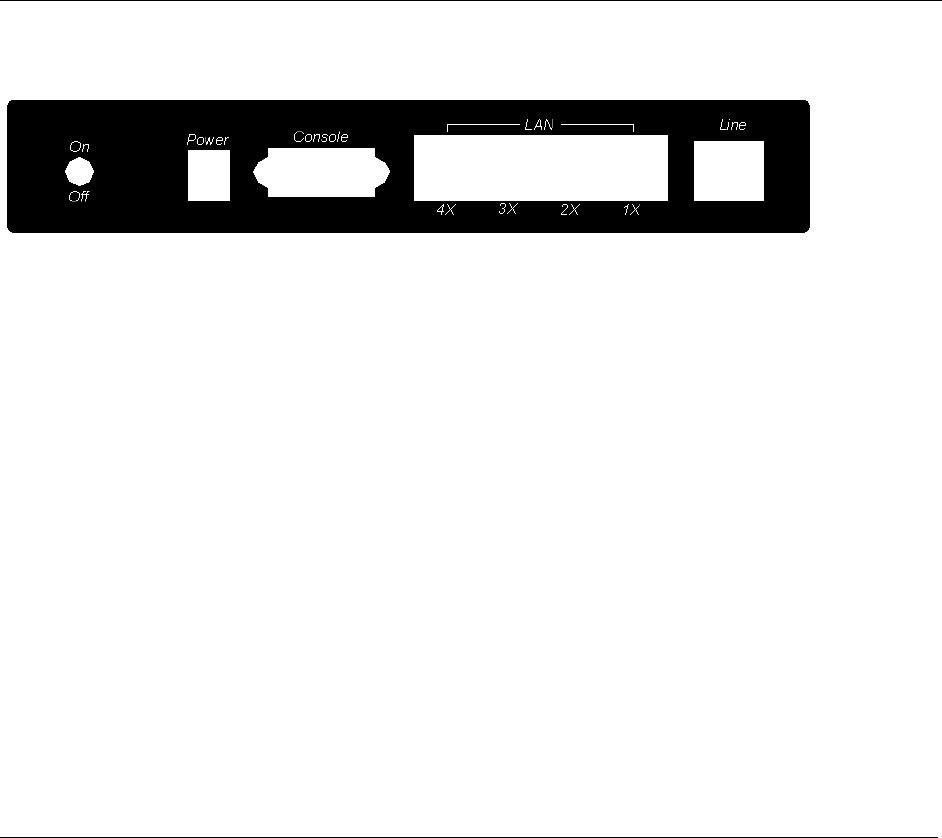
2.2 Rear-panel Connections
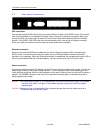
DSL connection
Connect the supplied RJ45 cable to the port marked LINE at the back of the SHDSL router. Connect the
other end of the cable to your telephone-line wall outlet. Ensure your computer is turned on before you
connect the DSL line to the router. A green LED on the front of the device labeled LINK will illuminate
steadily. If the SHDSL LINK LED does not illuminate steadily within one minute of it being connected,
check your cable connections to ensure they are correct and securely installed.
Ethernet connection
Insert one end of the RJ45 Ethernet cable into one of the LAN ports marked LAN on the back of the
SHDSL router. Connect the other end of the cable into your Ethernet Network Interface Card (NIC)
installed in your computer. When the Ethernet connection is established, the correspondent green LED on
the front panel labeled LAN will illuminate steadily. You can connect up to four PCs to the router.
Power connection
Connect the supplied external AC adapter into the DC power outlet on the back of the router. Connect the
power supply into your wall outlet or surge protector. Turn on the power switch. After powering on, the
router performs a self-test. Wait for a few seconds until the test is finished, then the router will be ready to
operate. The POWER indicator on the front of the router will illuminate green to indicate that power is
being supplied to the router.
Caution 1: If the router fails to power up, or it malfunctions, first verify that the power supply is connected
correctly. Then power it on again. If the problem persists, contact your technical support
representative.
Caution 2: Before servicing or disassembling this equipment always disconnect all power cords and
telephone lines from the wall outlet.
10 July 2004 1740-A2-GB20-00


