10 C3646M-C (6/09)
Installation
RACK MOUNTING
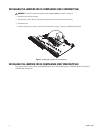
Install the CM9700UTP Series active receiver in a standard 19-inch (48.26 cm) equipment rack using standard mounting hardware (10-32 cage
nuts and 10-32 x 0.50-inch Phillips pan head screws, supplied). The receiver is one rack unit (1 RU) high.
DESKTOP MOUNTING
Install the CM9700UTP Series active receiver on a desktop using the four 8-32 x 0.25-inch Phillips pan head screws (supplied) to attach the
protective bumpers to the bottom of the unit.
POWER AND VIDEO CONNECTIONS
1. Connect the power cord to the unit.
2. Connect the video input from the UTP cable to the RJ-45 connector on the back of the unit.
3. Connect the video output from the BNC to a video source.
CABLE SPECIFICATIONS
The supplied wire assembly cables are an easy connection option if patch panels are not available. The RJ-45 connector on each wire assembly
plugs directly into the rear panel of the receiver. The four wire pairs on each wire assembly can be used for individual camera connections. Refer
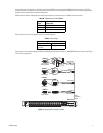
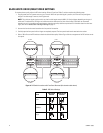
to Figure 6 on page 11 for a sample application.
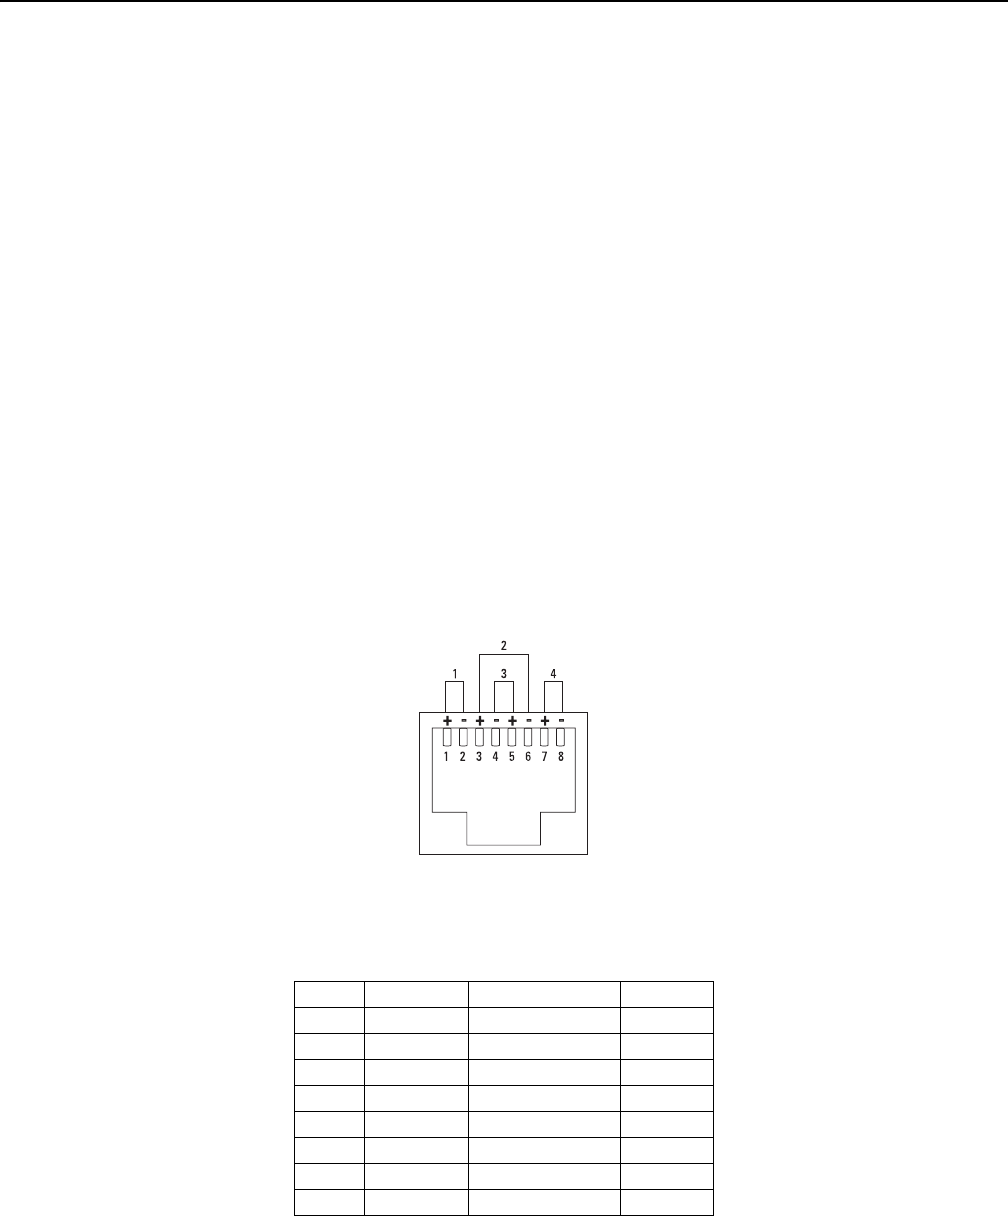
Always connect the UTP wires on the cable positive to positive (+) and from negative to negative (–). For example, if you connect the blue wire to
the positive (+) on the active receiver, make sure you connect the other end of the blue wire to the positive (+) on the transmitter. Figure 5 and
Table A show the RJ-45 UTP pin designations.
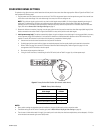
Figure 5. RJ-45 Connector Pins
Table A shows the RJ-45 connector pin assignments.
Table A. RJ-45 Pin Designations
Pin Signal Color Video
1 Input 1 + White/Orange Video 1
2 Input 1 – Orange Video 1
3 Input 2 + White/Green Video 2
4 Input 3 – Blue Video 3
5 Input 3 + White/Blue Video 3
6 Input 2 – Green Video 2
7 Input 4 + White/Brown Video 4
8 Input 4 – Brown Video 4
+-+-+-+-


