


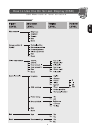
4
E
N
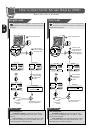
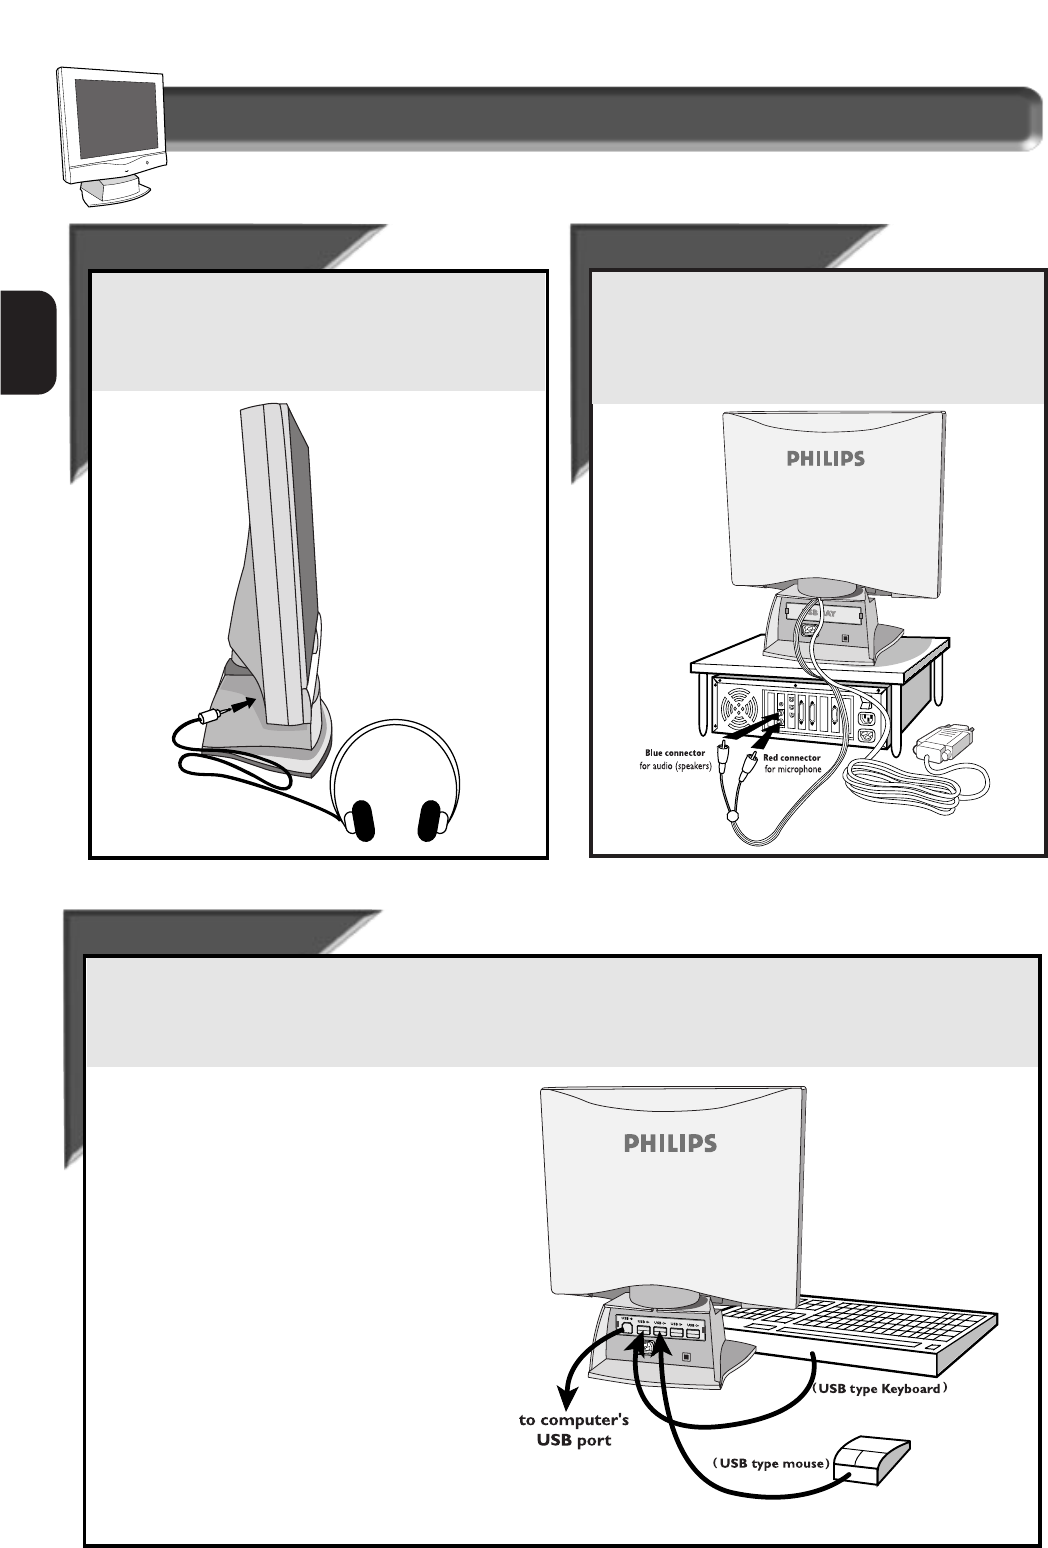
Earphones
Earphones
Jacks
Jacks
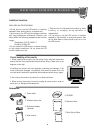
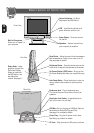
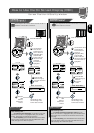
In addition to built-in speakers and microphone, you can connect
this monitor to optional earphones. The earphone jack is on the
back side of the monitor.
Note: When the earphones are plugged in, there will be no
sound from the monitor’s built-in speakers.
Microphone and
Microphone and
A
A
udio-in C
udio-in C
ABLE
ABLE
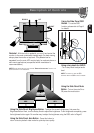
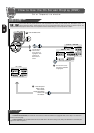
A microphone cable and audio cable are connected at the back of
the monitor. Use them to connect your monitor to your
computer.
B
LUE CONNECTOR is for audio.
RED CONNECTOR is for microphone.
Refer to the owner’s manuals included with your earphones and microphone for a detailed guide to setting up these items.
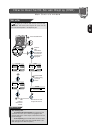
connection to PC
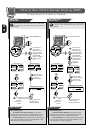
USB
USB
Connections
Connections
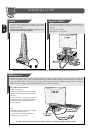
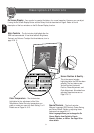
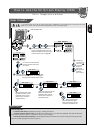
USB (Universal Serial Bus) is an innovation in connecting your IBM-compatible computer to your monitor. By using the USB, you will be able
to connect your keyboard, mouse, printer, and other peripherals to your monitor instead of having to connect them to your computer. This
will give you greater flexibility in setting up your system. Plus, you will have true plug-and-play capability. Philips provides for the optional
USB Hub so you will be ready to take advantage of this advancement in computer development.
For an IBM-compatible Computer:
1.
Turn off the computer.
2. Insert the (optional) USB Hub and connect the
USB cable to the computer. (Computer must have
USB port.)
3. Turn on the monitor. Then turn on the computer.
4. With the installation of the correct software, you
will be able to connect USB peripherals to the
monitor’s USB Hub.
Note:
1-USB Hub and cables sold separately. The USB
Bay is located in back of monitor.
2- Please refer to the USB Hub’s manual and
installation guide for more details.
Refer to the “Setting Up your Philips flat panel monitor” foldout for a more detailed guide to set up your monitor.