EPSON DFX-8500
5/98 EPSON DFX-8500
- 9
Tearing off the printed pages
After you finish printing, you can use the tear-off feature to
advance continuous paper on the push tractor to the tear-off
edge of the printer. You can then easily tear off printed sheets.
When you resume printing, the printer automatically feeds
paper back to the loading position.
This feature lets you save paper that would normally be lost
between documents.
You can use the tear-off feature in two ways: by turning on
DIP switch 3-1 to select automatic tear-off mode, or by
pressing the
Tear Off button on the control panel.
If the perforation between pages is not aligned with the tear-
off edge, you can adjust the tear-off position using the micro-
feed feature. The printer remembers this new tear-off position.
c
CAUTION:
Never use the tear-off feature to reverse feed labels,
overlapping multi-part forms, continuous forms with labels, or
overlapping multi-part forms with labels. Do not use the tear-off
feature when the optional pull tractor is installed or when using
the paper memory feature.
Tear-off mode
When you select tear-off mode with DIP switch 3-1, the
printer automatically advances continuous paper to the tear-
off position when you finish printing.
The printer advances paper to the tear-off position only when
the printer receives a full page of data or a form feed command
and no more data is received for three seconds.
Follow these steps to select tear-off mode:
1. Make sure the printer is turned off.
2. Turn DIP switch 3-1 on.
3. Turn the printer on.
When tear-off mode is on and you print on continuous paper
on the push tractor, the printer advances the final printed page
to the tear-off position. Then you can tear off all printed
pages. If the perforation is not aligned with the tear-off edge,
adjust the tear-off position.
When you resume printing, the printer automatically feeds the
paper back to the loading position and begins printing.
Using the Tear Off button
Whether or not the printer is in tear-off mode, you can use the
Tear Off button to advance continuous paper to the tear-off
position by following the steps below.
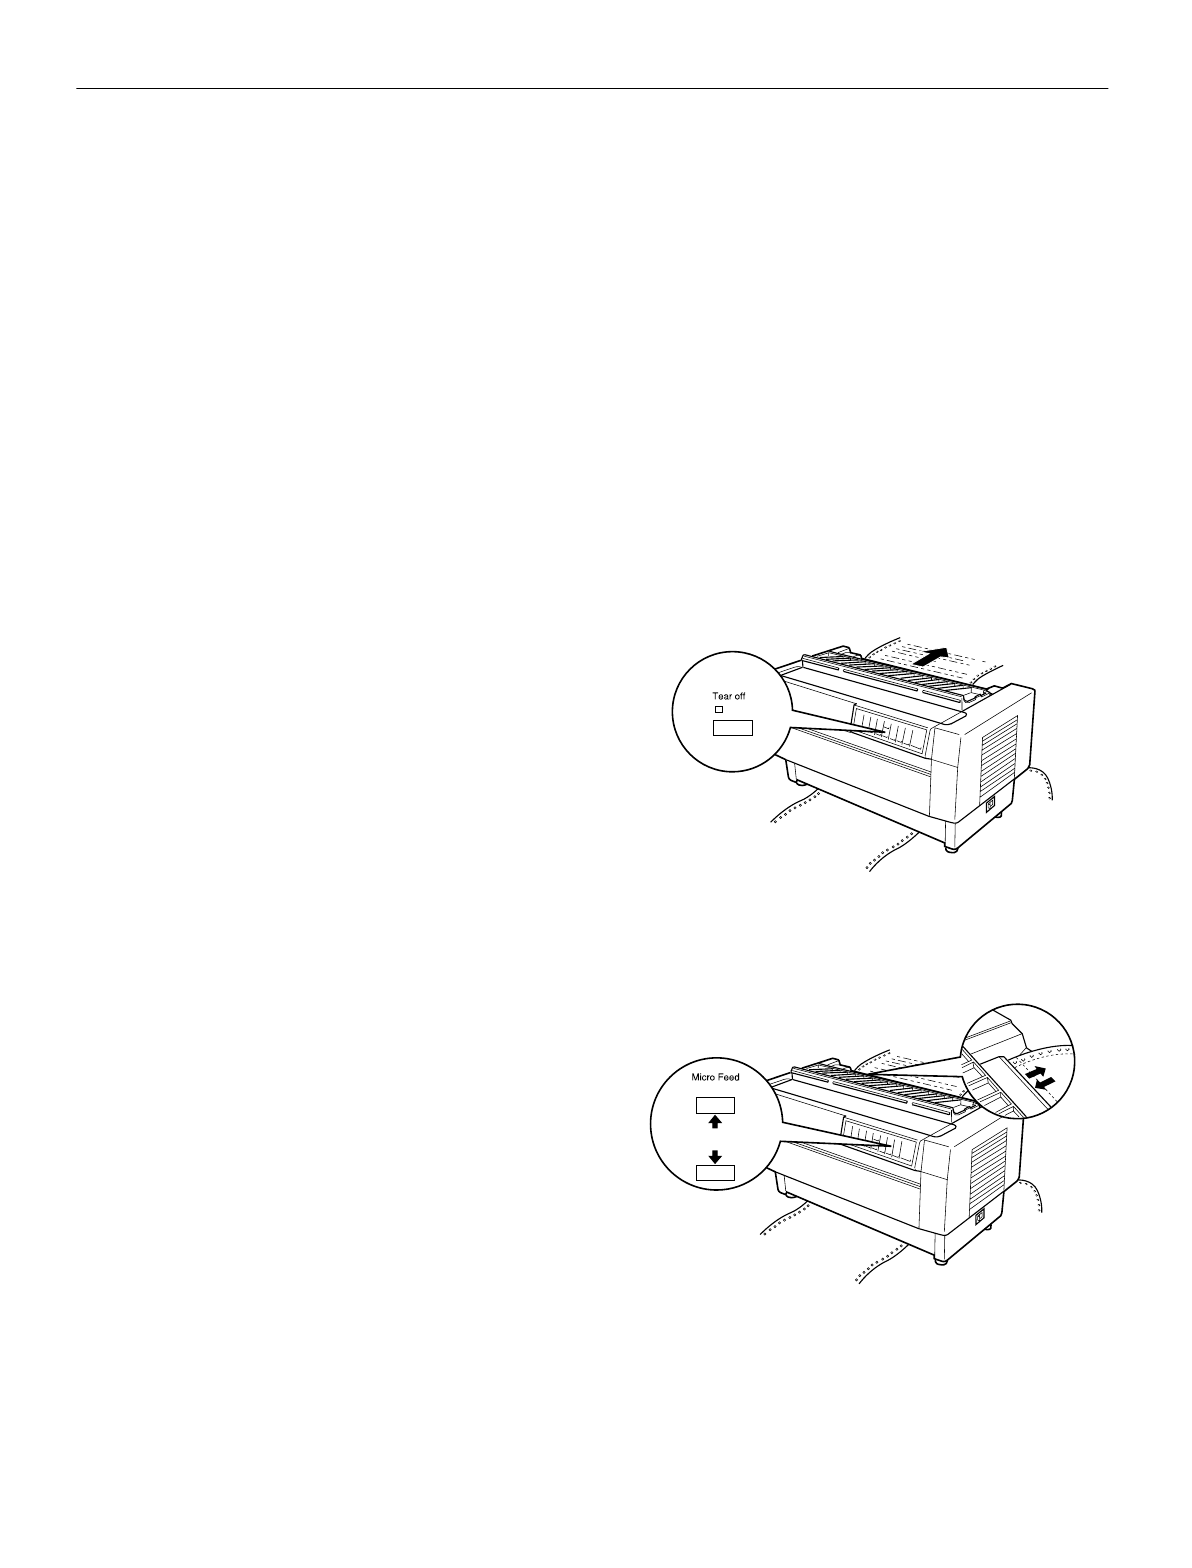
1. Make sure printing has finished. Then press the
Tear Off
button. The printer advances the paper to the tear-off edge
and the
Tear Off light comes on.
2. Tear off all printed pages. If the perforation is not aligned
with the tear-off edge, adjust the tear-off position as
described in the next section.
3. When you resume printing, the printer feeds the paper back
to the loading position and begins printing. (You can also
manually feed the paper back to the loading position by
pressing the
Tear Off button again.)
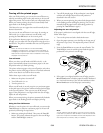
Adjusting the tear-off position
If the paper’s perforation is not aligned with the tear-off edge,
follow these steps:
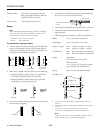
1. Turn on the printer and select the desired tractor.
2. Open the paper separator cover (the flap on the top part of
the printer’s top cover). This exposes the printer’s tear-off
edge.
3. Press the
Tear Off button to enter the tear-off mode. The
Tear Off light comes on and the printer feeds the paper’s
perforation to the printer’s tear-off edge.
4. If the paper is not aligned with the tear-off edge, press the
Micro Feed buttons to feed the paper forward or backward
in 1/216-inch increments. (You can also hold down either
Micro Feed button to feed the paper continuously.)
Note:
You can reset the tear-off position only when you are in tear-off
mode (after you press the Tear Off button once and the Tear Off
light is on). The printer remembers the new tear-off position even
after the printer is turned off, reset, or initialized.


