13
<ARE1350> En
Setting Up the System
Français English
Setting Up the System
Setup after connection
After components have been connected to INPUT3 or
INPUT4, on-screen setup is necessary.
Follow the procedure described below and make settings
as they apply to the type of components connected.
1 Switch MAIN POWER on the connection panel to
the on position to turn on the unit’s main power.
The STANDBY/ON indicator lights red.
2 Press STANDBY/ON to put the unit in the
operation mode.
The STANDBY/ON indicator turns green.
3 Select INPUT3 or INPUT4.
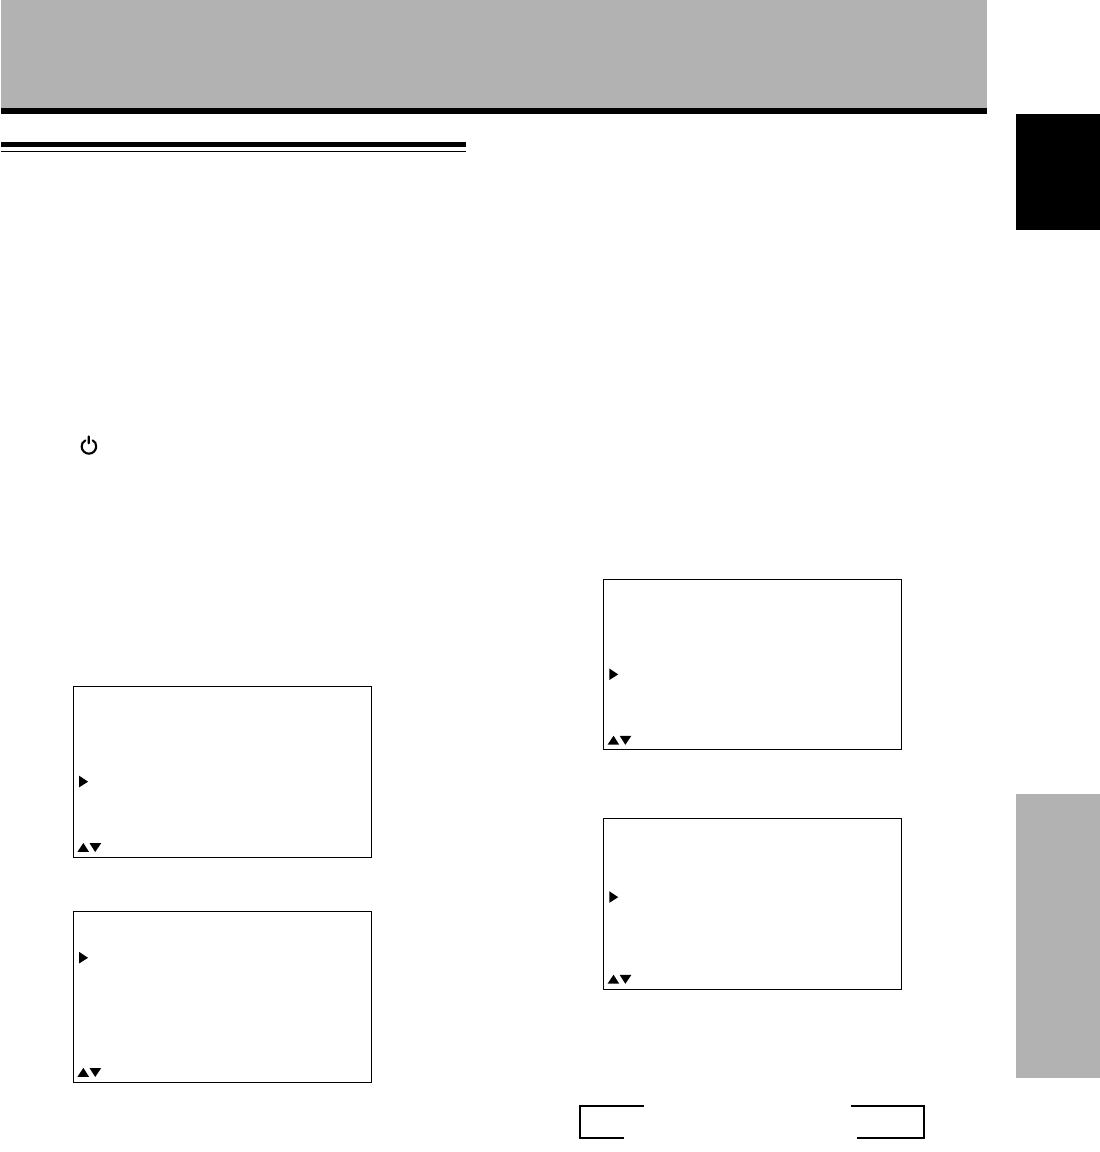
4 Press MENU to display the menu screen.
The menu screen appears.
5 Press 5/∞ to select SET UP, and press SET.
6 Press 5/∞ to select SETTING.
7 Press SET to select “PC”.
Depending on the input signal, this unit may not be
able to make the correct setting. Make sure that this
setting is set to “PC”.
Note
Steps 6 to 7 are necessary when inputting a signal of horizontal
frequency 31.5 kHz/vertical frequency 60 Hz.
For signals of other frequencies, settings are done automatically,
and therefore cannot be performed.
8 When the setup is completed, press MENU to exit
the menu screen.
Notes
÷ Make this setup for each input (INPUT3 and INPUT4).
÷ Please refer “G ON SYNC (CLAMP)” on this page for details
concerning G ON SYNC setup.
M
A
IN
MEN
U
M
EN
U
:
MENU O
F
F
:
S
EL
E
C
T
X
T
S
ET
:
N
E
P
ICT
U
R
E
S
C
R
E
E
N
AL
L
RE
S
E
T
P
O
WE
R
S
ET
U
P
S
AV
E
S
E
TU
P
EX IT
:
S
EL
E
C
T
A
NG
E
S
ET
:
C
H
T
ERM
I
N
A
L
:BN
C
S
E
T
T
I
N
G
:
P
C
1
G
B
SI
G
N
AL
:
R
C
L
AM
P:M
O
DE
ABL
H.ENHANCE
ENHANCEV.
:
:
:
OF
0
0
F
G ON SYNC setup (CLAMP)
The RGB video signal is normally composed of 5 signals:
R, G, B, HD and VD. With G ON SYNC connection,
however, the signal is composed of 3 signals: R, G (G, HD
and VD combined) and B.
If the personal computer being used is a model where
G ON SYNC connection is carried out, on-screen setup is
necessary.
Setup of G ON SYNC (CLAMP) connection
1 Press MENU to display the menu screen.
The menu screen appears.
2 Press 5/∞ to select SET UP, and press SET.
3 Press 5/∞ to select CLAMP.
4 Press SET to select MODE2.
Mode selection will change as follows each time SET
is pressed.
5 When the setup is completed, press MENU to exit
the menu screen.
Notes
÷ Make this G ON SYNC setting for each applicable input
(INPUT3 and INPUT4).
÷ When using this setup, be sure to carefully check the signal
output of the personal computer you are using. For details,
please refer to the instruction manual supplied with the
personal computer you are connecting.
÷ If the screen becomes bright and turns a greenish color, set
CLAMP to MODE2.
÷ G ON SYNC connection is carried out on some Macintosh
computers.
3 MODE1 (Normal connection)
MODE2 (G ON SYNC connection) 2
M
A
IN
MEN
U
M
EN
U
:
MENU O
F
F
:
S
EL
E
C
T
X
T
S
ET
:
N
E
P
ICT
U
R
E
S
C
R
E
E
N
AL
L
RE
S
E
T
P
O
WE
R
S
ET
U
P
S
AV
E
S
E
TU
P
EX
I
T
:
S
EL
E
C
T
A
NG
E
S
ET
:
C
H
T
ERM
I
N
A
L
S
E
T
T
I
N
G
SI
G
N
AL
C
L
AM
P
A
B
L
:BN
C
:
P
C
G
B
:
R
H
.
EN
H
AN
CE
EN
H
AN
CE
V
.
:M
O
DE1
:
:
:
O
F
0
0
F