Printing Discs on a PC 25
C. USING OTHER GRAPHICS PROGRAMS
While SureThing will handle most labeling needs, some people
prefer to use other graphic programs. Your printer driver
allows you to print from most any graphics application. The
driver will center the image and automatically crop it to the
shape of a CD. This means you do not necessarily need a
template to create a CD in your favorite graphics program.
Simply create a custom page size of 120mm (4.72 inches)
square and center your image in that area and the driver will
do the rest. The center sizes listed in section 3A should guide
you in creating your disc. Because the driver crops the image
to the shape of a CD, you do not want to make your design
round. You will find it is best to "over bleed" your design by
filling the whole 120mm area with your image. This ensures
the outer and inner diameters will print perfectly round on
your disc.
D. USING KIOSK MODE
Kiosk Mode allows you to use both of Bravo's Bins as input,
doubling your disc capacity from 50 discs to 100 discs. In this
mode, the finished discs will be deposited out through the
front of the Bravo. Refer to the Kiosk Kit User Manual for
specific installation instructions. Kiosk mode is enabled
as follows:
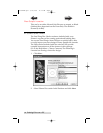
Click the Start button. For Windows 2000 point to Settings and
click on Printers. For XP Professional click on Printers and
Faxes. For XP Home click on Control Panel, then click on
Printers and Other Hardware, then click on Printers and Faxes.
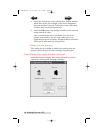
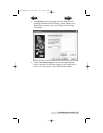
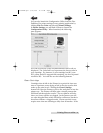
Click on the Disc Printer Pro icon with the right mouse
button and select Printing Preferences.
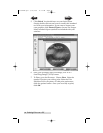
Find the Disc Output Location setting at the bottom of the
preferences screen. Set it to "Kiosk".
510921PM.qxd 1/26/2005 11:12 AM Page 25
TOC
INDEX


