


Installation of First Use
1.The installation of the monitor is very simple. What you need to do is to take the monitor from the packing box and
remove all the packing materials. And then put the monitor on the desk carefully; fold the monitor base, so that the
monitor can stand on the desk properly. Next, adjust the monitor to a desired position according to the seat and
other factors.
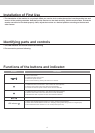
Identifying parts and controls
1.The LED indicator and control buttons as following
2.The connection ports as following:
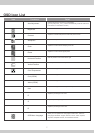
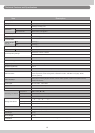
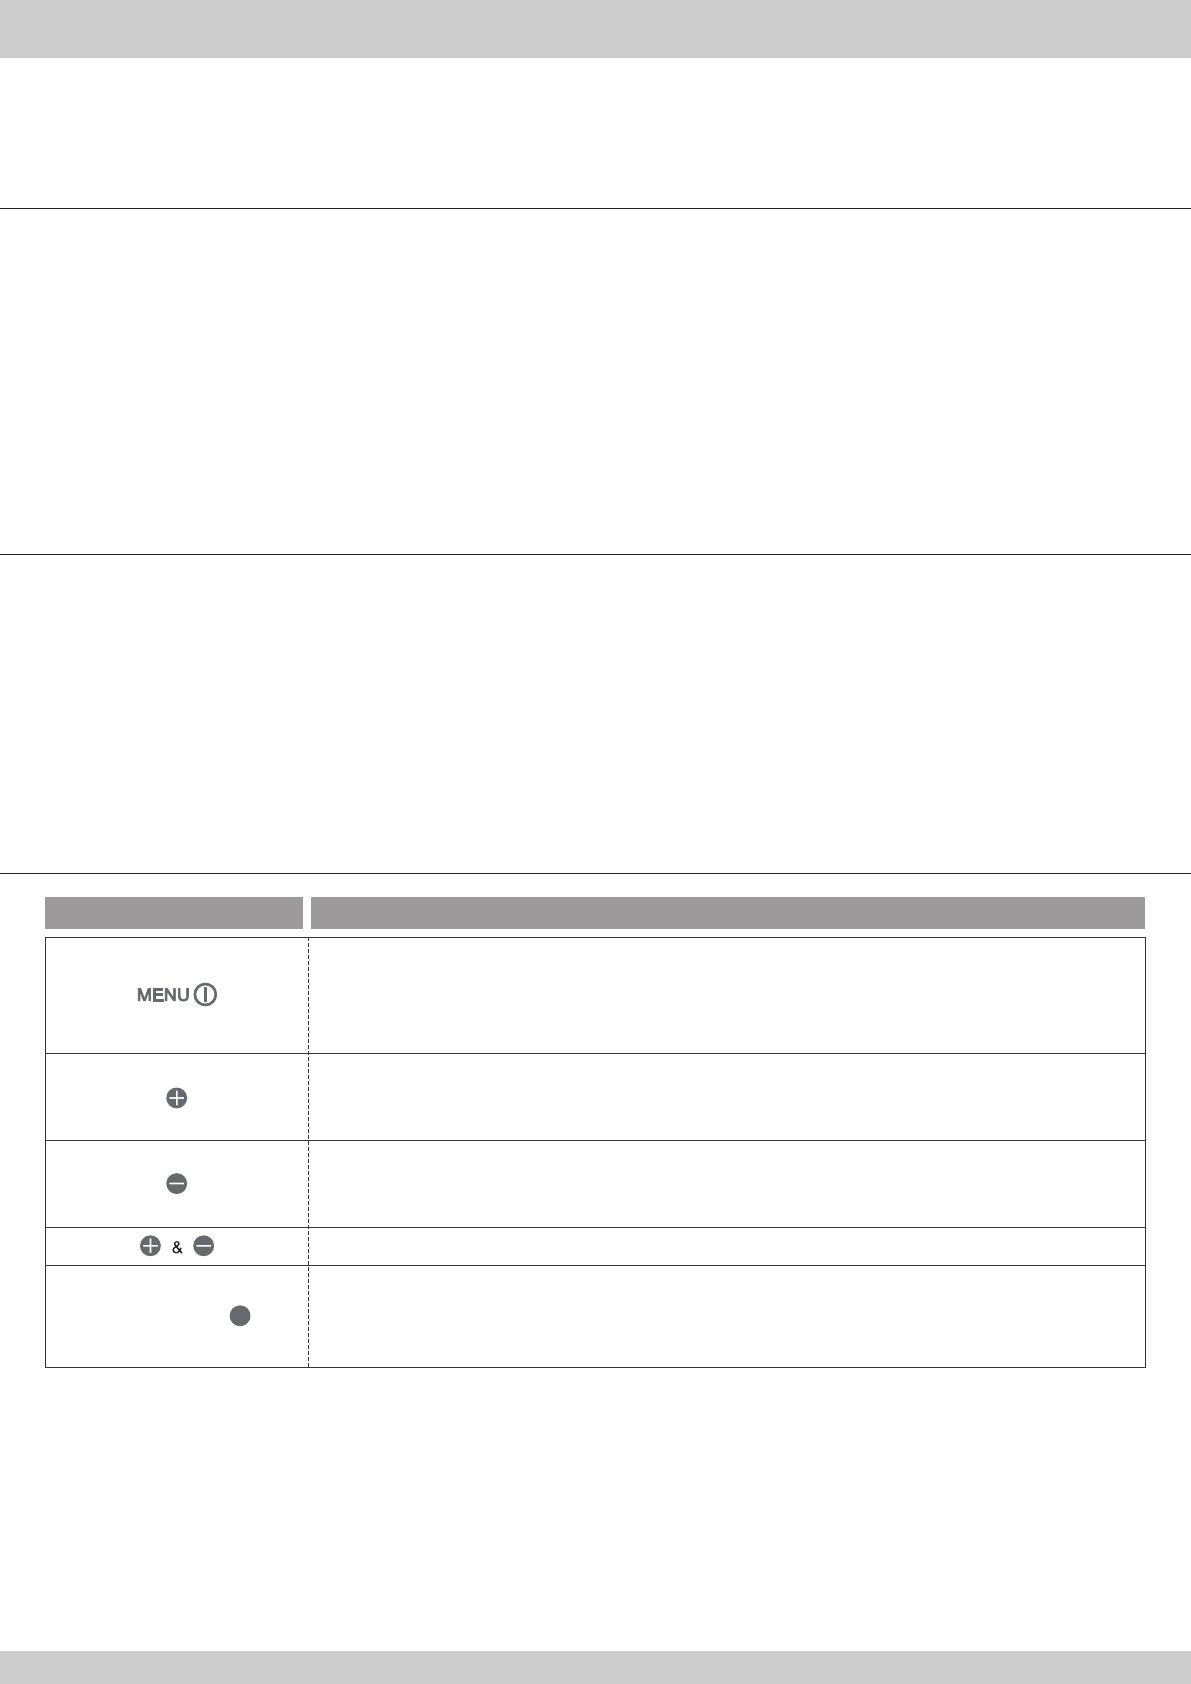
1.Turn on the monitor
2.Activate the OSD control menu
3.Select the specific function
4.Turn off the monitor by pressing the button for 3 seconds
1.Activate the Volume control menu, and increase the value (optional)
2.View the next function in the main OSD menu clockwisely
3.Increase the value of specific function which has been selected
1.Activate the Volume control menu, and decrease the value (optional)
2.View the next function in the main OSD menu counter-clockwisely
3.Decrease the value of specific function which has been selected
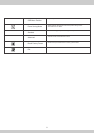
1.Green color indicates that the monitor is in “active” mode (normal operation).
2.Amber color indicates that the monitor is in “sleeping” mode (power saving mode or no signal input).
3.Not lit indicates that the monitor is in “off” mode (monitor power off).
1.Optimize the picture performance automatically
Functions of the buttons and indicator:
Button Functions
4
LED indicator