CHAPTER 3: OPERATION 11
MasterConsole IP Operation
Selecting a Computer
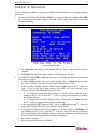
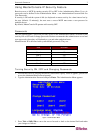
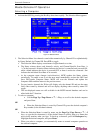
1. Activate the OSUI by pressing the Hot Key three times rapidly. The Selection Menu appears.
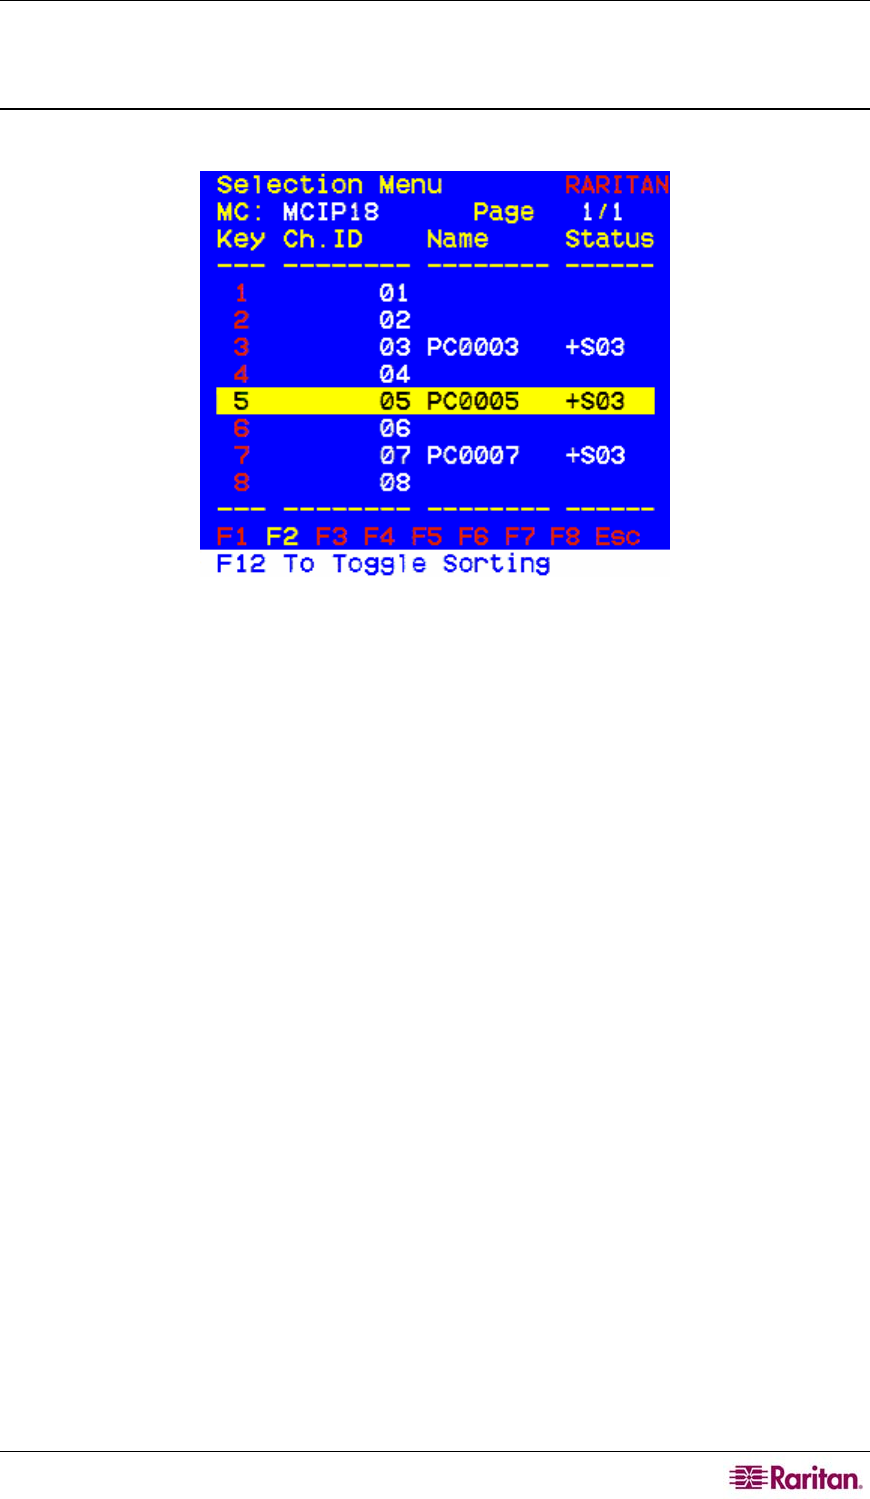
Figure 10 Selection Menu
2. The Selection Menu lists channels sorted either numerically by Channel ID or alphabetically
by Name. Default: by Channel ID. Press F12 to toggle.
a. The Selection Menu displays a maximum of eight channels at a time.
b. The Status column shows each channel's activity and Channel-Specific Scan Rate. A
“+”in the base unit's Selection Menu indicates the device is connected and powered ON,
while a blank indicates the device is powered OFF, or there is no device connected.. Snn
indicates the individual Scan Rate of nn seconds.
c. As the computer status changes (active/inactive), MCIP updates the Status column
periodically. To enable a user to see the new status immediately, activate the OSUI and
press F8-Upgrade Computer Status. MCIP will scan the channels and update the
computer status and then return to the previous menu.
d. For any inactive channel, the ID bar will display only the channel ID and not the name
field, when sorted by channel and will not display anything when sorted by name-F12
toggle.
e. The non-displayed names are still available in the MCIP internal database and can be
edited with the F3 function.
3. To select a computer:
Use the Page Up / Page Down or Ç / È keys to scroll to the desired computer
and press Enter
OR
When the Selection Menu is sorted by Channel ID, press the desired computer's
Key number (in the left-hand column)
OR
a. When the Selection Menu is sorted by name, use the Page Up / Page Down or Ç / È
keys, or type the first character(s) of the desired Name to quickly jump to a Name that
most closely matches what you type. To back up a character, press the Backspace key.
Highlight the desired computer, and press Enter.
b. When you select a computer, you automatically return to normal computer operation at
the selected computer.


