


53
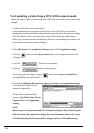
5-5.Capturing a video from a DV tape
1. Set a DV tape in a DVCAM and confirm the DVCAM mode is set to video mode.
Video Mode means you can control a video of a DV tape. If your DVCAM is in camera
mode, change mode selection switch from camera mode to video mode slowly as
mentioned 5-4.Capturing a video from a DVCAM in camera mode.
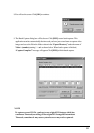
2.Select [DV mode] on the [Application Setting] as shown in 5-3.Application settings.
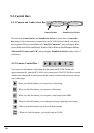
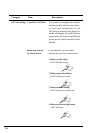
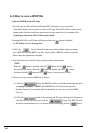
3.When you click the DV play button on the Video Control Bar, the DV tape will start
to play and a video image of the DV tape will appear in the preview window.
4.Click the button to start capturing.
5.Click the button to stop capturing.
You can also stop capturing by using the stop button on the Video Control Bar or
pressing ESC button on the keyboard.
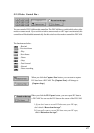
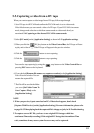
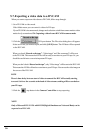
6. If you checked [Rename file name every capture execution] on the [Application Setting],
You will see the window.You can
rename the captured file.
7.The file will be saved in the folder
you set at [Set Folder Name To
Save Capture Files] on the
[Application Setting].
When you want to capture a video image from a DV tape, follow steps through.
NOTE
1.When you preview, it puts some load on PCs. If data loss happens, don't check
[Capture With Preview] on the [Application Setting]. For more information, please refer
to page 10-3.When playing back the captured file is choppy or jerky in 10.Troubleshooting.
2.To capture correct DV file, you have to use original DV footages which has
continuous Timecode(recording). If the original DV footage has intermittent Time
code, sometimes it may cause system freeze or may not be captured.