Rimage 360i
10 110808_C
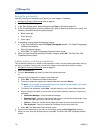
Setting the print quality
Use this procedure to change the print quality for your images, if necessary.
1.
Navigate to Printing Preferences (refer to page 9).
2. Select the Disc/Quality tab.
3. In the Disc Options panel, select the appropriate Type from the drop-down list.
4. In the Print Quality panel, select the desired print quality. When you select a print quality, the
following information about the quality displays:
• Black render dpi
• Color input dpi
• Color output
5. If necessary, change digital photography options.
a. In the Print Quality box, select the Digital Photography button. The Digital Photography
Options window opens.
b. Select the desired options.
c. Select OK. The Digital Photography Options window closes.
6. When you have made the desired print quality changes, select OK. The Disc Color 360i
Properties window closes.
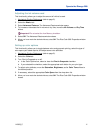
Adding, editing, or deleting a watermark
This functionality allows you to create a new watermark or edit a currently existing watermark that you
can print on your disc. From this tab, you can also delete a current watermark that you created.
1.
Navigate to Printing Preferences (refer to page 9).
2. Select the Effects tab.
3. From the Watermarks drop-down list, select the desired watermark.
Or
If desired, edit the watermark or create a new watermark.
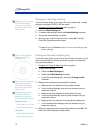
a. Select Edit. The Watermark Details window opens.
b. To delete a watermark, highlight the desired watermark and select Delete.
Note: You can delete only watermarks that you or another user has created. You cannot
delete any of the default watermarks.
c. To create a new watermark, select New. ‘Untitled’ displays in the Current Watermarks field.
d. Enter or change information in one or more of the following fields to create your customized
watermark:
• Watermark Message – Enter the desired message.
• Message Angle – Select the appropriate radio button to provide the desired angle. If you
select the Angle radio button, you can set the angle.
• Options – Select the Justified Across Page radio button to center and justify the text.
• Font Attributes – Select the desired font attributes from the drop-down lists.
e. Select OK. The Watermark Details window closes.
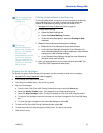
5. If you want the watermark to print only on the first disc, select the First Page Only checkbox.
7. When you have made the desired choices, select OK. The Disc Color 360i Properties window
closes.


