66
Maintenance and Cleaning
This projector uses a high-pressure lamp which must be handled carefully and properly.
Improper handling may result in accidents, injury, or create a fire hazard.
● Lamp life may differ from lamp to lamp and according to the environment of use. There is no guarantee
of the same life for each lamp. Some lamps may fail or terminate their life in a shorter period of time
than other similar lamps.
● If the projector indicates that the lamp should be replaced, i.e., if the LAMP REPLACE indicator lights
up, replace the lamp with a new one IMMEDIATELY after the projector has cooled down.
(Follow carefully the instructions in the Lamp Replacement section of this manual.) Continuous use of
the lamp with the LAMP REPLACE indicator lighted may increase the risk of lamp explosion.
● A Lamp may explode as a result of vibration, shock or degradation as a result of hours of use as its
lifetime draws to an end. Risk of explosion may differ according to the environment or conditions in
which the projector and lamp are being used.
IF A LAMP EXPLODES, THE FOLLOWING SAFETY PRECAUTIONS SHOULD BE TAKEN.
If a lamp explodes, disconnect the projector’s AC plug from the AC outlet immediately. Contact an
authorized service station for a checkup of the unit and replacement of the lamp. Additionally, check
carefully to ensure that there are no broken shards or pieces of glass around the projector or coming out
from the cooling air circulation holes. Any broken shards found should be cleaned up carefully. No one
should check the inside of the projector except those who are authorized trained technicians and who
are familiar with projector service. Inappropriate attempts to service the unit by anyone, especially those
who are not appropriately trained to do so, may result in an accident or injury caused by pieces of broken
glass.
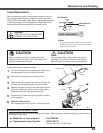
LAMP HANDLING PRECAUTIONS
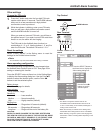
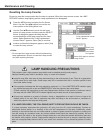
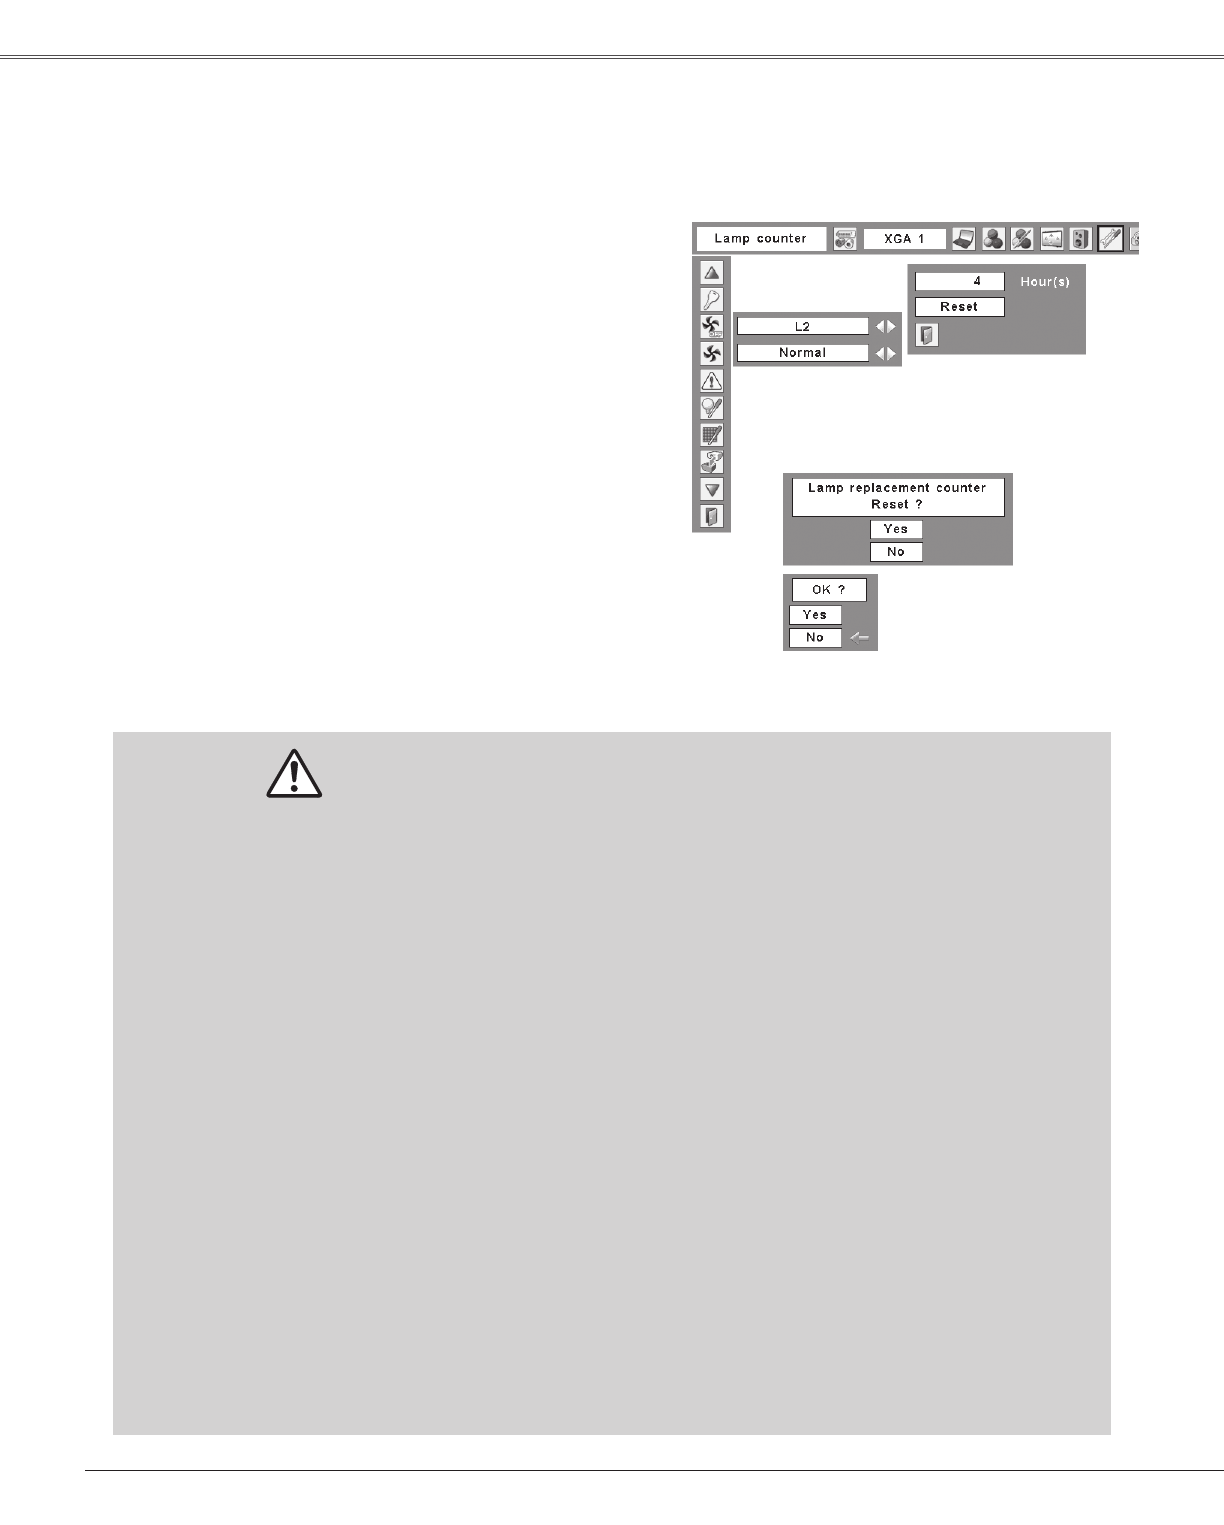
Resetting the Lamp Counter
Be sure to reset the Lamp counter after the lamp is replaced. When the Lamp counter is reset, the LAMP
REPLACE indicator stops lighting and the Lamp replacement icon disappears.
Press the MENU button to display the On-Screen
Menu. Use the Point 7 8 buttons to move the red
frame pointer to the Setting Menu icon.
Use the Point ed buttons to move the red frame
pointer to Lamp counter and then press the SELECT
button. A dialog box appears showing the total
accumulated time of the lamp usage and the reset
option. Select Reset and the “Lamp replacement
counter Reset?” appears. Select [Yes] to continue.
1
2
Another confirmation dialog box appears, select [Yes]
to reset the Lamp counter.
3
✔Note:
• Do not reset the Lamp counter without implementing
lamp replacement. Be sure to reset the Lamp counter
only after replacing the lamp.
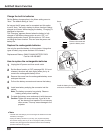
Select Reset and the
“Lamp replacement counter
Reset?” appears.
Select [Yes],
then another
confirmation
box appears.
Select [Yes] again to reset the
Lamp counter.


