Section 3: Configuration and Operation
LM Basic 408e/412e Operator’s Manual Page 3-17
3.9 TEST PRINT MODE
3.9.1 Select Test Print
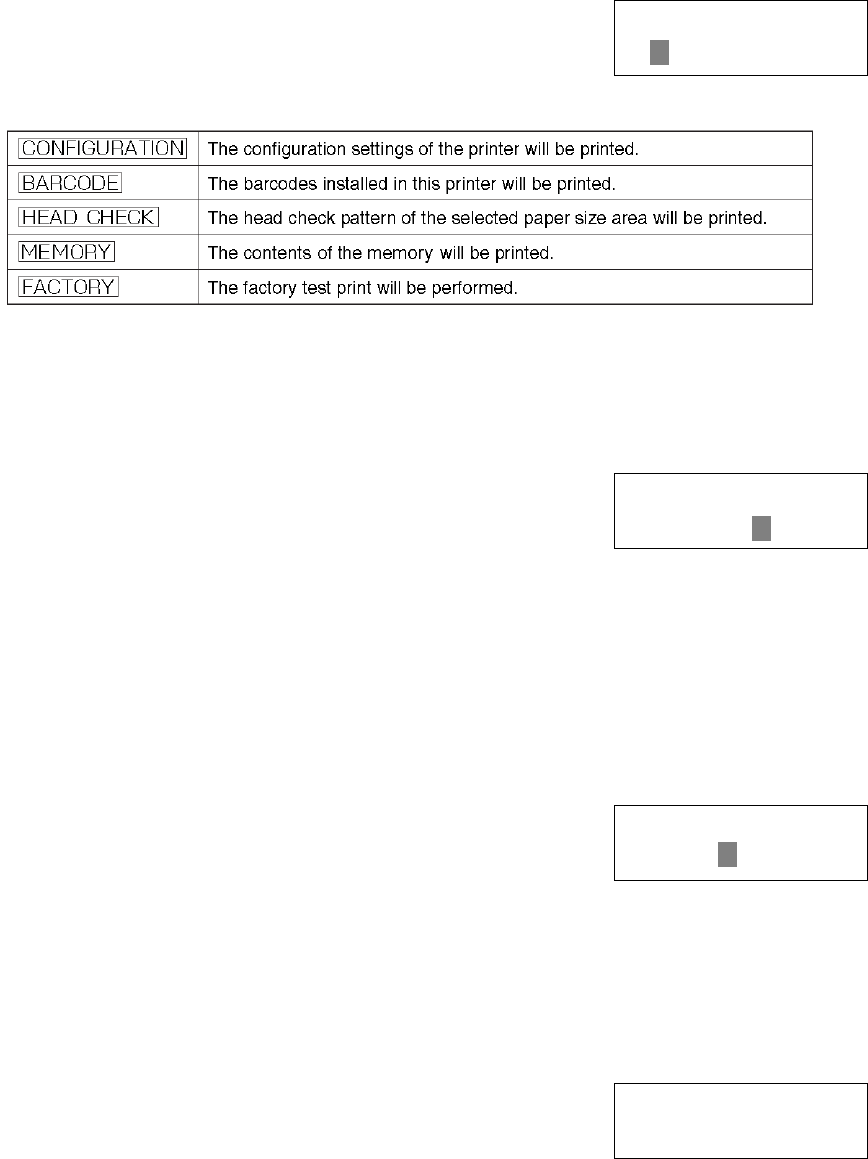
In this mode, you can choose from five types of test prints.
The five settings in this mode are as follows:
Use the LINE button to select the test print pattern to generate, the press the FEED button to
confirm the setting and proceed to the next screen.
3.9.2 Test Print Size
In this screen you can specify the print width for all the test print
patterns except MEMORY. The default setting is the maximum
horizontal size of the loaded paper.
For the LM408e/412e, the test print paper width can be set from 4 to 10.
Use the LINE button to select modify the value of the print size, then press the FEED button to
confirm the setting and proceed to the next screen.
3.9.3 Print Size
For the Factory Test Print pattern, this screen lets you define the
test print paper width. The default value for the LM408e/412e is
LARGE (104mm). The preset value for SMALL is 30mm.
Use the LINE button to select either SMALL or LARGE. Then press the FEED button to confirm
the setting and proceed to the final screen.
3.9.3 Start/Stop Test Print
At this screen the test printing will have commenced. Press FEED
to stop or restart the printing.
TEST PRINT MODE
CONFIGURATION
TEST PRINT SIZE
XXCM
PRINT SIZE
SMALL LARGE
PRESS FEED KEY
TO STOP PRINTING


