


18
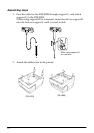
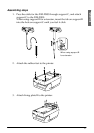
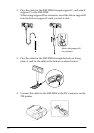
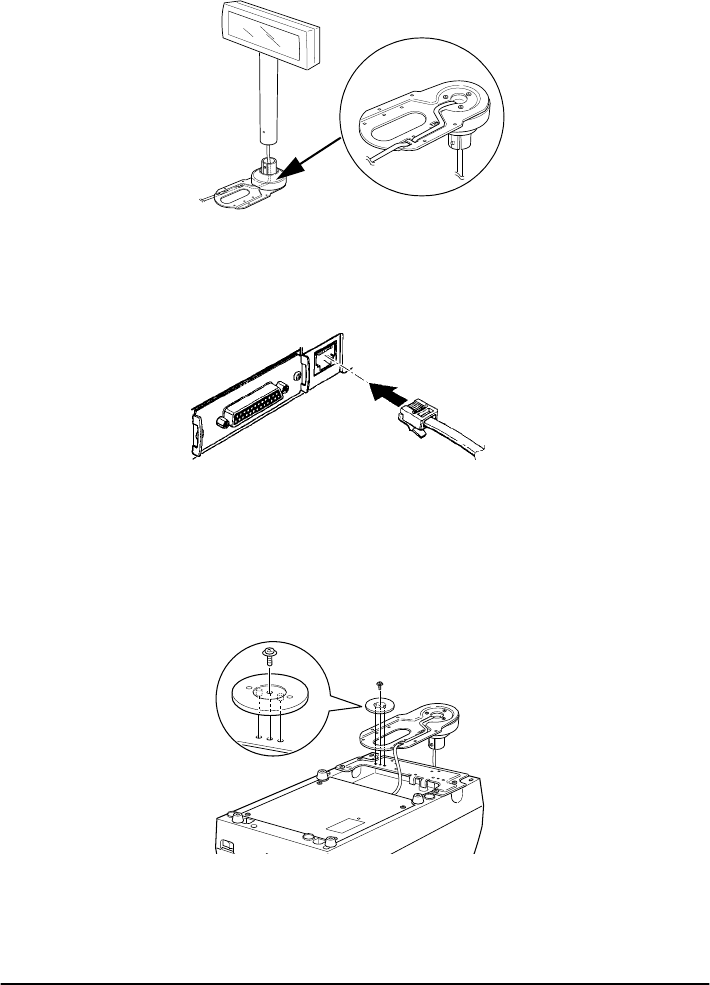
4. Pass the cable for the DM-D500 through the hole on fixing plate A,
and fix the cable at the bottom as shown below.
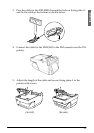
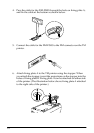
5. Connect the cable for the DM-D500 to the DM connector on the TM
printer.
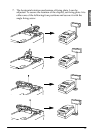
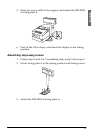
6. Attach fixing plate A to the TM printer using the stopper. When
you attach the stopper, insert the projections on the stopper into the
holes of fixing plate B. Fixing plate A can be attached on either side
of the printer. (The illustration below shows fixing plate A attached
to the right side of the printer.)