SET UP THE SOFTWARE
43
5
13
When installation of Button Manager is finished, you will return
to the window of step 12 (p.42). Click the "Close" button.
A message will appear instructing you to connect the machine to your
computer. Click the "OK" button.
14
Make sure that the power of the machine is turned on, and then
connect the USB/parallel cable (p.55).
Windows will detect the machine and a Plug and Play screen will appear.
15
Follow the instructions in the plug and play window to install
the MFP driver.
Follow the on-screen instructions.
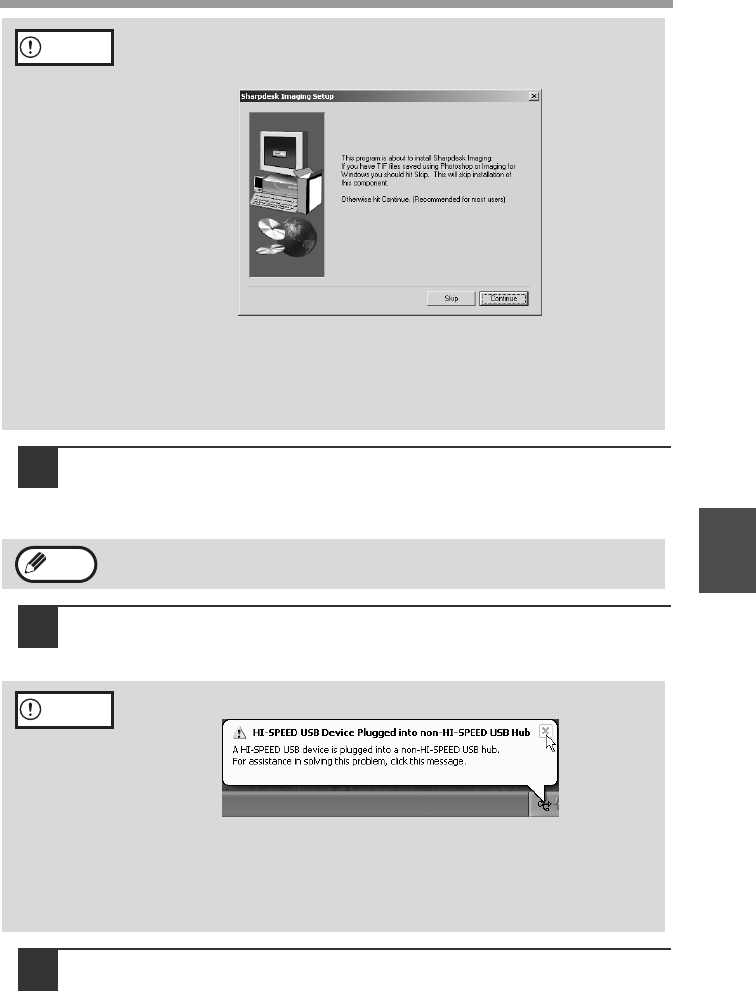
If the following screen appears during installation of Sharpdesk, click
the "Skip" button or the "Continue" button as appropriate to continue the
Sharpdesk installation.
If "Skip" is selected, the Sharpdesk installation will continue without
installing Sharpdesk imaging.
If "Continue" is selected, Sharpdesk Imaging will be installed. If Imaging
for Windows is installed on your computer, Sharpdesk Imaging will
overwrite Imaging for Windows.
After the installation, a message prompting you to restart your computer
may appear. In this case, click the "Yes" button to restart your computer.
If the following message appears on your computer screen, close it.
A window regarding "HI-SPEED USB Device" will then appear. Close
the window.
This message appears when the machine's USB 2.0 mode is not set to
"HI-SPEED". For information on switching the USB 2.0 mode, see
Chapter 6, "PRINTER/SCANNER FUNCTIONS".
Caution
Note
Caution


