1
PRINT
6
CONTENTS INDEX
Basic Printing
(part 2)
If the tray runs out of paper during printing
Add paper to the tray or press the [TRAY SELECT] key ( ) to
select a different tray, and then press the [ON LINE] key ( ) to
resume printing. Note that if the "Auto tray switching" setting in
the user programs is enabled and there is the same size of
paper in another tray, the machine will automatically switch to
the other tray and continue printing.
Pausing a print job
To pause a print job during printing, press the [ON LINE] key
( ) on the operation panel to switch the machine off-line.
Printing will be paused and the ON LINE indicator will blink.
●
To cancel a print job, press the [CLEAR] key ( ) or the
[CLEAR ALL] key
()
.
●
To resume printing, press the [ON LINE] key ( ) to switch the
machine online.
When "Paper Source" is set to "Auto Select"
If "Paper Source" is set to "Auto Select" in the "Paper" tab of the
printer driver setup screen and the correct size of paper for a
print job is not loaded in the machine, the printing procedure will
vary depending on the "Use Close Paper Size" setting in the user
programs (see "USER PROGRAMS" in the Operation Manual).
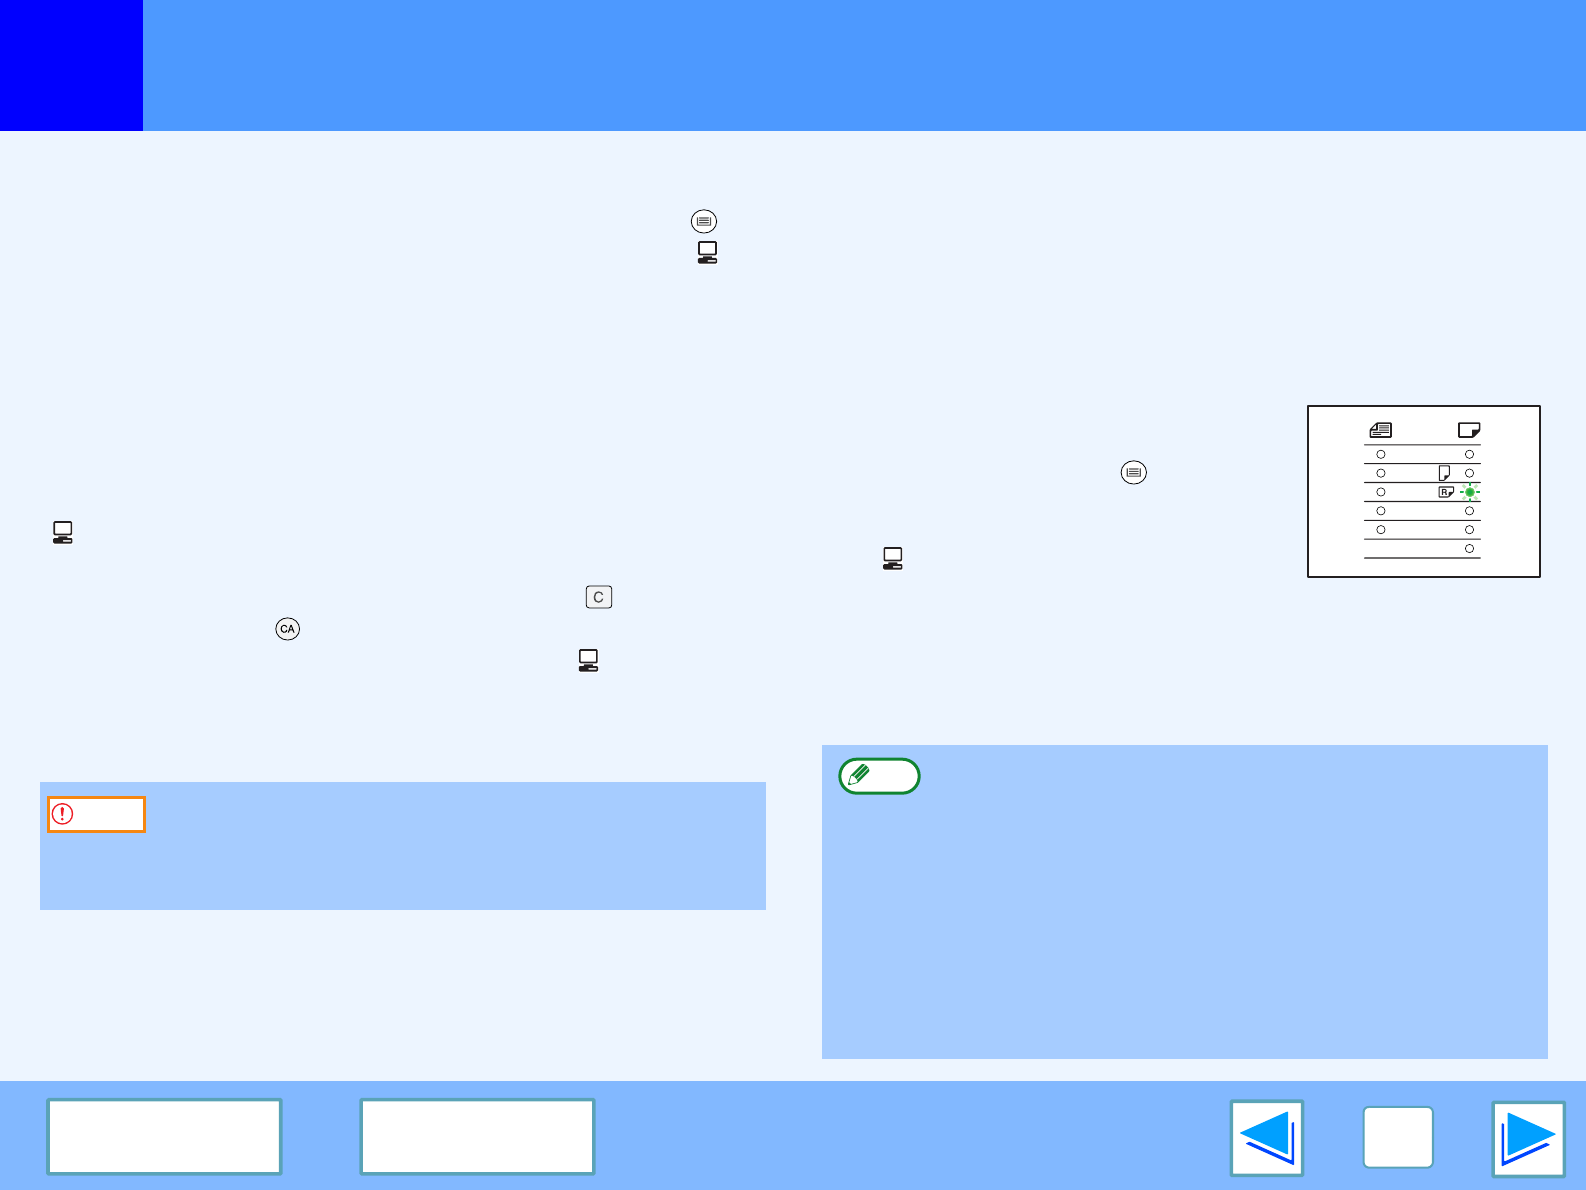
When "Use close paper size" is disabled
The PAPER SIZE indicator on the
operation panel will blink. You can press
the [TRAY SELECT] key ( ) to select a
tray manually, or load paper in the
bypass tray and press the [ON LINE]
key ( ) to begin printing.
*The paper sizes that appear in the
operation panel will vary by country and region.
When "Use close paper size" is enabled
Printing will take place using a size of paper that is close to the
size of the print image.
When the machine is connected to your computer using
the USB 2.0 (Hi-Speed) ports on each, be sure to read
"System requirements for USB 2.0 (Hi-Speed mode)" in
the Operation Manual.
Caution
●
When the dual function board is installed, the print image is
automatically rotated to fit the paper in the event that the paper
is loaded in an orientation different from the print image.
●
If the dual function board is not installed, be sure to set
each tray's paper size in "Set Tray Status" in the
"Configuration" tab of the printer driver setup screen. (See
"CONFIGURING THE PRINTER DRIVER" in the
Software Setup Guide.)
When printing, be sure to specify a tray other than "Auto
Select" in "Paper Source" in the "Paper" tab of the printer
driver setup screen.
A3
A4
A4
A5
B4
EXTRA
Note


