


-28
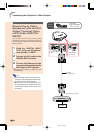
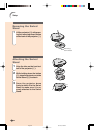
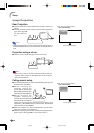
Rear Projection
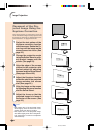
■ Place a translucent screen between the projector and the au-
dience.
■ Use the projector’s menu screen to reverse the projected im-
age. (See page 56
for use of this func-
tion.)
Note
•Optimal image quality can be achieved when the projector is
positioned perpendicular to the screen with all feet flat and lev-
eled.
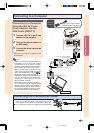
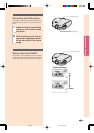
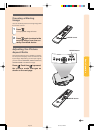
Projection using a mirror
■ Place a mirror (normal flat type) in front of the lens.
Info
•When using a mirror, be sure to carefully position both the
projector and the mirror so the light does not shine into the
eyes of the audience.
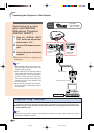
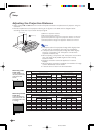
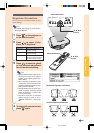
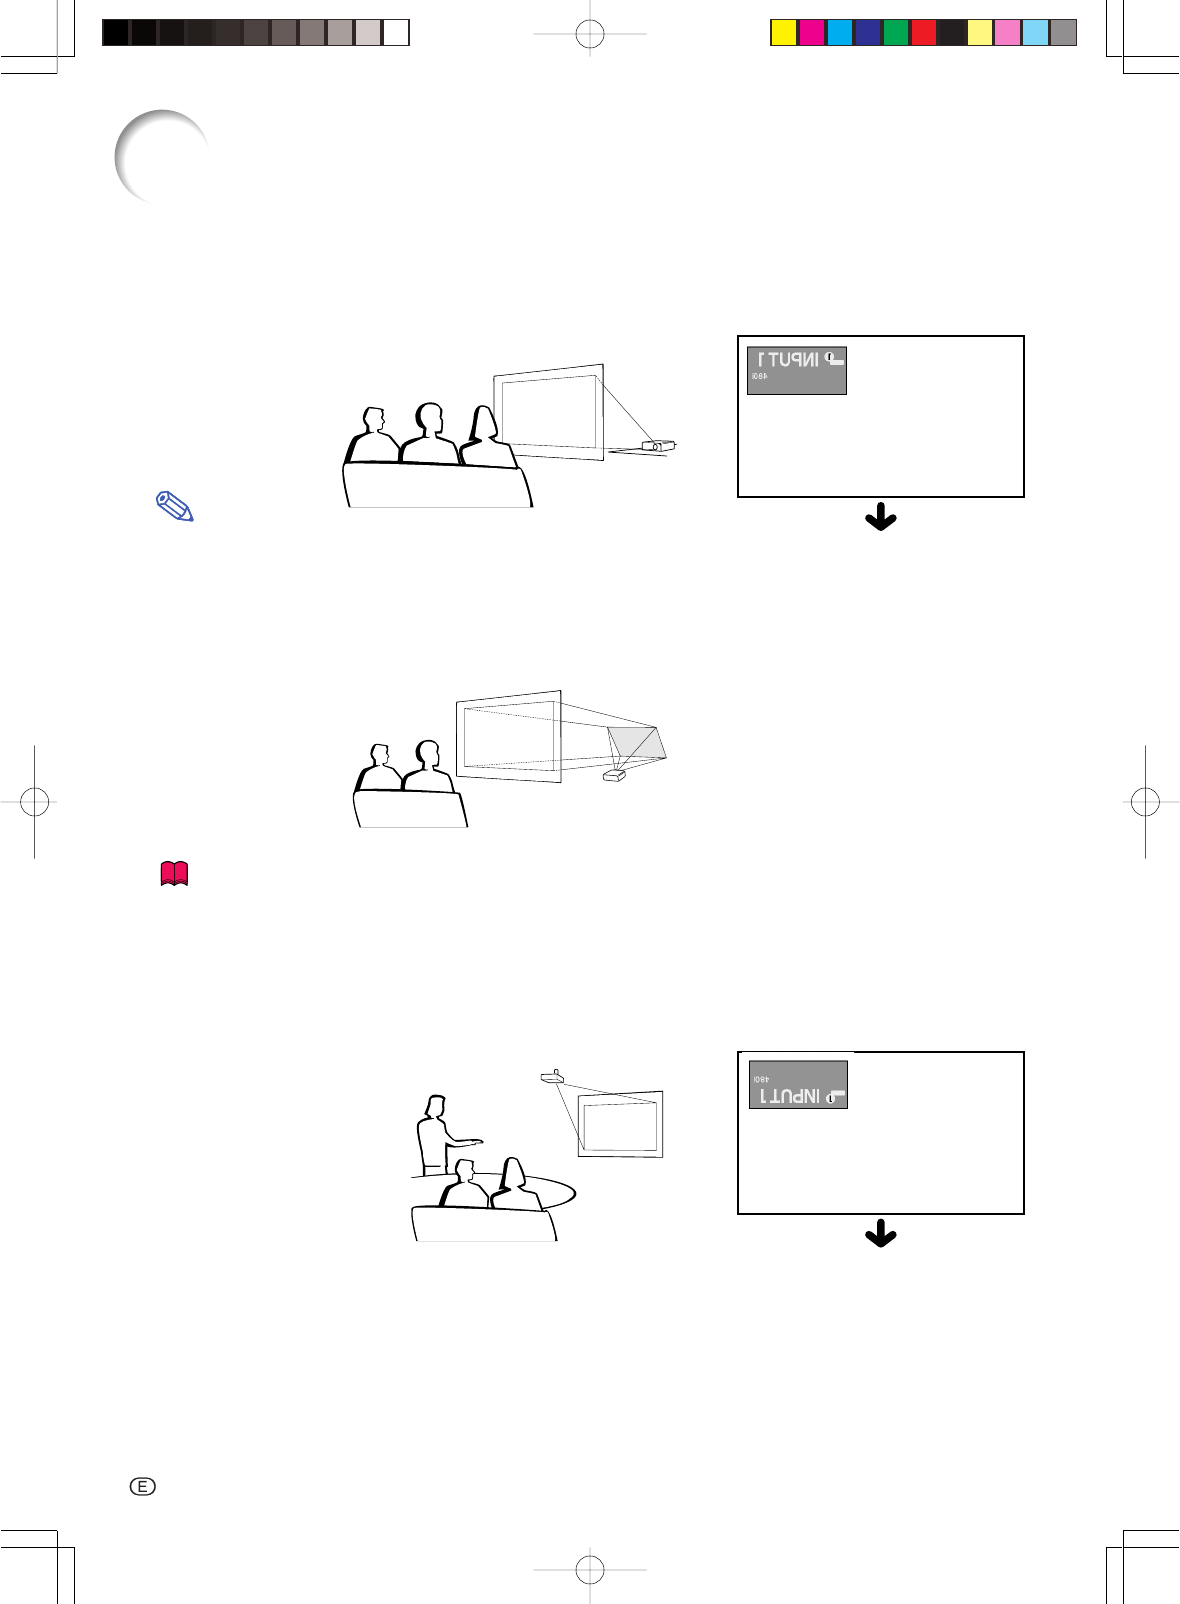
Ceiling-mount setup
■ It is recommended that you use the optional Sharp ceiling-mount
bracket for this installation.
■ Before mounting the
projector, remove the
Swivel Stand. (See pages
24 and 25 for removing and
attaching the Swivel Stand.)
■ Before mounting the
projector, contact your
nearest Sharp Authorized
Service Center or Dealer to
obtain the recommended ceiling-mount bracket (sold
separately). (AN-CM260 ceiling-mount bracket, AN-EP101B
extension tube for AN-CM260.)
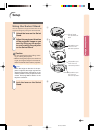
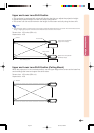
■ When the projector is in the inverted position, use the upper
edge of the screen as the base line.
■ Use the projector’s menu screen to select the appropriate pro-
jection mode. (See page 56 for use of this function.)
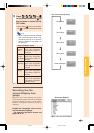
When using the default setting.
▼On-screen Display
Image Projection
The image is reversed.
When using the default setting.
▼On-screen Display
The image is inverted.
Setup
03.10.29, 2:41 PMPage 28