


Introduction
-7
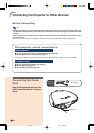
The power indicator
illuminates green.
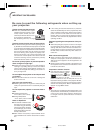
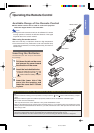
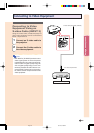
In this page, connection of the projector and the video equipment is explained as an example
for the procedure from setup to projection. Refer to each page for details.
Quick Guide
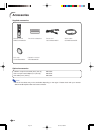
Required equipments
Video cable
Projector Remote control
•Insert the batteries.
(Page 11)
Power cord
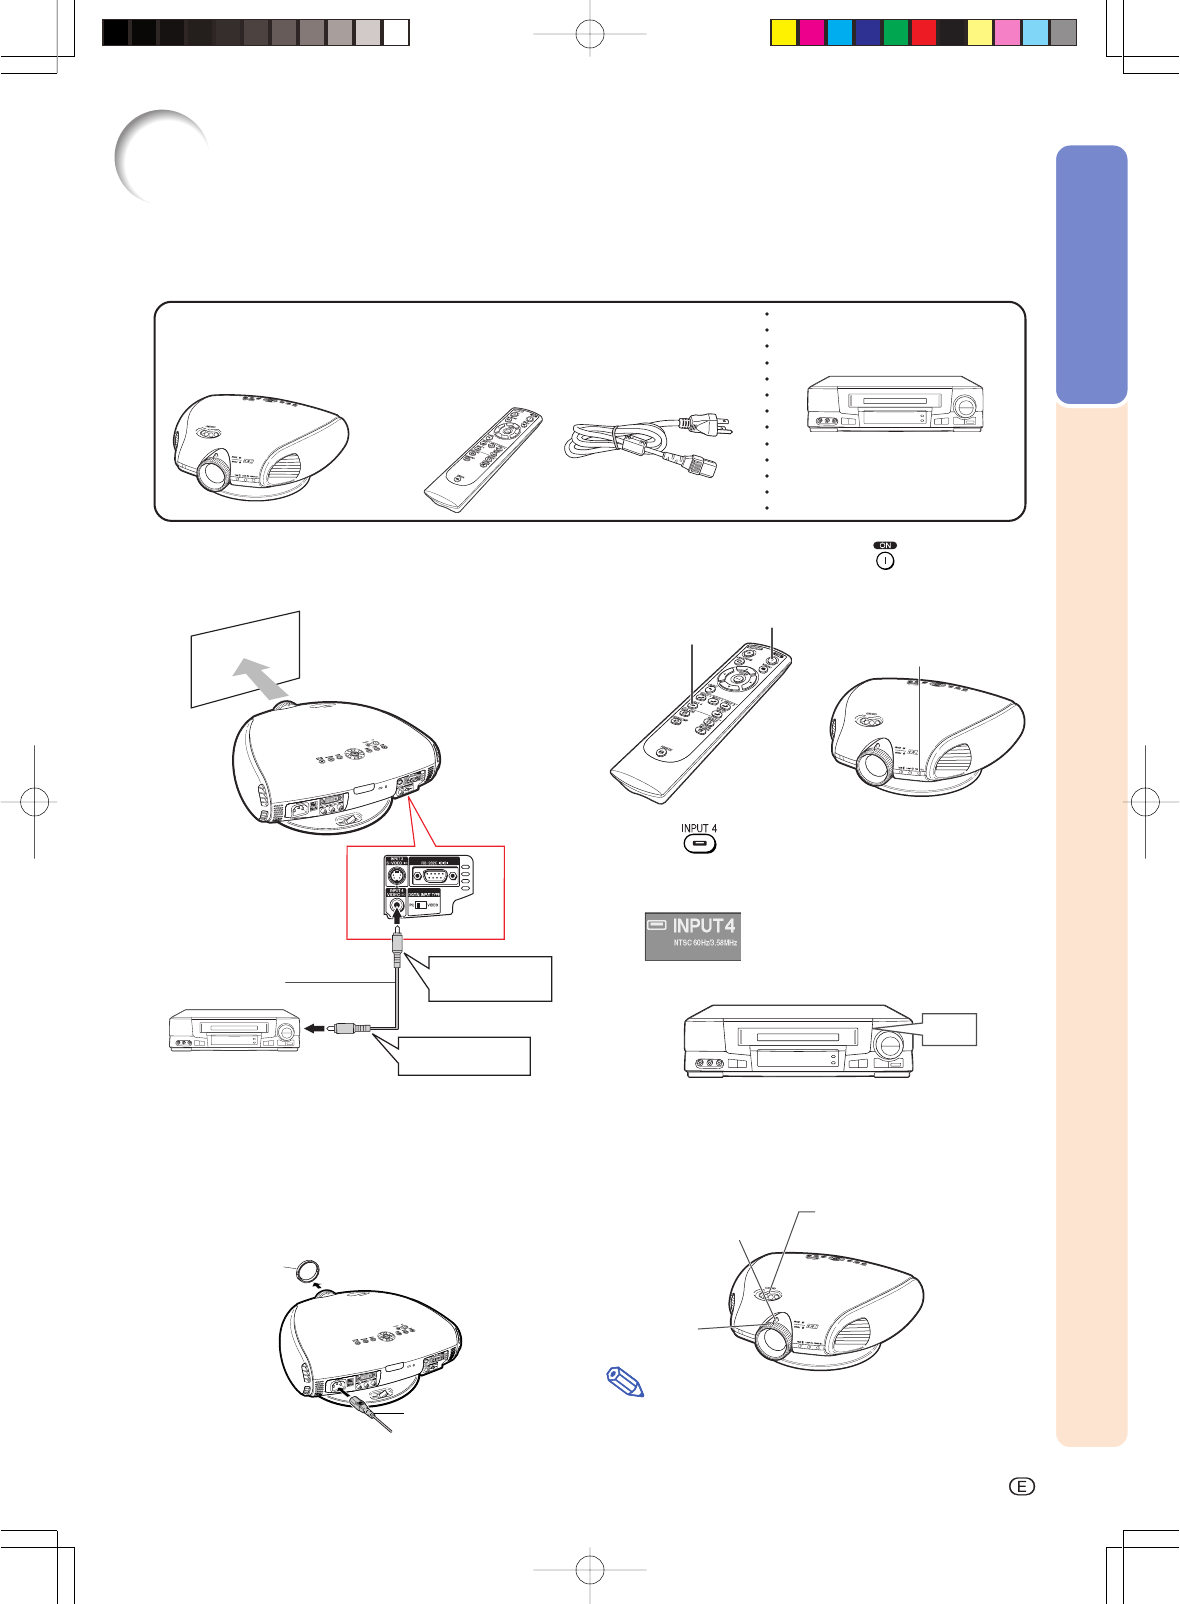
1. Place the projector facing a wall or a screen.
2. Connect to video equipment. (Page 16)
6. Turn the projector on using on the remote
control. (Page 30)
3. Connect the output terminal of the video equip-
ment to the input terminal of the audio equip-
ment using an audio cable.
4. Plug the power cord into the AC socket of the
projector and into the wall outlet. (Page 14)
5. Remove the lens cap from the lens.
7. Press
on the remote control to select the
INPUT 4 mode. (Page 31)
"On-screen Display
8. Turn on the video equipment.
To INPUT 4
terminal
To video out-
put terminal
INPUT 4 button
ON button
ON
Power cord
Video equipment
Lens cap
Video cable
9. Play the video.
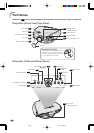
10
.Adjust the image size, image position and the
focus. (Page 25)
Note
• This projector can also be connected to a computer
as well as to video equipment. (Page 21)
Adjust the height of the image
by rotating the lens shift dial.
Adjust the focus by
rotating the focus ring.
Adjust the zooming by
moving the zoom knob.
03.10.29, 2:38 PMPage 7