


39
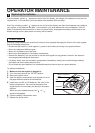
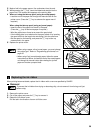
2. Make a fold in the paper approx. five centimeters from the end.
3. While pressing the
á
key, insert the folded end straight into the
paper inlet. The inserted end appears at the printing area.
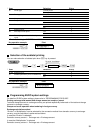
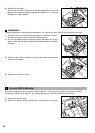
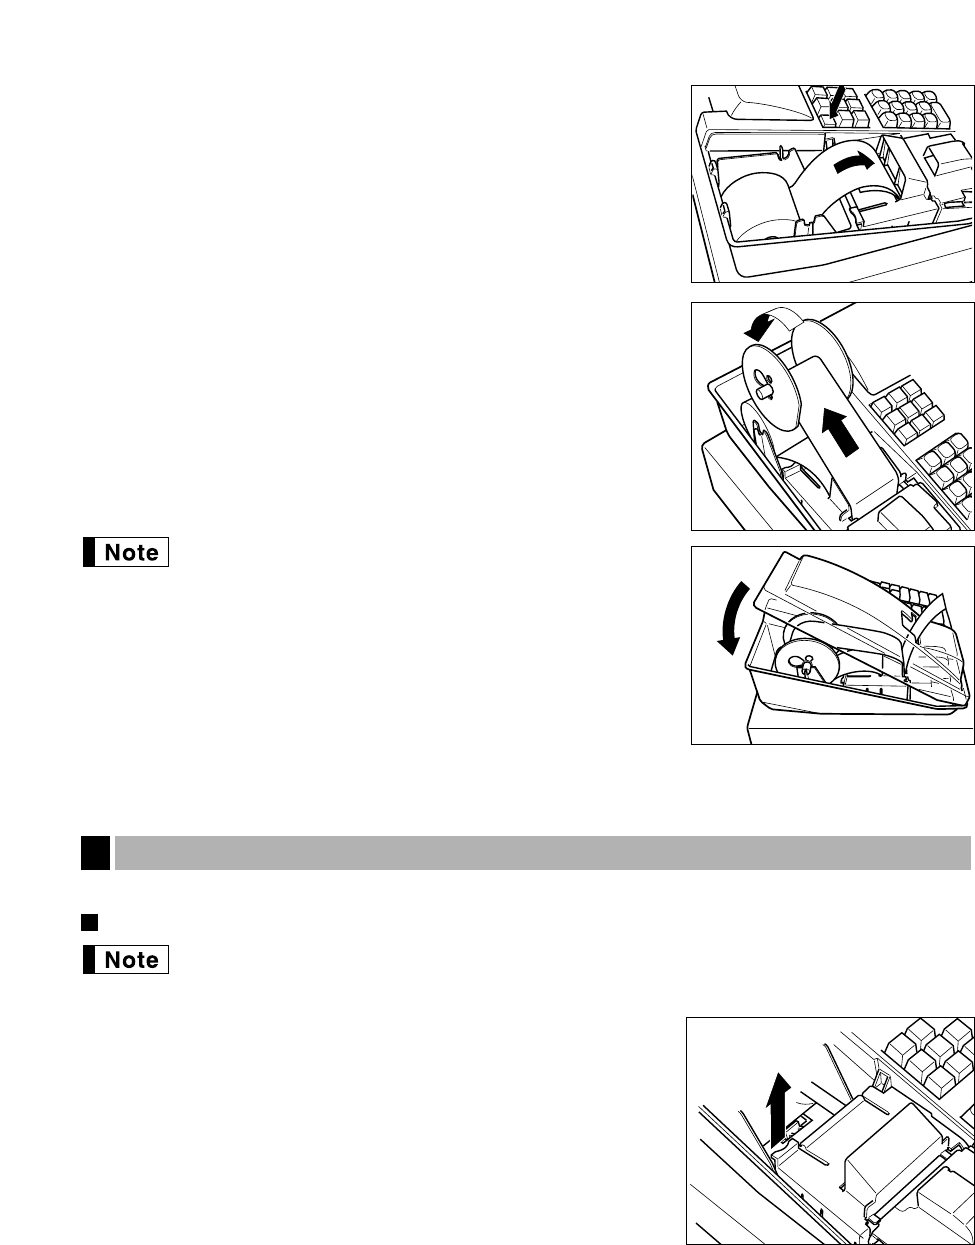
4 When not using the take-up spool (using as receipt paper):
• Lead the end of the paper out through the manual cutter on the
printer cover. (Press the
á
key to advance the paper more if
required.)
When using the take-up spool (using as journal paper):
• Insert the end of the paper into the slit in the spool.
(Press the
á
key to feed more paper if required.)
• Wind the paper two or three turns around the spool shaft.
• If the holding plate is not attached to the spool, attach it by inserting
the spool shaft into the large hole and sliding it into the small one.
• Set the spool on the bearing, and press the
á
key to take up
excess slack in the paper.
5. Replace the printer cover.
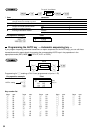
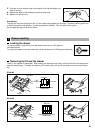
• When using a paper roll as journal paper, you must change
the printer type. Refer to “Programming print format” on
page 30.
• When using 2-ply journal/receipt paper, follow the same
instructions as above, but lead the end of the receipt paper
out through the manual cutter after winding the journal
paper on the take-up spool shaft.
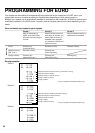
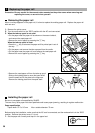
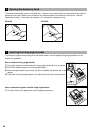
When printing becomes faded, replace the ink ribbon with a new one specified by SHARP.
Removal
To prevent the ink ribbon form drying or becoming dirty, do not remove it from its bag until just
before using.
1. Remove the printer cover.
2. Cut off the paper and press the
á
key to remove it.
3. Detach the ink ribbon cover.
Pull the tab in the direction of arrow to lift the cover.
Replacing the ink ribbon
3