


6
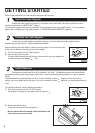
GETTING STARTED
Follow these steps when you use the cash register for the first time.
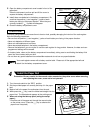
Purchase and install three R6 or LR 6 batteries (“AA” size). The batteries prevent the data and user-
programmed settings from being erased, when the AC cord is accidentally disconnected or in case of a power
failure.
The batteries will last approximately one year. If the low battery symbol “ ” appears on the far left of the
display, you must replace within two days. And if the no battery symbol “ ” appears, you must replace them at
once.
To install the batteries, use the following procedure.
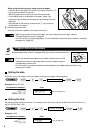
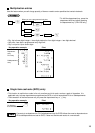
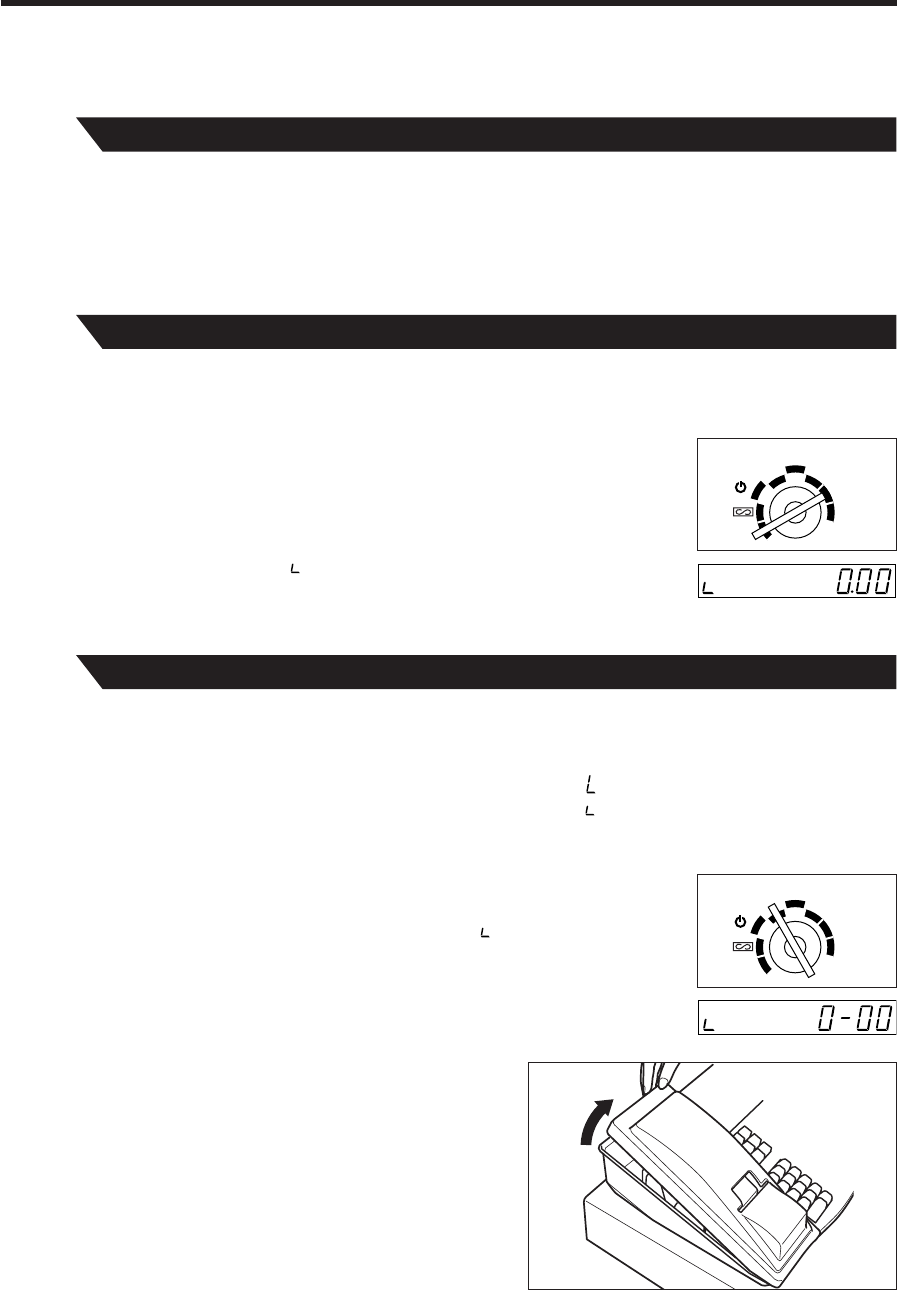
1. Turn the mode switch to the “OP X/Z” position.
The display will change to time display with the symbol “ ”.
2. Remove the printer cover.
Lift up the rear of the printer and detach it.
Be very careful with the manual cutter mounted on the
cover, so as not to cut yourself.
Initialize the Cash Register
In order for your cash register to operate properly, you must initialize the cash register before
programming for the first time. Use the following procedure:
Before initializing the cash register, make sure that the plug is not connected to the
outlet, and the batteries are not mounted in the register.
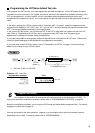
1. Turn the mode switch to the “PGM” position.
2. Insert the plug into the outlet.
The right most decimal point will blink for a few seconds, then the register will
sound three beeps and display “ 0.00” .
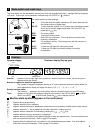
Unpack the cash register and place it in a location near a wall outlet. Be sure to locate it in such a
location as described in “IMPORTANT” (page 1).
To prevent the register from moving the drawer, fix the drawer with the fixing angle bracket. To fix the drawer,
please refer “Installing the fixing angle bracket” of “OPERATOR MAINTENANCE” (page 42).
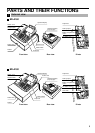
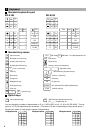
OPX/Z
REG
MGR
PGM
X1/Z1
X2/Z2
REG
OPX/Z MGR
PGM
X1/Z1
X2/Z2
2
Install the Cash Register
1
Install Batteries
3