19” Fast Scan Series User Guide 150-062
-10-
POWER MANAGEMENT FUNCTION
This monitor has a built-in power management system called PowerSaver. This power management
system saves energy by switching your monitor into a low-power mode when it has not been used
for a certain amount of time. The available modes are “On”, “Standby”, “Suspend”, and “Off”.
This power management system operates with a VESA DPMS compliant video card installed in your
computer. You use a software utility installed on your computer to set up this feature.
See the table below for details.
Power-Saving Function Mode
State
Normal
Operation
Standby
Mode
Suspend Mode
Position A1
Power Off Mode Position
A2
Horizontal Sync
Vertical Sync
Video
Active
Active
Active
Inactive
Active
Blanked
Active
Inactive
Blanked
Inactive
Inactive
Blanked
Power
Consumption
130W (max)
110W(nom)
60W (nom)
Less than 15W
Less than 3W
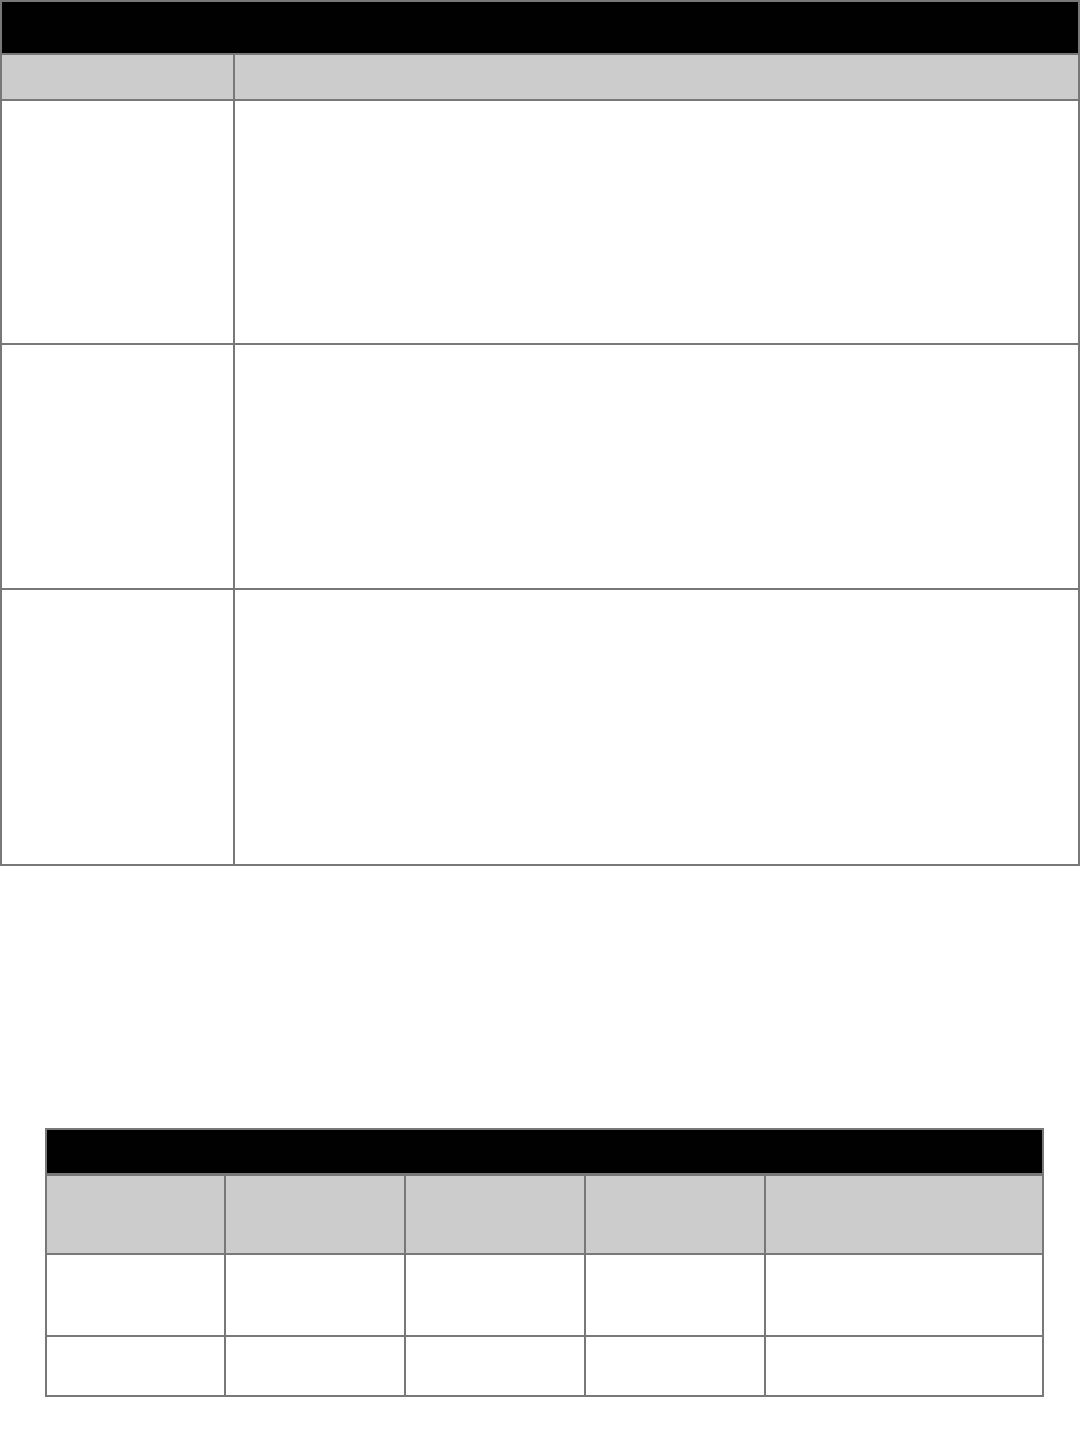
MENU FEATURES CONT.
Feature Function
Video Input Level
Some video cards use video signals higher than 1.0V which causes the
display to be very bright. For those video cards, use this feature to select the
1.0V Level.
1. With the menu off, push the MENU button. Push the Õ or Ö button until the
“Advanced” screen is displayed.
2. Push the
× or Ø button to select Video Input Level.
3. Push the MENU button to open the Video Input Level selection screen.
Use the
Õ or Ö button to select 0.7V or 1.0V.
PinBalance corner
Adjust the Pinbalance corner correction when the sides of the display are
bowed in or bowed out; adjust the side pin balance corner correction when the
top or bottom of the display is too large or small.
1. With the menu off, push the MENU button. Push the
Õ or Ö button until
the “Geometry” screen is displayed.
2. Push the
× or Ø button to select Pinbalance Corner.
3. Push the MENU button to open the Pinbalance Adjustment screen.
Use the Õ, Ö , × or Ø button to adjust the Pinbalance corner corrections.
Sidepin corner
Adjust the Sidepin corner correction when the sides of the display are bowed
in or bowed out; adjust the Sidepin balance corner correction when the top or
bottom of the display is too large or small.
1. With the menu off, push the MENU button. Push the Õ or Ö button until
the “Geometry” screen is displayed.Push the × or Ø button to select Video
Input Level.
2. Push the × or Ø button to select SidePin Corner.
3. Push the MENU button to open the Sidepin Adjustment screen.
Use the Õ, Ö, × or Ø button to adjust the Sidepin corner corrections.


