ENGLISH
ENGLISH
– 9 –
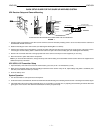
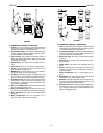
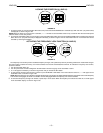
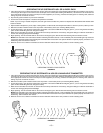
LOCKING THE POWER ON (U1 AND U2
)
FIGURE 18
A
B
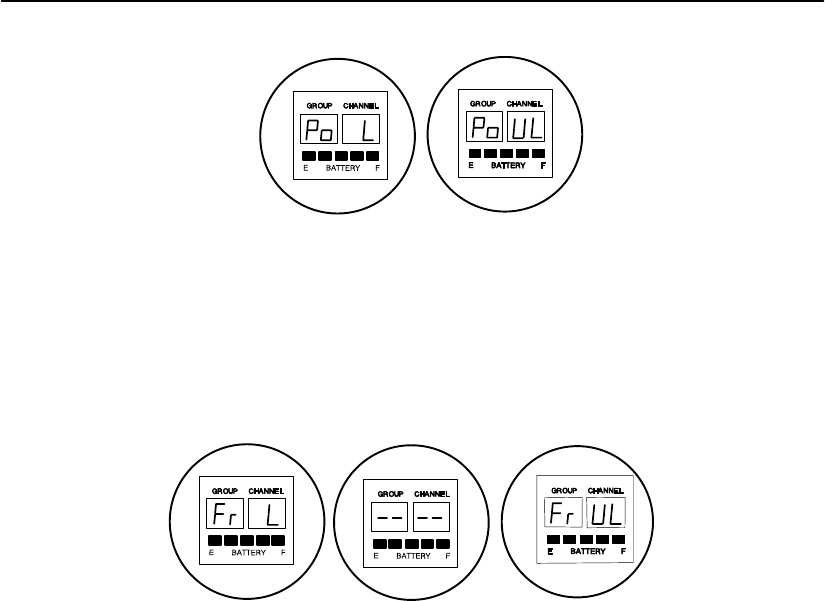
1. To lock the power on, press and hold the SET button, then press and hold the MODE button. Hold both keys down until “PoL” (for power locked)
is displayed, as shown in Figure 18A.
NOTE: When the Power On Lock function is activated, “–– ––” will flash on the transmitter screen every 5 seconds when the transmitter power
ON/OFF switch is in the OFF position.
2. To cancel the Transmitter Power On Lock function, press and hold the SET button, then press and hold the MODE button. Keep both keys pressed
down until “Po UL” (for power unlocked) is displayed momentarily, as shown in Figure 17B. The Transmitter Power On Lock function can also be
canceled by removing the batteries.
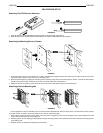
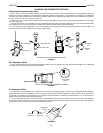
ACTIVATING THE FREQUENCY LOCK FUNCTION (U1 AND U2)
FIGURE 19
A
B
C
The Frequency Lock function prevents accidental frequency changes, and is particularly useful in preventing accidental or unauthorized changes.
The lock function is retained in memory, even if the transmitter is turned off and the batteries removed. To activate the Frequency Lock function,
proceed as follows:
1. Turn the transmitter power off.
2. Turn the power back on while holding down the SET button until the fuel gauge on the transmitter is active.
3. “Fr L” will appear momentarily, as shown in Figure19A, until you release the SET button.
4. To verify that the frequency lock function is turned on, press the MODE or SET button. If the lock function is turned on, “– –” will appear on the
transmitter screen, as shown in Figure 19B.
NOTE: When the Frequency Lock function is engaged, the Power On Lock function can still be activated. However, if the Power Lock and the Frequency
Lock functions are engaged, the Power Lock function must be disengaged before the Frequency Lock can be cancelled.
5. To cancel the Frequency Change Lock function, repeat steps 1 and 2 above. When the frequency lock function is turned off, Fr UL will appear
on the transmitter display, as shown in Figure 19C.


