


22
ht5000
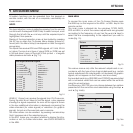
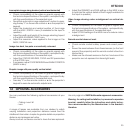
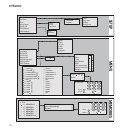
Save memory
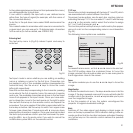
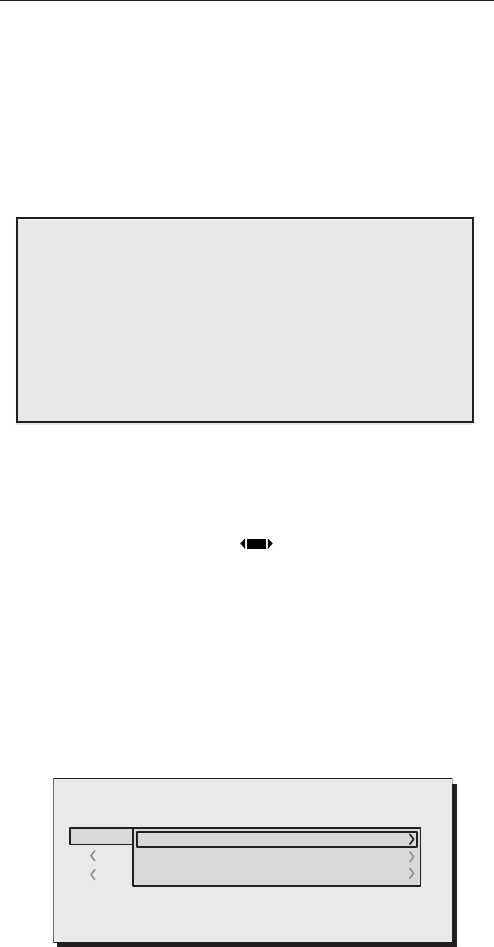
To save the image parameter current values in memory 1,
move the cursor to line ‘1’ with the ▼ and ▲ ‚ keys and open
the pull-down menu by pressing the ◀ key (Fig.26). Now select
Save current settings. To confirm the operation, the message
Current settings saved in Memory.
Memories 2...6 can be saved using the same procedure.
0 Auto
3 S MEMORIA 1
-EMORIES
Save current settings
Save initial settings
Rename
2 I
1 S
Fig.26
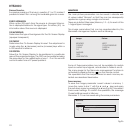
MEMORIES
The main picture parameters can be saved in discrete sets
of values called “
Memories
” so that they can be subsequently
applied as a group using a single command.
There are 6 distinct Memories (Memory 1-2...6) for each of the
14 signal types managed:
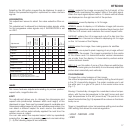
The image parameters that can be saved/recalled by the
Memories management system are the following:
Image Picture
BRIGHTNESS ASPECT
CONTRAST COLOUR TEMPERATURE
COLOUR OVERSCAN
TINT GAMMA
SHARPNESS
FILTER
NOISE REDUCTION
Some of these parameters may not be available for certain
inputs or certain input signals, as indicated in Tables 4 and 5.
The menu page for the Memories management functions is
activated by pressing the key on the remote control.
The operations that can be performed on each memory se-
lected are described here below.
Gamma Correction
Successive pressing of the key in question (F1 or F2) makes it
possible to select from among the available gamma curves.
SOURCE INFORMATION
When active (
YES
) each time the source is changed informa-
tion is displayed relative to the signal type. If inactive, (
NO
) no
information about the source is displayed.
OSD BACKGROUND
Determines the type of background for the On Screen Display
(opaque transparent).
OSD TIMEOUT
Determines the On Screen Display timeout. The adjustment is
made using the ◀ (decrease) and ▶ (increase) keys within a
6-200 second timeframe.
OSD POSITION
Allows the On Screen Display to be positioned in a particular
area of the projected image. The OSD can be positioned using
the arrow keys for fine adjustments or keys 1...9 on the remote
control to select one of 9 preset positions.