


43
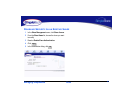
Managing SimpleShare Basic Disk
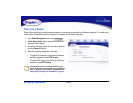
ERASING A DISK POOL
1 Erase all shares from the disk pool you want to delete.
For instructions, see “Deleting a Share” on page 37.
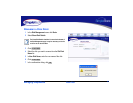
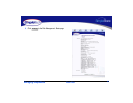
2 In the Disk Management menu, click Basic.
3 Click Erase Disk.
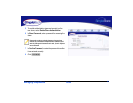
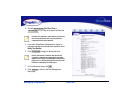
4 In Disks Available on the Wipe Pool page, select the
disk drive you want to wipe (erase).
5 In Confirmation String, enter Yes, destroy everything
on this disk.
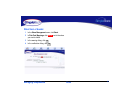
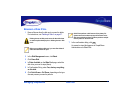
6 Click Quick Erase or Full Erase, depending on the type
of erase process you want to perform.
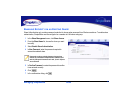
7 In the confirmation dialog, click .
An erased or wiped disk appears in SimpleShare
Administrator as a Blank Disk.
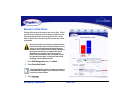
Deleting shares and disk pools erases all data within them
so make complete backups prior to deleting shares or disk
pools.
Before you can delete a disk pool, you must first delete all
shares allocated within the pool.
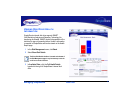
Quick Erase performs a brief erasure of the primary file
system structures but does not erase all locations on the
disk that contained user data. Full Erase performs multiple
erasure passes on the entire disk.
OK