


16 Installing the Interactive Whiteboard 99-00668-00 REV B0
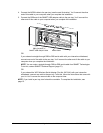
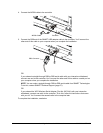
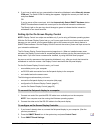
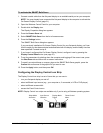
3. Connect the power cable to both the power supply and a power outlet.
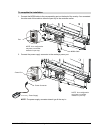
4. Connect the SMART USB adapter cable to a USB port on your computer. You connected the
other end of this cable to either the pen tray or the controller earlier.
OR
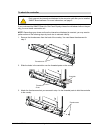
If you ordered a straight-through DB9-to-DB9 serial cable, connect it to an available serial port
on your computer. You connected the other end of this cable to either the pen tray or the
controller earlier. You need to select the computer’s serial port in the SMART Board software
(page 20) after you’ve connected the interactive whiteboard.
NOTE: You can order a straight-through DB9-to-DB9 serial cable from SMART Technologies.
To do this, contact SMART Technical Support (page 27).
OR
If you’re using the WC2 Wireless Serial Adapter (Part No. WC2-NA), connect the second radio
to your computer by following the instructions that came with the kit.
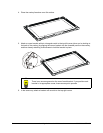
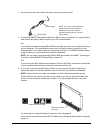
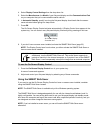
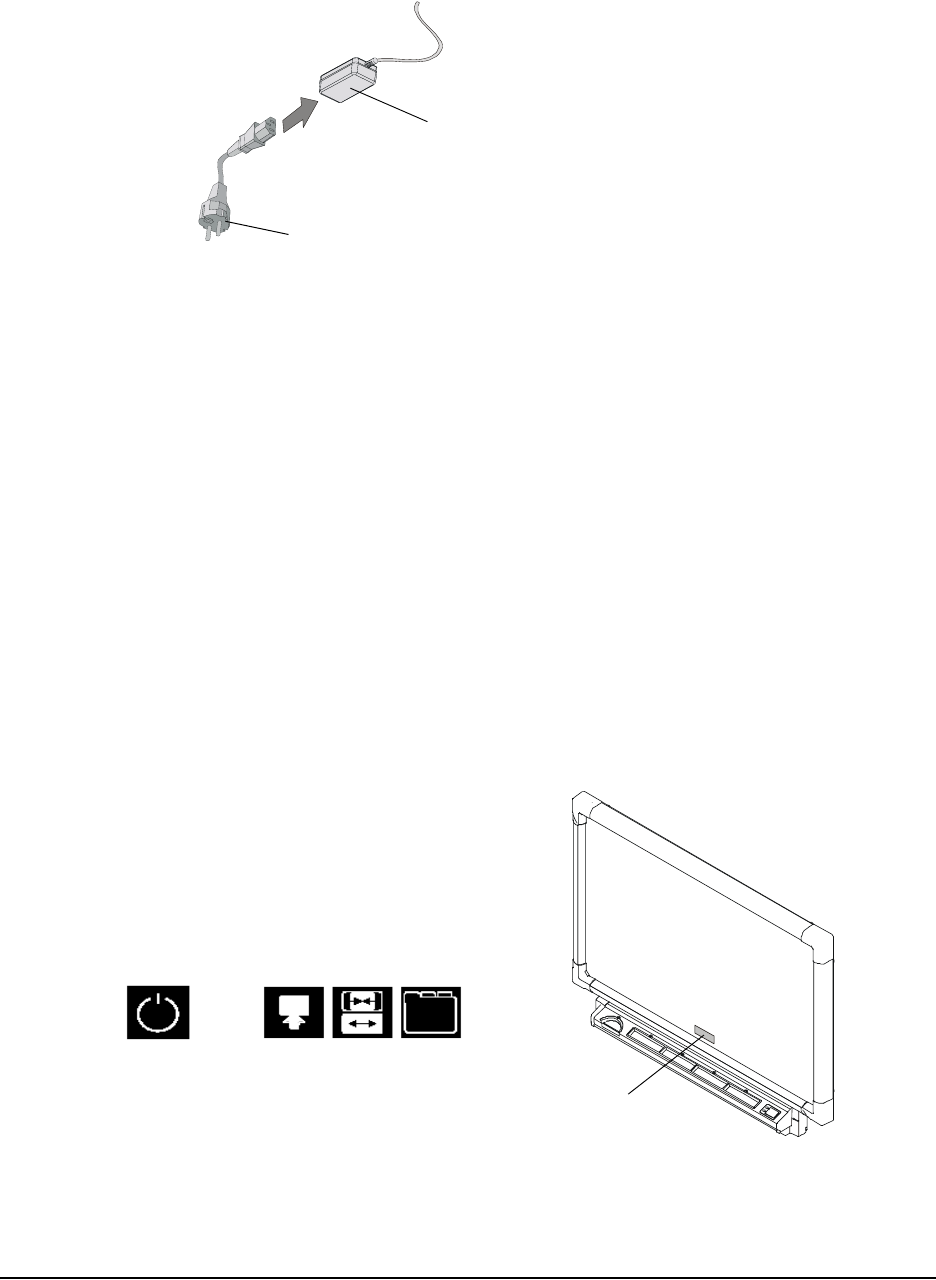
5. If you want to use the optional Display Control icon strip, peel off the back of the strip to
expose the adhesive, and then attach the strip to the front of the interactive whiteboard.
NOTE: Display Control icon strips are available only with a Windows operating system.
Position this strip as close to the bottom of the frame as you can (in the black border), and
center it on the interactive whiteboard, as shown. You can’t position the strip at any other
location.
For information on using the Display Control icon strip, see page 24.
You must also connect the provided RS-232 cable to your flat-panel display and the computer
(page 21).
Power Cable
Power Supply
NOTE: Your power cable might look
different because your interactive
whiteboard comes with a power
cable that works with your country’s
power outlets.
Centered at bottom
of overlay
Display Control Icon Strip