


30 Preparing the Interactive Whiteboard for Use 99-00667-00 B0
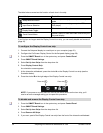
The table below summarizes the function of each icon in the strip.
If you find you no longer need the Display Control icon strip, you can easily disable and remove it
(page 30).
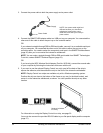
1. Connect the flat-panel display to a serial port on your computer (page 21).
2. Configure the On-Screen Display Control for the flat-panel display (page 28).
3. Press the SMART Board icon in the system tray, and press Control Panel.
4. Press SMART Board Settings.
5. Select Set Up Icon Strips from the drop-down list.
6. Press Display Control Strip.
An orientation screen appears.
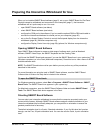
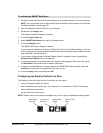
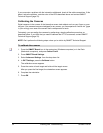
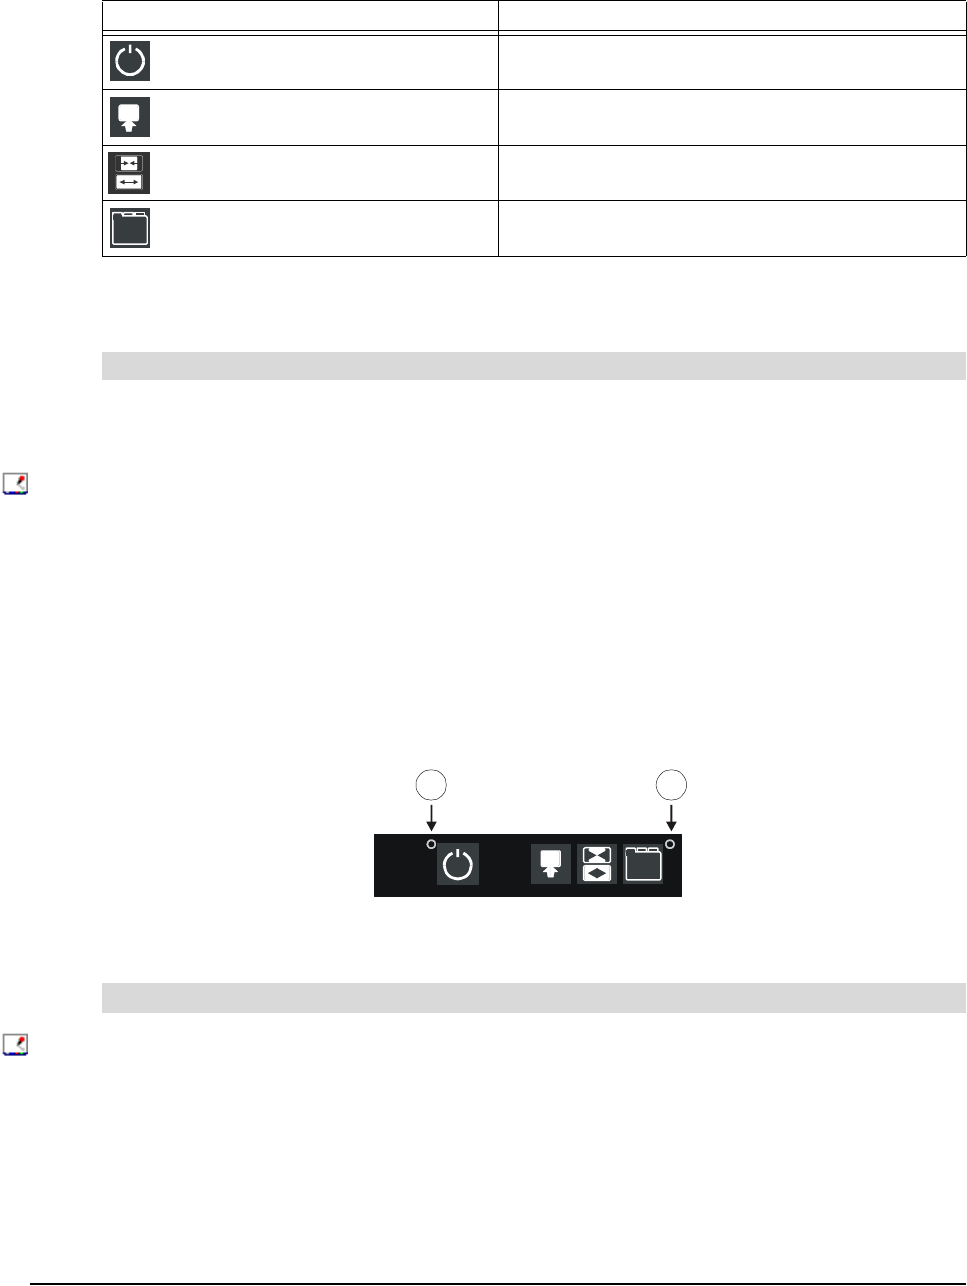
7. At the interactive whiteboard, press the circled A on the Display Control icon strip (see the
illustration below).
8. Press the circled B at the right edge of the Display Control icon strip.
NOTE: If you press on a point that’s too far from the actual letters on the icon strip, you’ll
receive an error message asking you to repeat this procedure.
1. Press the SMART Board icon in the system tray, and press Control Panel.
2. Press SMART Board Settings.
3. Select Set Up Icon Strips from the drop-down list.
4. Press Remove All Strips.
5. If you want, peel off the Display Control icon strip from the front of the interactive whiteboard.
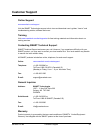
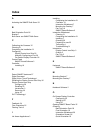
Press this icon... To do this...
Sleep Mode Activation
Put the flat-panel display into sleep or standby
mode
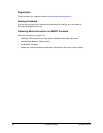
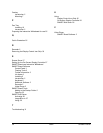
Input Source Selection
Select an input source (e.g., computer, VCR or
DVD player)
Display Mode Toggle
Select a screen width option
Panel Control Menu
Access a menu of audio and video controls for your
flat-panel display
To configure the Display Control icon strip
To disable and remove the Display Control icon strip
BA BA
Press this
A
Press this B