


40 Projecting
Correcting Computer Images
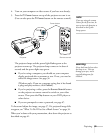
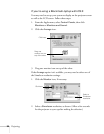
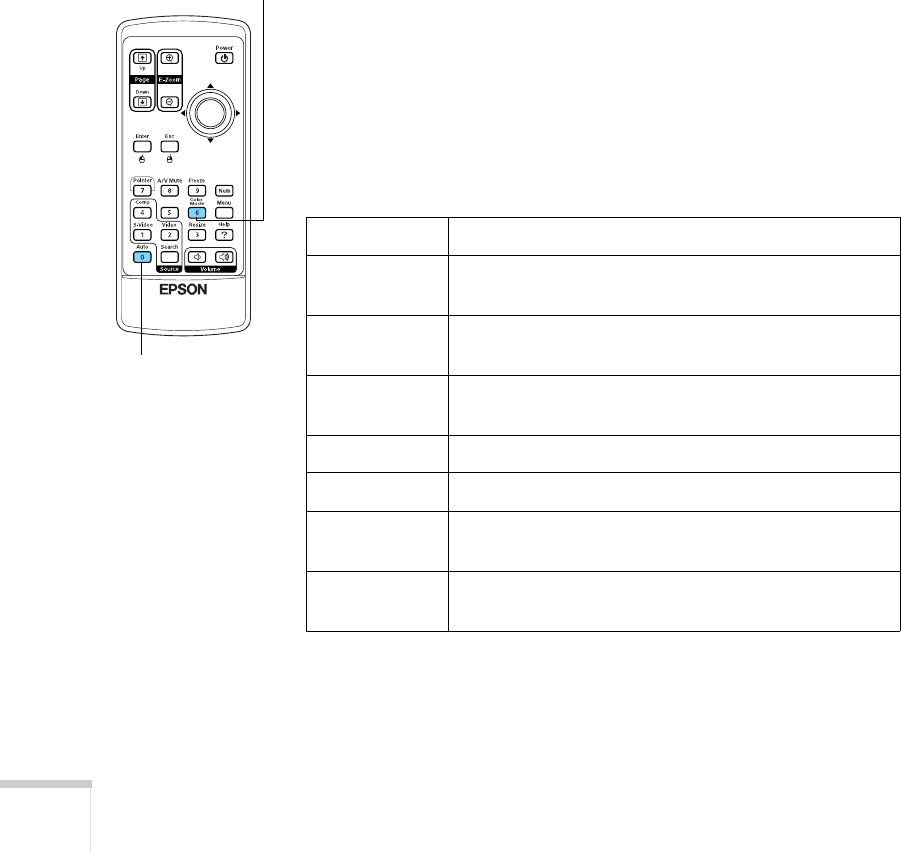
If you’ve connected a computer and the image doesn’t look right, or it
doesn’t fit properly on the screen, press the
Auto button on the
remote control. This automatically resets the projector’s tracking,
sync, resolution, and position settings. You must be projecting a
computer image for this button to have any effect. Additionally, if the
Auto Setup option in the Signal menu is set to OFF, the Auto
function will not work. See page 57.
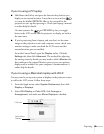
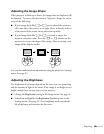
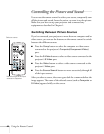
Adjusting the Color Mode
You may want to adjust the color mode to select a different setting
that is appropriate for the image you’re projecting and the
environment in which you’re projecting it.
If you’re projecting computer or RGB video images, the default color
mode is
Presentation, which is appropriate for presentations in
bright rooms.
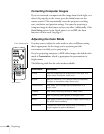
The following table lists the color modes available.
Color mode Description
Photo Best for projecting still images with vivid color in a
bright room (Computer input only).
Sports Best for watching TV in a bright room (component,
S-video, or composite video input only).
Presentation Use when you’re projecting a presentation in a
bright room.
Theatre Use when projecting movies in a dark room.
Game Best for playing video games in a bright room.
sRGB Use when projecting computer images conforming to
the sRGB color standard.
Blackboard Choose this fixed color mode when you need to
project against a green blackboard.
Color Mode button
Auto button