VAIO Computer Reference Manual
42
4
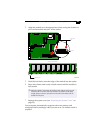
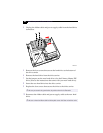
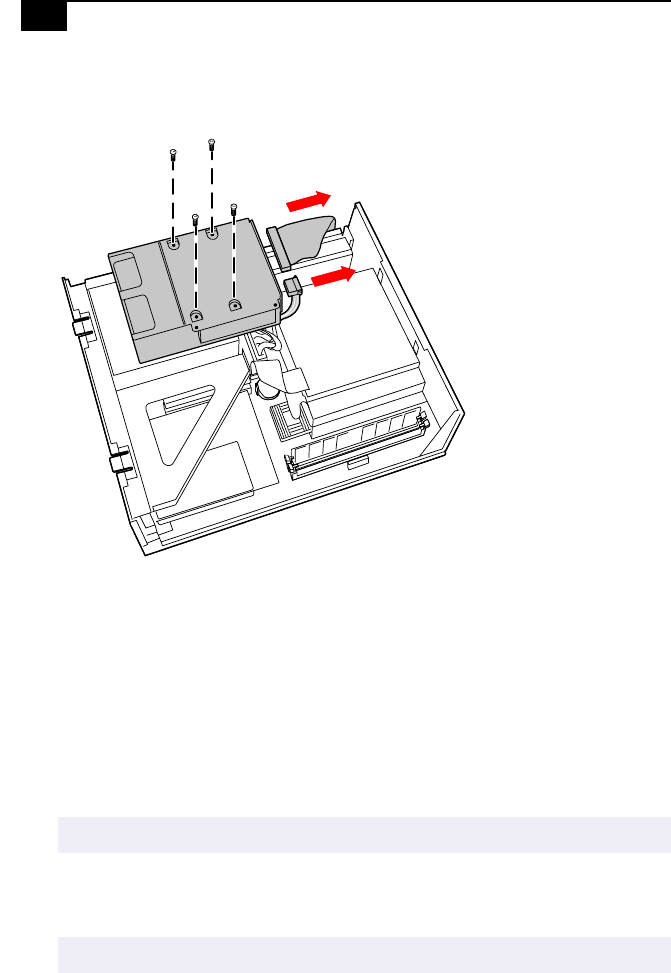
Unplug the ribbon cable and power supply cable from the hard drive
connectors.
5
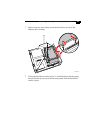
Remove the four screws that secure the hard drive to the bottom of
the drive carrier.
6
Remove the hard drive from the drive carrier.
7
Set the jumpers on the new hard drive to be the Primary Master IDE
drive (refer to the instructions that came with your new hard drive).
8
Insert the new hard drive into the drive carrier.
9
Replace the four screws that secure the drive to the drive carrier.
10
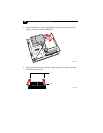
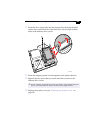
Reconnect the ribbon cable and power supply cable to the new hard
drive.
✍
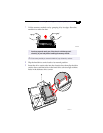
Be sure you reattach the ground tab at the position shown in the illustration.
✍
Be sure to insert the ribbon cable inside the plastic stress-relief slots on the drive carrier.
MAN004.VSD


