


12 (GB)
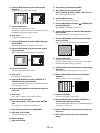
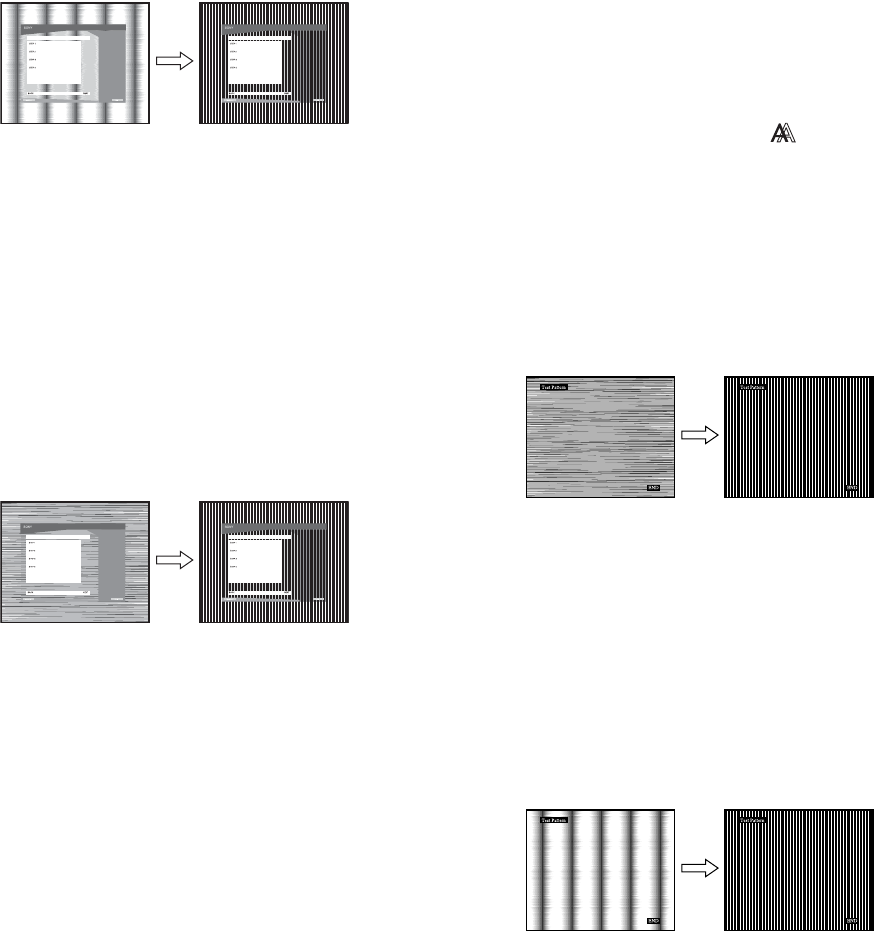
8 Press the m/M buttons until the vertical stripes
disappear.
Adjust so that the vertical stripes disappear.
9 Press the OK button.
The main menu appears on the screen.
If horizontal stripes are observed over the entire screen, adjust
the PHASE using the following procedures.
10 Click "Next".
Test pattern for PHASE appears.
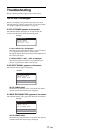
11 Press the m/M buttons to select PHASE and press
the OK button.
The PHASE adjustment menu appears on the screen.
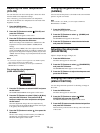
12 Press the m/M buttons until the horizontal stripes
are at a minimum.
Adjust so that the horizontal stripes are at a minimum.
13 Press the OK button.
The main menu appears on the screen.
14 Click "Next".
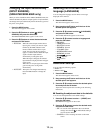
Test pattern for CENTER appears.
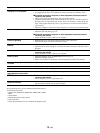
15 Press the m/M buttons to select H CENTER or V
CENTER and press the OK button.
The H CENTER adjustment menu or V CENTER adjustment
menu appears on the screen.
16 Press the m/M buttons to center the test pattern on
the screen.
17 Click "Next".
Click "End" or "EXIT" to turn off the test pattern.
When Auto run fails to operate:
1 Open “My Computer” and right click the CD-ROM
icon.
Go to “Explorer” and open the CD-ROM icon.
2 Open [Utility] and then select [WINDOWS].
3 Start [WIN_UTILITY.EXE].
Test pattern appears. Go to step 4.
For Macintosh User
1 Open the CD-ROM.
2 Open [Utility] and then select [MAC].
3 Open [MAC UTILITY] and then start
[MAC_CLASSIC_UTILITY] or [MAC_OSX_UTILITY].
Test pattern appears. Go to step 4.
4 Press the MENU button.
The main menu appears on the screen.
5 Press the m/M buttons to select (SCREEN) and
press the OK button.
The SCREEN menu appears on the screen.
6 Press the m/M buttons to select PHASE and press
the OK button.
The PHASE adjustment menu appears on the screen.
7 Press the m/M buttons until the horizontal stripes
are at a minimum.
Adjust so that the horizontal stripes are at a minimum.
8 Press the OK button.
The main menu appears on the screen.
If vertical stripes are observed over the entire screen, adjust
the PITCH using the following procedures.
9Press the m/M buttons to select PITCH and press the
OK button.
The PITCH adjustment menu appears on the screen.
10 Press the m/M buttons until the vertical stripes
disappear.
Adjust so that the vertical stripes disappear.
11 Press the OK button.
The main menu appears on the screen.
12 Press the m/M buttons to select H CENTER or V
CENTER and press the OK button.
The H CENTER adjustment menu or V CENTER adjustment
menu appears on the screen.
13 Press the m/M buttons to center the test pattern on
the screen.
14 Click “END” on the screen to turn off the test
pattern.