


Connections and
Preparations
13
GB
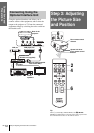
Step 3: Adjusting the Picture Size and Position
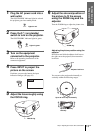
1
Plug the AC power cord into a
wall outlet.
The ON/STANDBY indicator lights in red and
the projector goes into standby mode.
2
Press the [/1 (on/standby)
switch to turn on the projector.
The ON/STANDBY indicator lights in green.
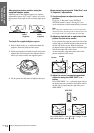
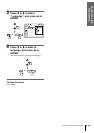
3
Turn on the equipment
connected to the projector.
Refer to the operating instructions of the
connected equipment.
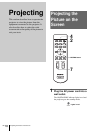
4
Press INPUT to project the
picture on the screen.
Each time you press the button, the input
indication changes. (1 page 19)
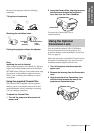
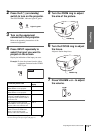
5
Adjust the focus roughly using
the FOCUS ring.
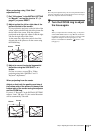
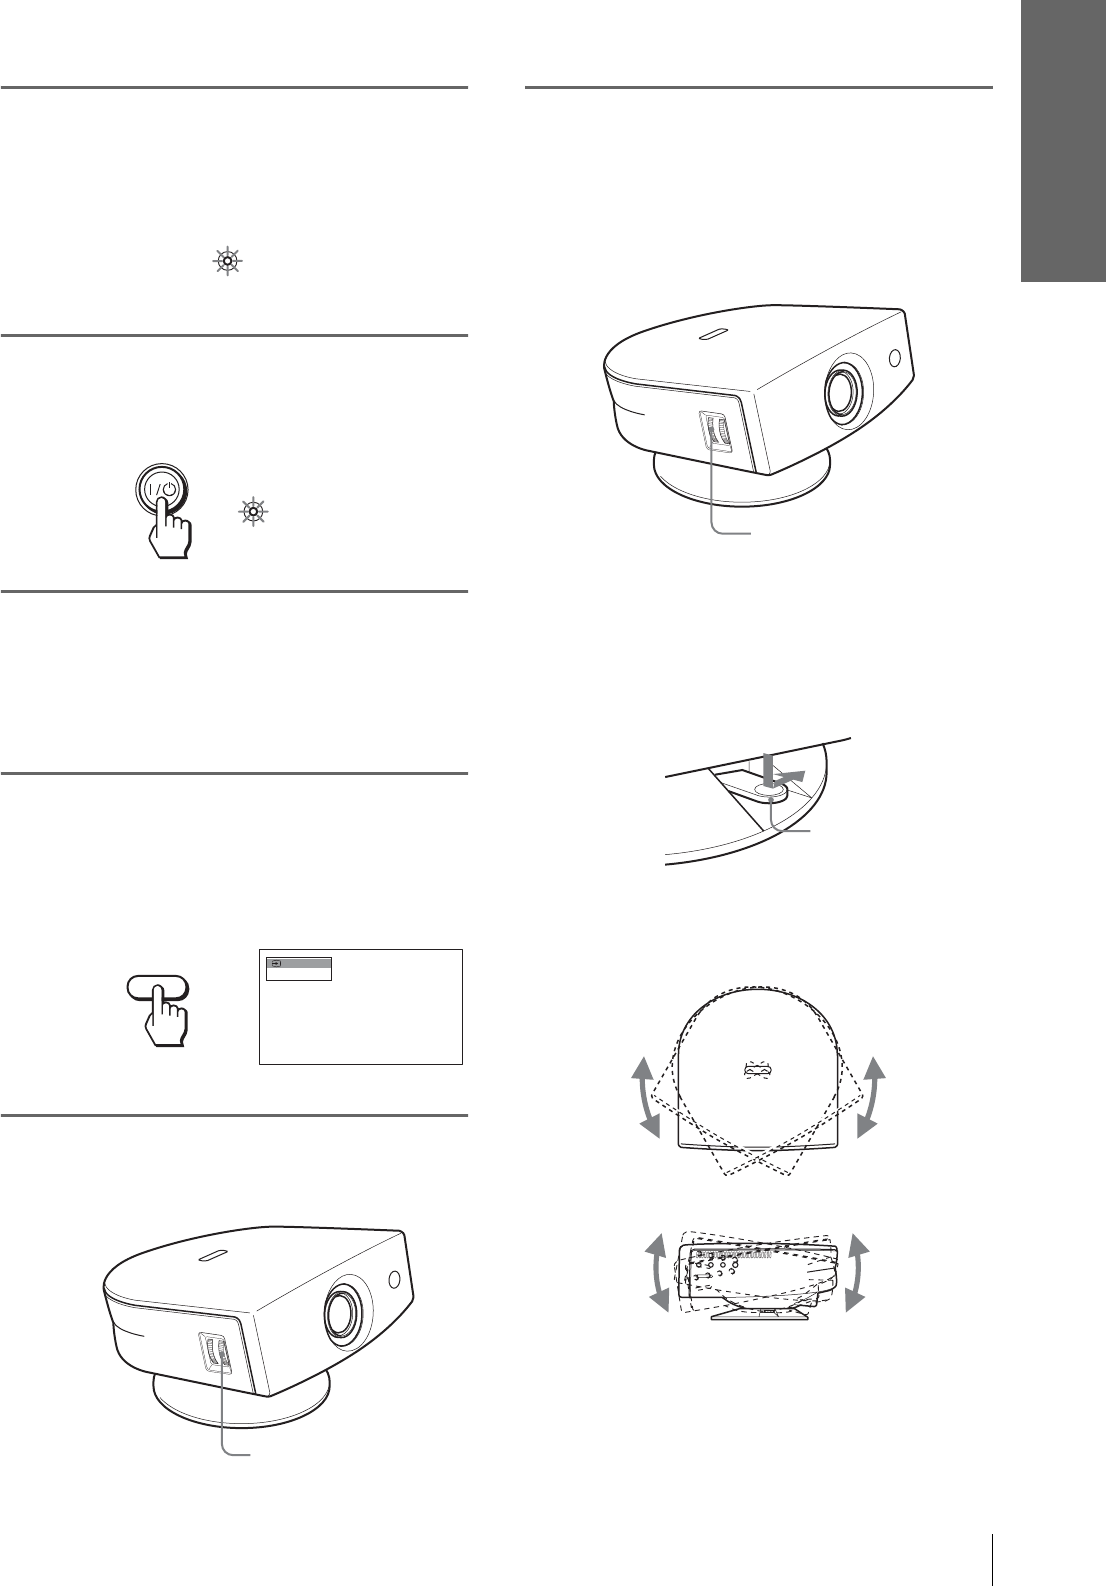
6
Adjust the size and position of
the picture to fit the screen
using the ZOOM ring and the
adjuster.
Turn the ZOOM ring to adjust the picture size.
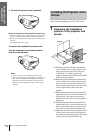
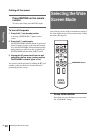
Adjusting the picture position using the
adjuster
Hold down and slide the adjuster lock lever to
the right, move the projector, then return the
lock lever.
You can move the projector horizontally or
vertically within the following ranges:
ON/
STANDBY
Lights in red.
ON/
STANDBY
Lights in green.
NTSC 3.58
Video 1
INPUT
FOCUS ring
ZOOM ring
Adjuster lock lever
Up to 30º each way horizontally
Up to 10º each way
vertically