


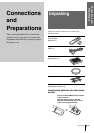
Connections and
Preparations
7
GB
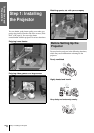
Step 1: Installing the Projector
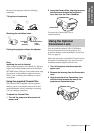
Do not use the projector under the following
conditions:
Tilting the unit extremely
Blocking the ventilation holes
Placing the projector without the adjuster
Note
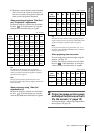
Installing the unit at altitudes
When using the projector at an altitude of 1,500 m or
higher, turn on high altitude mode in the INSTALL
SETTING menu. Failing to set this mode when using
the projector at high altitudes could have adverse
effects, such as reducing the reliability of certain
components.
Using the supplied Cinema Filter
The Cinema Filter is supplied with the projector,
allowing you to receive higher contrast color and
emphasized black color by attaching or removing.
Use it according to preference.
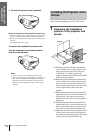
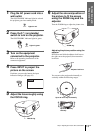
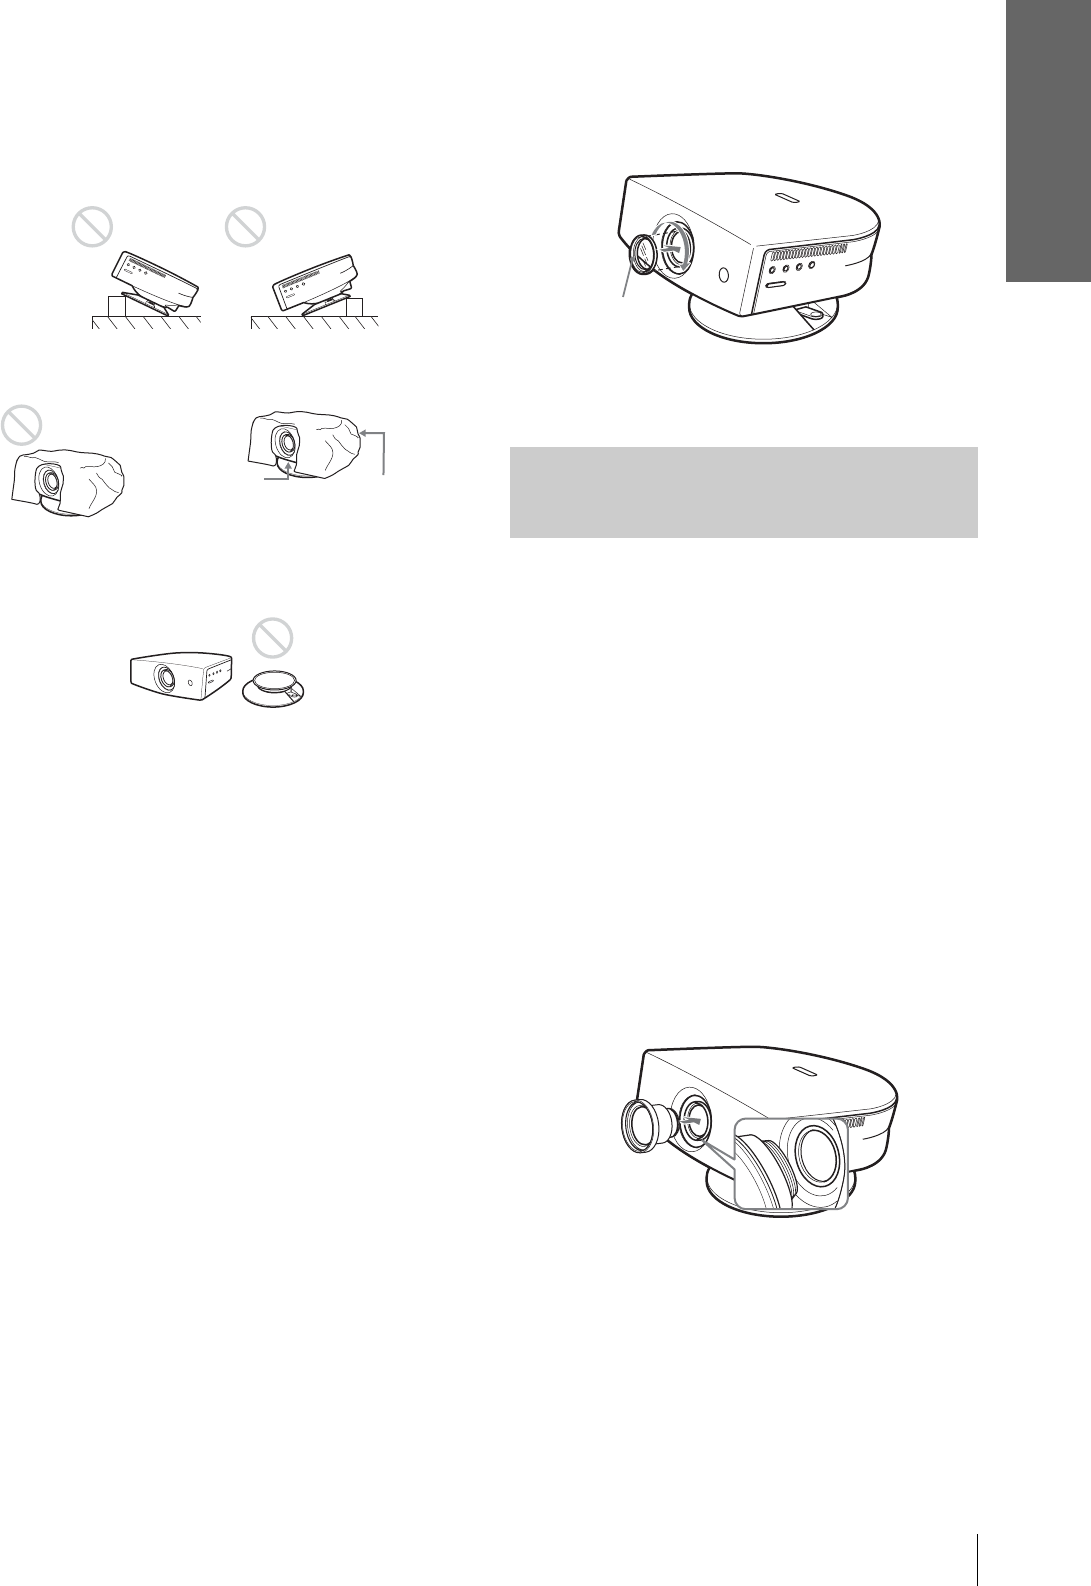
To attach the Cinema Filter
1 Turn off the power and disconnect the
power cord.
2 Insert the Cinema Filter, aligning its screw
with the thread around the projector’s
lens, then turn the Filter clockwise.
To remove the Cinema Filter, turn it
counterclockwise.
Using the Optional
Conversion Lens
You can install the optional VPLL-CW20 Short
Focused Conversion Lens on the projector. For
projection distances when installing the Conversion
Lens, see page 36.
Follow the steps below to install the Conversion Lens.
For details on installing the Lens, refer also to the
installation manual supplied with the Lens.
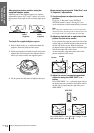
1 Turn off the power and disconnect the
power cord.
2 Remove the lens cap from the Conversion
Lens.
3 Align the screw of the Conversion Lens
with the thread around the lens of the
projector as illustrated below.
Ventilation
holes
(exhaust)
Ventilation
holes
(intake)
Cinema Filter