


Miscellaneous
If the Paper Jams
19
If you cannot remove the jammed paper even if you
perform the operation in step 2, remove the jammed
paper according to instructions described in the
following “If you can not remove the jammed paper
yet”.
3
Load the paper into the paper tray correctly.
Notes
• Do not reuse the jammed paper. Discard that
paper.
• Use only paper recommended in this manual.
4
Re-insert the removed paper tray.
If you can not remove the jammed paper yet
• Turn the printer power off and remove the power cable
from the printer. However, any images stored in
memory will be lost when you turn the printer off.
After finishing the following operations and turning
the printer on again, recapture the image into memory.
• When you turn the printer over, remove any
connecting cables. If cables are broken or bent, this
may cause fire or electrical shock.
• When you remove the jammed paper, be careful not to
injure your fingers when touching the parts inside the
printer.
1
Be sure to set the power switch of the printer to off
and remove the power cable and other connecting
cables.
2
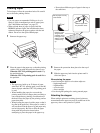
Remove the paper tray from the printer.
3
Turn the printer over.
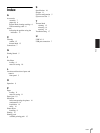
4
Remove the two screws with which the back cover
plate is secured, using a coin.
5
Pull the back cover plate up and remove it from the
printer.
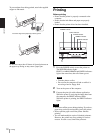
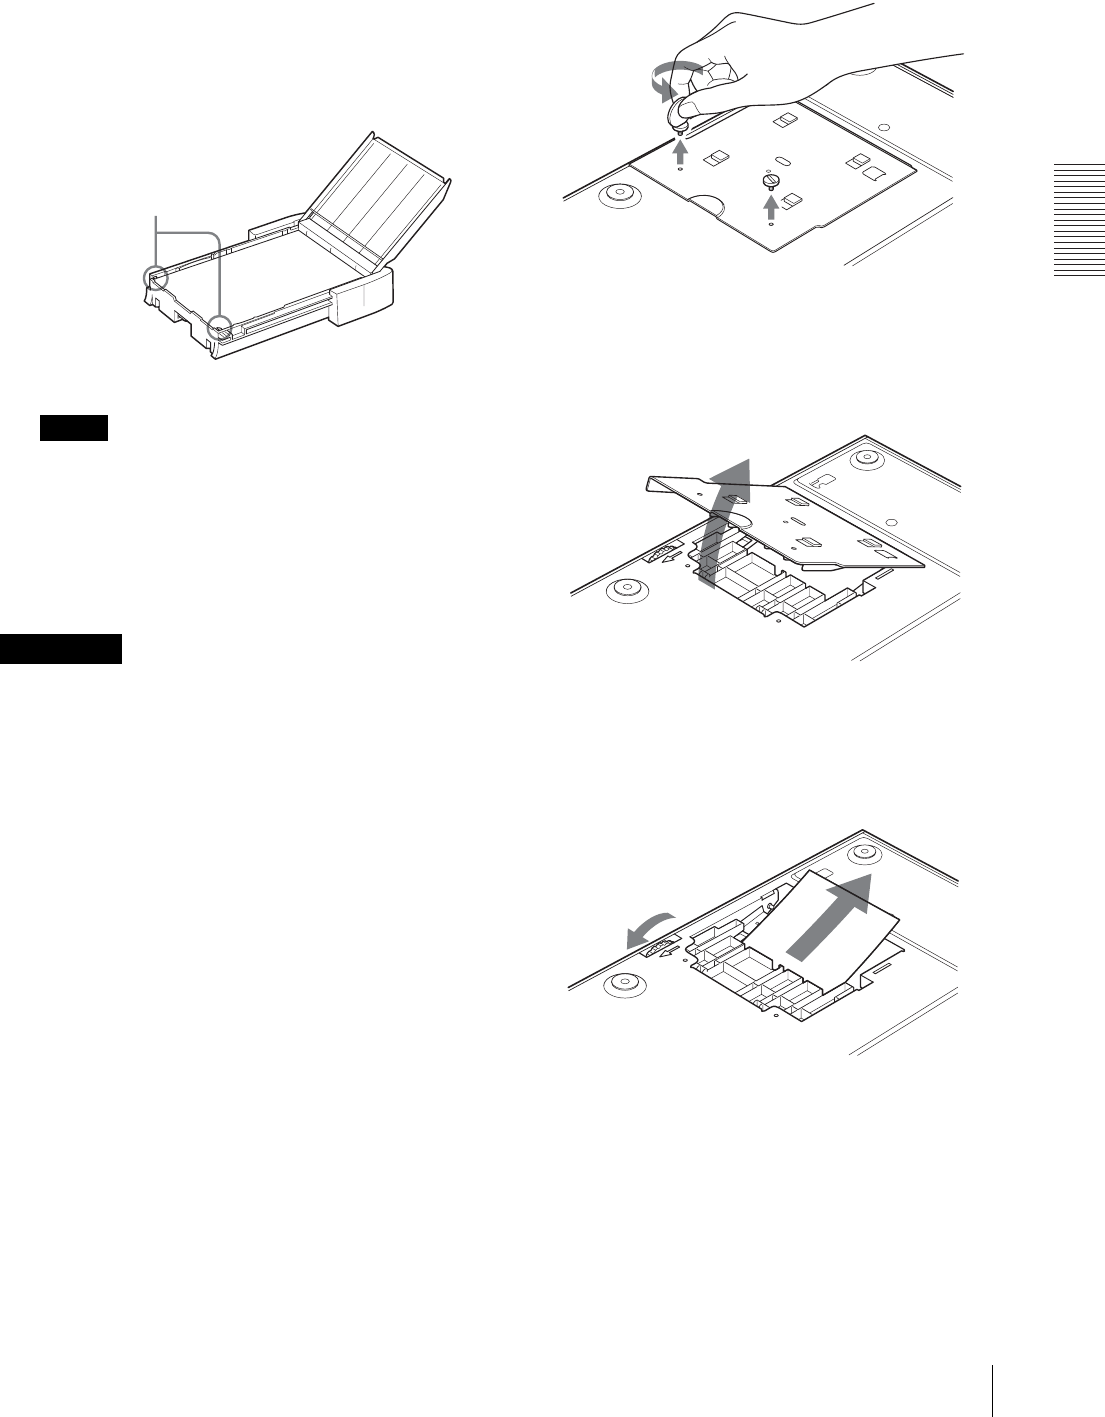
6
Remove the jammed paper slowly, turning the gear
slowly in the direction of the arrow.
If you still cannot remove the paper
Do not try to remove it forcibly. Contact your
nearest Sony dealer.
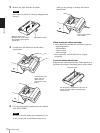
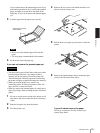
Precautions
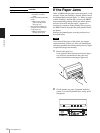
Set the paper securely
under the tabs.