


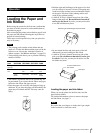
Operation
Loading the Paper and Ink Ribbon
9
Operation
Loading the Paper and
Ink Ribbon
Before using the printer for the first time, confirm that
you have all of the accessories, and assemble them as
described on page 6.
After connecting the printer as described on page 8, load
the paper and ink ribbon following the steps below to
prepare for actual printing.
These steps are not required every time you print, but
only as necessary.
Notes
• The printing pack contains an ink ribbon and one
paper roll. Use the ink ribbon and the paper roll in the
carton as a set. Do not mix with other varieties of
ribbon or paper. (“Ink Ribbon and Paper” on page 23.)
• Each printing pack allows you to print the following
number of sheets.
• The number of printouts that can be printed may not
be guaranteed if you replace the ink ribbon and paper
before the ink ribbon and paper run out.
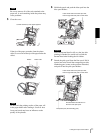
• Place the paper roll vertically with flanges facing up
and down. If you place the paper roll horizontally, the
paper may roll around and fall. This may cause an
injury.
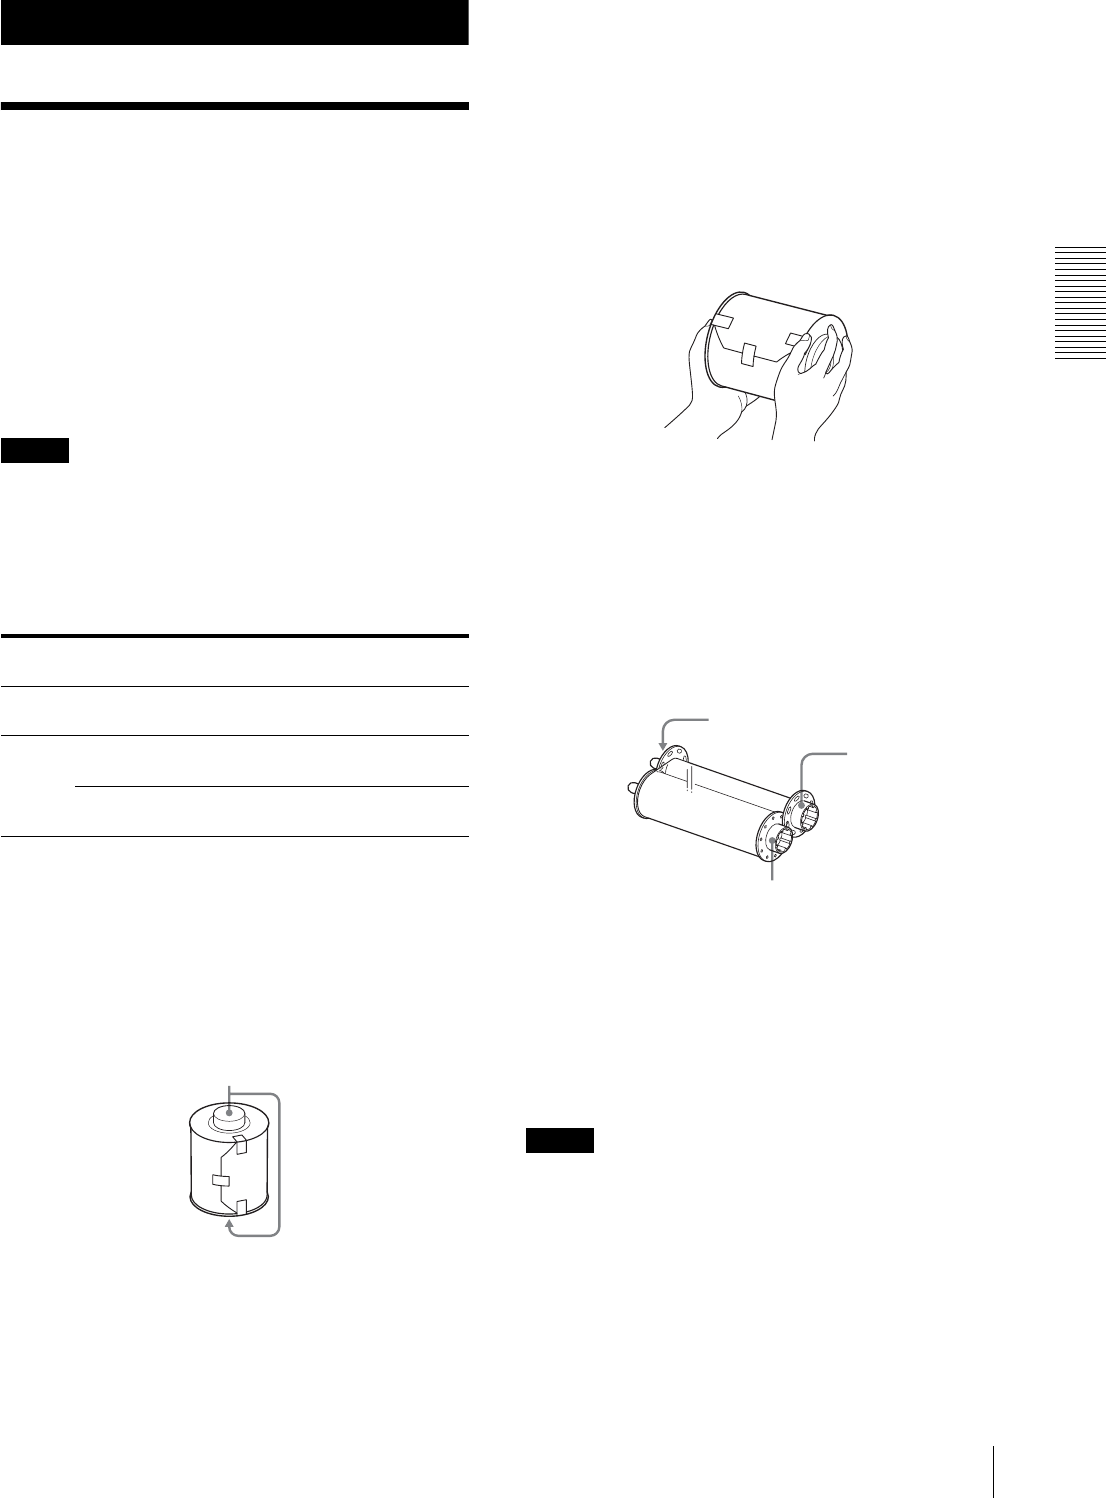
• Hold the right and left flanges of the paper roll so that
you do not drop it, because it is heavy. Dropping may
result in an injury and may cause accumulation of dust
on the paper. Any dust on the printing surface will
result in poor printout quality.
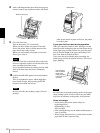
• A built-in IC chip is located around one side of the
flange of the paper roll. Be careful not to hurt the IC
seal or give it a shock. If you do, you may not be able
to use the ink ribbon any more.
• Do not detach the blue and pink spools of the ink
ribbon until you start loading the ink ribbon
• A built-in IC chip is located around one side of the
pink spool. Be careful not to hurt the IC seal or give
it a shock. If you do, you may not be able to use the
ink ribbon any more.
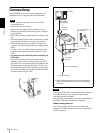
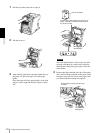
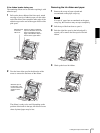
Loading the paper and ink ribbon
When you use the printer for the first time, load the
paper and ink ribbon.
For detailed information on how to remove the paper
and ink ribbon, see page 13.
Note
Be careful that your fingers or clothes don’t get caught
in the front door or front door catch.
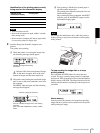
Print
pack
UPC-R35/
UPC-R35A
UPC-R46/
UPC-R46A
UPC-R57/
UPC-R57A
UPC-
R68A
Printing
capacity
400 350 205 185
Print
size
89
×127 mm 102×152
mm
127×178
mm
152×204
mm
3.5
×5
inches
4×6 inches 5×7 inches 6×8
inches
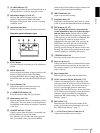
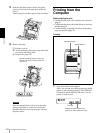
Flanges
Hold the right and left flanges with both hands.
Pink spool
Blue spool
IC seal in which the IC
chip is built