


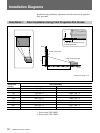

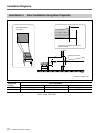
Projecting 15
Adjusting the Picture
Three adjustment level patterns for the video and
component input pictures and one pattern for the RGB
input picture, respectively, are stored in the projector’s
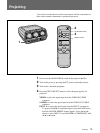
memory. You can recall them by pressing the M SEL
button.
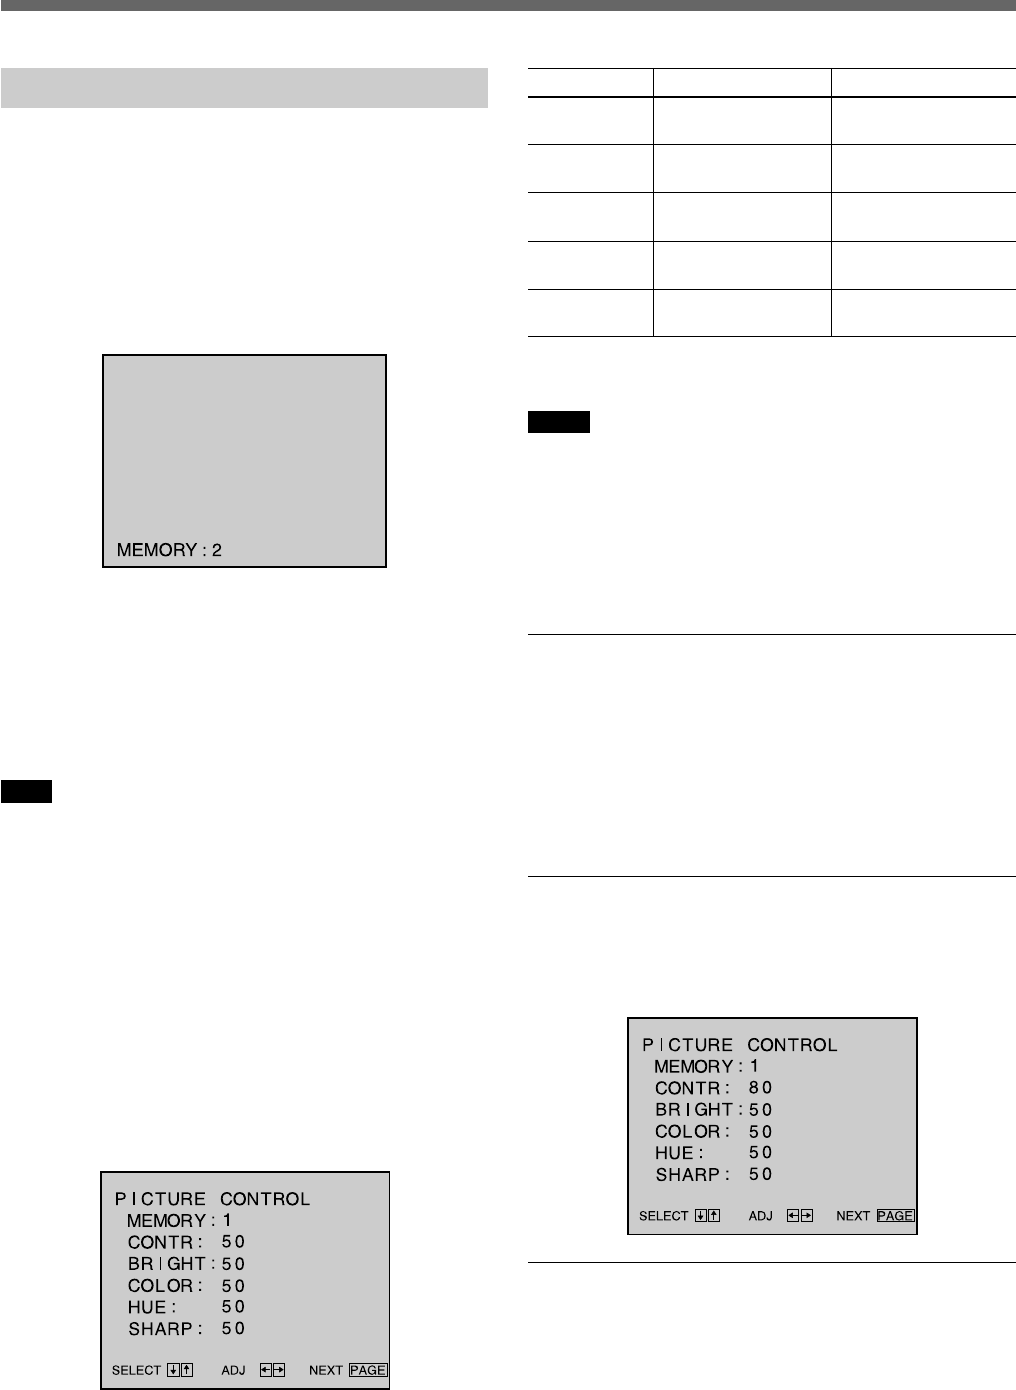
1 Press the M SEL button to select the memory
position 1, 2 or 3.
The current memory position is displayed.
Each time you press the button, the memory
position changes as follows: MEMORY 1 n
MEMORY 2 n MEMORY 3 n MEMORY STD
(standard).
In the MEMORY STD position, the adjustment
levels are preset to the standard levels set at the
factory, and you can not change them.
Note
When the input signal is RGB, the memory position
changes as follows: MEMORY 1 n MEMORY
STD.
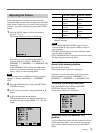
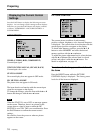
2 Press the PAGE button to display the PICTURE
CONTROL display.
3 Select a item you want to change with the V or v
button.
4 Adjust the item with B or b button.
The adjustment levels are digitally displayed on
the screen having a range of MIN, 1, 2,..., 98, 99,
MAX.
The adjustment levels are stored in the selected
memory position.
Notes
• The COLOR, SHARP and HUE controls do not
function when the input signal is RGB or when no
signal is input.
• The HUE control does not function when the input
signal is PAL or SECAM.
• The COLOR and HUE controls do not function when
the input signal is black and white.
To recall the picture adjustment levels
stored in the memory position
Press the M SEL button.
The current memory position is displayed.
Each time you press the button, you can select the
following memory positions : MEMORY 1 n
MEMORY 2 n MEMORY 3 n MEMORY STD
To restore the factory preset level
Press the RESET button while the PICTURE
CONTROL display is displayed.
The factory preset level is displayed.
When you select the MEMORY STD
position
You can obtain the picture with the standard levels for
all the adjustment items. The standard levels are the
same as those obtained when you press the RESET
button.
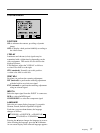
CONTR
HUE
COLOR
BRIGHT
SHARP
Press the b button
to increase picture
contrast
to make skin tones
greenish
to increase color
intensity
to make the picture
brighter
to make the picture
sharper
Press the B button
to decrease picture
contrast
to make skin tones
purplish
to decrease color
intensity
to make the picture
darker
to make the picture
softer