


43
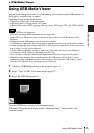
Playing Video and Audio using USB Connection
Playing Video and Audio using USB Connection
B Playing Video and Audio using USB Connection
Playing Video and Audio using USB
Connection
You can also play video and audio simply by connecting the projector and computer with a
USB A-B cable (not supplied).
Playing video and audio using USB connection requires to start USB Display.
System requirements for using the application are as follows.
OS
Windows XP: Home/Professional (recommended)
Windows Vista: Home Premium/Business/Ultimate/Enterprise
Windows 7: Home Premium/Professional (Recommended)/Ultimate/Enterprise
Windows 8
Mac OS X: 10.6.x/10.7.x/10.8.x
CPU
Pentium4 2.8GHz or faster
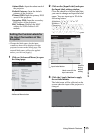
1 Connecting the projector and your computer with a USB A-B cable (not supplied)
(page 9).
2 Turn on the projector.
Select “Type B USB” as the input source (page 12). After a short time, the projector is
recognized as a CD-ROM drive in the computer.
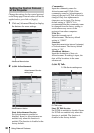
3 Open “USB Display” in the CD-ROM drive.
• The resolution of your computer changes when the application is started.
• Depending of the computer’s setting, the application may start automatically.
• When you are finished using the projector, you can simply disconnect the USB cable without using
the Safely Remove Hardware option.
• Movie player (Media Player, etc.) images may not be projected properly.
• If your OS is Windows Vista, Windows 7 or Windows 8, turning off the Windows Aero is
recommended.
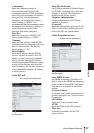
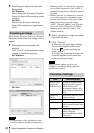
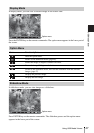
After starting USB Display, the controller
appears on the screen, and projection
playback starts automatically.
For Windows:
Starting USB Display
Notes
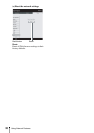
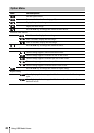
Playing Video and Audio Using the Controller
USB Display