


Chapter 2 Installing the Adapter 9
▼ To Verify the Hardware Installation
After you have installed the Sun 10-Gigabit Ethernet adapter, but before you boot
your system, perform the following tasks to verify the installation. Refer to the your
Solaris documentation for the detailed instructions.
Note – Verification is not required if your system supports dynamic reconfiguration
(DR). Verification is not supported if your system is running Solaris x86 software.
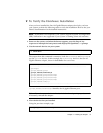
1. Power on the system, and when the banner appears, press the Stop-A key
sequence to interrupt the boot process and display the OpenBoot (ok) prompt.
2. List the network devices on your system.
The output from this command is extensive. Look for ethernet@ and
network@ to
see the network devices. In this example, the ethernet@1 device is the Sun 10-
Gigabit Ethernet adapter, shown in bold italics for ease of use.
/pci@9,600000/ethernet@1 identifies the 10-gigabit Ethernet port.
Note – If you do not see the device listed, check that the adapter is properly seated.
If necessary, reinstall the adapter.
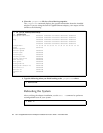
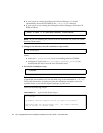
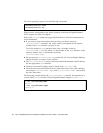
3. View the device that you installed.
Using the previous example, type:
ok show-devs
ok show-devs
.............................................................
/packages
/pci@9,600000/pci@2
/pci@9,600000/ethernet@1
/pci@9,600000/pci@2/network@3
/pci@9,600000/pci@2/network@2
/pci@9,600000/pci@2/network@1
/pci@9,600000/pci@2/network@0
/pci@9,700000/usb@1,3
................................................................
cd /pci@9,600000/ethernet@1