


3-6
AOC-LPZCR1/AOC-SOZCR1 Manual
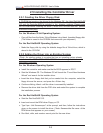
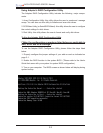
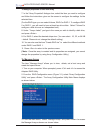
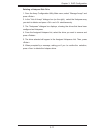
3. From the main menu, select "Manage Arrays" and press <Enter> to access
the Manage Arrays submenu as shown below:
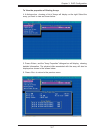
To assign properties to the new array
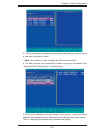
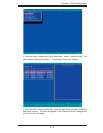
7. In the "Array Properties" dialogue box, select the item you want to confi gure
and follow the instructions given on the screen to confi gure the settings for the
selected item.
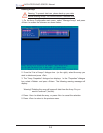
(For the RAID type--you can select Volume, RAID 0 or RAID 1. To confi gure RAID
0 or RAID 1, you will need to have at least two drive disks. Select "Volume" to
confi gure a disk drive as an independent unit.)
8. Under "Arrays Label," you type in the name you wish to identify a disk drive,
and press <Enter>.
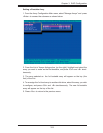
9. For RAID 0, select the desired stripe size. (You can select: 16, 32, or 64 KB
- default. Please do not change the default setting.)
10. You can also use the item "Create RAID via" to select the different methods
under RAID 0 and RAID 1.
11. Press <Esc> to return to the previous menu.
(*Note: Once the array is created and its properties are assigned, you cannot
change the properties by using Array Confi guration Utility.)
To Manage Arrays
The item "Manage Arrays" allows you to view, delete, set a boot array and
create hot spare drives.
1. Turn on your computer. When prompted, press <Ctrl> and <A> to access the
Adaptec RAID Utility.
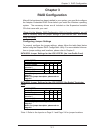
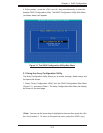
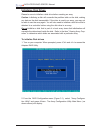
2. From the RAID Confi guration menu (Figure 3.1), select "Array Confi guration
Utility" and press <Enter>. The Array Confi guration Utility Main Menu displays
as shown below: