Symantec Backup Exec
TM
11d for Windows Servers Quick Installation Guide
Before starting Backup Exec
15
English
For information on how to migrate templates from Backup Exec version 9.0 and 9.1, see
the topic titled "Migrating Templates from Previous Versions of Backup Exec" in the
Symantec Backup Exec for Windows Servers Administrator’s Guide.
Before you upgrade Backup Exec, do the following:
■ Delete job histories and catalogs that you no longer need to shorten the upgrade
window.
■ Run a database maintenance job.
To upgrade from Backup Exec version 8.0 or later
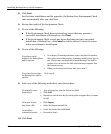
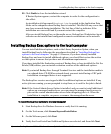
1. Perform steps 1 through 7 in the topic “Installing Backup Exec to a local computer”
on page 9.
2. Enter license keys for Backup Exec, and for each Backup Exec option that you want
to install, and then click Next.
Read the Installation Review. To add additional license keys, click Back until the
Symantec Backup Exec license keys page appears. Enter the license keys, and then
click Next to continue.
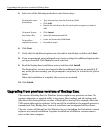
3. On the Back Up Existing Catalog and Data page, enter or browse to a directory to
which you want to back up all existing catalogs and data. The default location is:
C:\Program Files\Symantec\Backup Exec\Data
If you do not want to keep previous catalogs and data, click Do not back up previous
data and catalogs.
4. Click Next to continue.
Before starting Backup Exec
For best results before starting Backup Exec, do the following:
❏ Make sure your storage devices are connected and configured properly.
❏ Decide if your backup will be to a tape device or a disk device. You can configure
both devices when you prepare your Backup Exec environment.
■ If you’re backing up to a tape device, verify that the device is supported. You can
install drivers for the devices when you configure your Backup Exec
environment.


