2.BASIC OPERATION
Scan to File 19
2 BASIC OPERATION
3
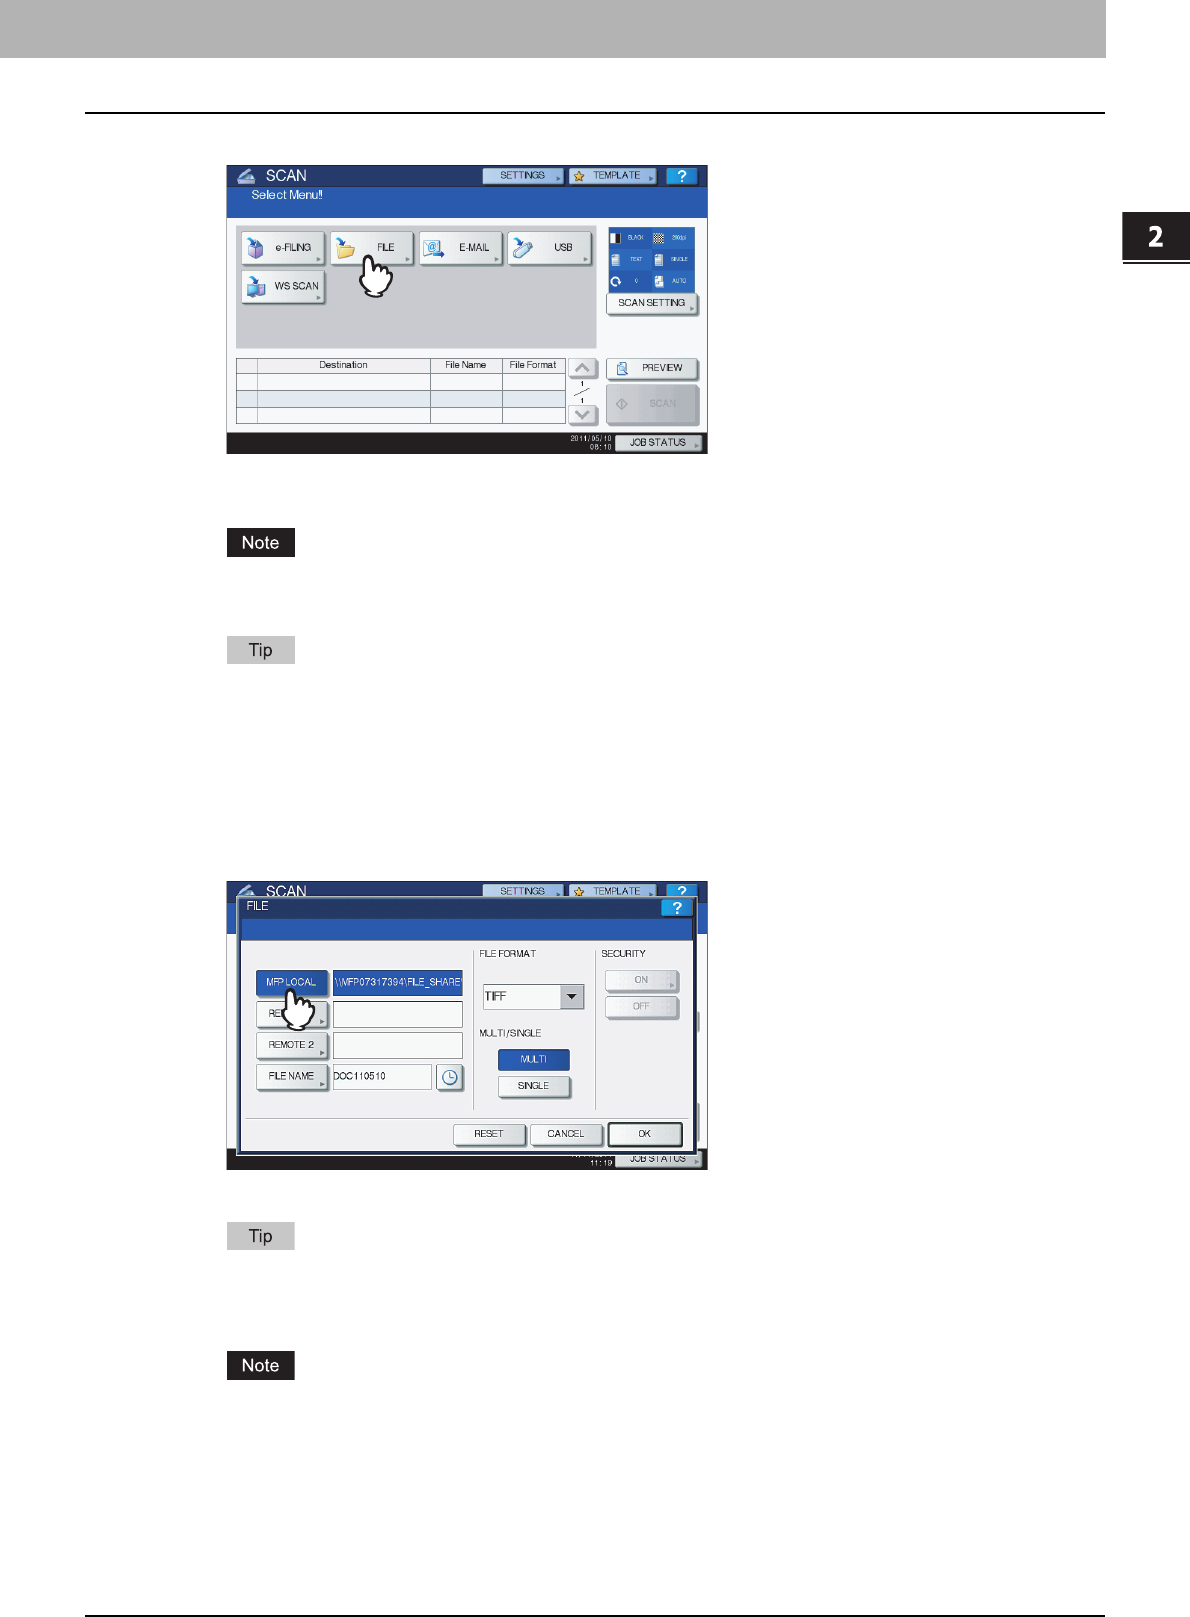
Press [FILE].
y To store the scan in the equipment’s shared folder, proceed to step 4.
y To store the scan in a network folder, proceed to step 5.
Storing data in a network folder requires the administrator to set the equipment configuration. For details, refer
to the TopAccess Guide.
For the models below, press [PREVIEW] in this step and then select the scan function in order to preview your
scans at the end of the operation.
- e-STUDIO4540C Series
- e-STUDIO6550C Series
- e-STUDIO2550C Series (only when the hard disk is installed)
For instructions on how to do so, see the following section:
P.56 “Previewing Scans”
4
Make sure that [MFP LOCAL] is selected and highlighted.
Proceed to step 9.
If saving data in a network folder is enabled by the administrator, you can select 2 file destinations from [MFP
LOCAL], [REMOTE 1] and [REMOTE 2]. If you select [MFP LOCAL], you can specify a network folder
(REMOTE 1 or 2) as a remote destination. To set a network folder as a remote destination, proceed to step 5.
For equipment with no hard disk installed, only either [REMOTE 1] or [REMOTE 2] can be specified as a file
destination. [MFP LOCAL] and more than one destination cannot be specified.


