2. Scan to e-Filing
26 Scanning Guide — How to Perform Scan to e-Filing
z RESOLUTION
[600] — Press this when scanning originals in 600 dpi. This can be set only
when [BLACK] is selected in the “COLOR MODE” option. When the optional
expansion memory is installed, this can be set even if other than [BLACK] is
selected in the “COLOR MODE” option (However, only A4/LT originals can be
scanned).
[400] — Press this when scanning originals in 400 dpi.
[300] — Press this when scanning originals in 300 dpi.
[200] — Press this when scanning originals in 200 dpi.
[150] — Press this when scanning originals in 150 dpi.
[100] — Press this when scanning originals in 100 dpi. This cannot be set when
[BLACK] is selected in the “COLOR MODE” option.
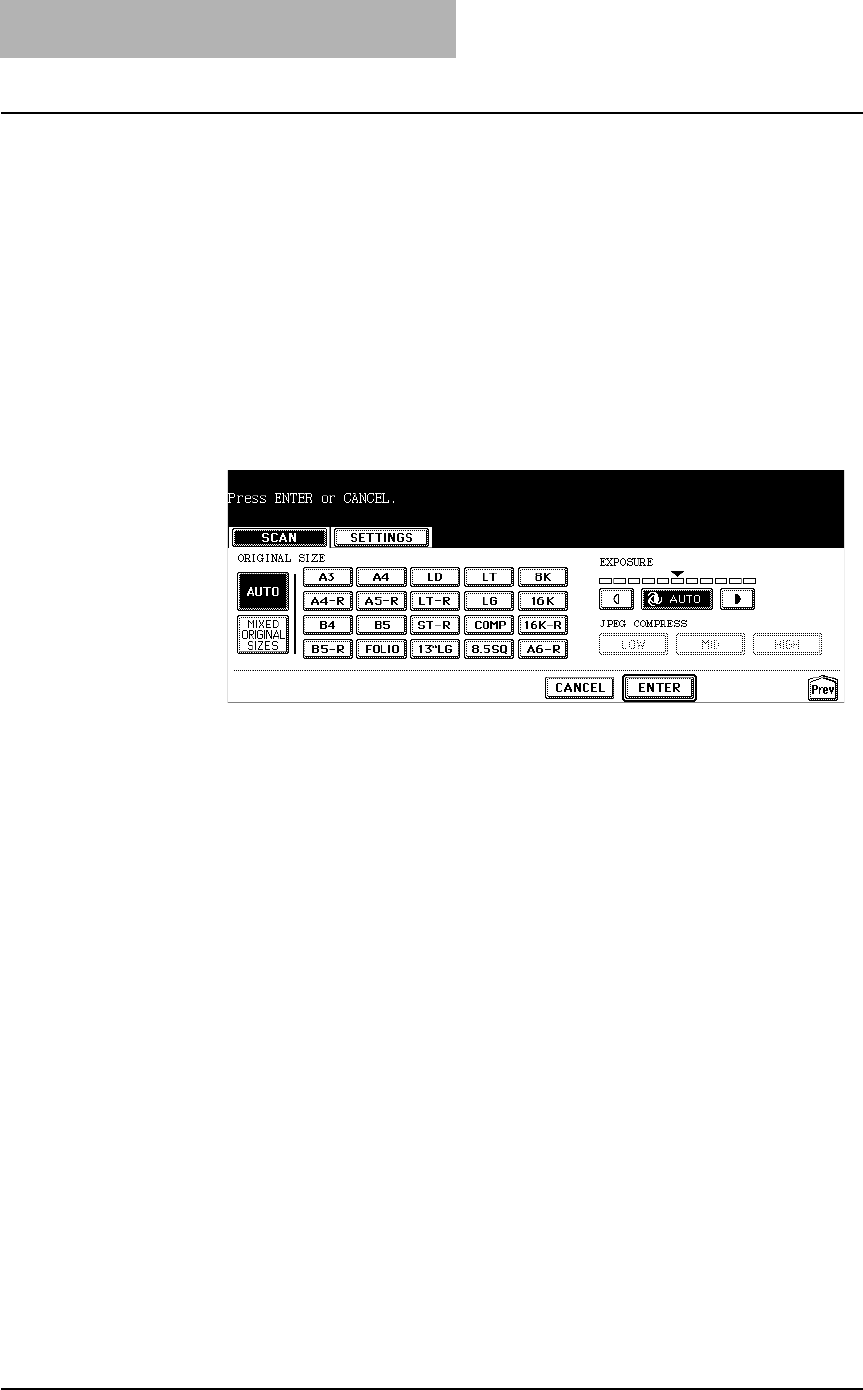
11. Specify the following items as you require, and press the
[ENTER] button.
z ORIGINAL SIZE
Select the button of the original size, or select the [AUTO] button to
automatically detects the original size.
When placing the different size originals on the reversing automatic document
feeder, select the [MIXED ORIGINAL SIZE] button.
z EXPOSURE
Press light or dark buttons to specify the exposure for scanning manually, or
press the [AUTO] button to select auto mode for the exposure mode for
scanning. This can be set only when the [BLACK] button is selected at the
“COLOR MODE” option. When other than the [BLACK] button is selected at the
“COLOR MODE” option, the setting will be changed to “BACKGROUND
ADJUSTMENT”.
z BACKGROUND ADJUSTMENT
Press light or dark buttons to specify the background for scanning manually.
This can be set only when other than the [BLACK] button is selected at the
“COLOR MODE” option. When the [BLACK] button is selected at the “COLOR
MODE” option, the setting will be changed to “EXPOSURE”.
z JPEG COMPRESS
Select the JPEG compression for scan data. This cannot be set when the
[BLACK] button is selected at the “COLOR MODE” option.


