


2 BASIC OPERATION
20 Scan to File
5
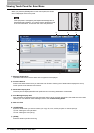
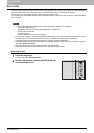
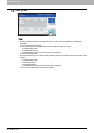
To store the scan in a network folder, press [REMOTE 1] or [REMOTE 2].
y If the selected remote destination (REMOTE 1 or 2) is configured by the administrator so that you can specify a
desired network folder, the screen for setting up the remote destination is displayed. Proceed to step 6.
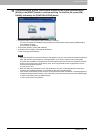
y If the selected remote destination (REMOTE 1 or 2) is already defined by the administrator so that the scan is
saved in a specified network folder, pressing the button does not display the screen for specifying the file
destination. In this case, you cannot change the file destination. Proceed to step 9. If you need to change the
remote destination, ask your network administrator for help.
If saving data in a network folder is enabled by the administrator, you can select 2 file destinations from [MFP
LOCAL], [REMOTE 1] and [REMOTE 2].
For equipment with no hard disk installed, only either [REMOTE 1] or [REMOTE 2] can be specified as a file
destination. [MFP LOCAL] and more than one destination cannot be specified.
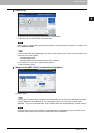
6
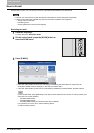
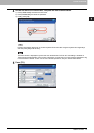
Select the desired file destination from the list.
1) Select the file destination.
2) Press [OK].
y If FTP, NetWare IPX, NetWare IP or FTPS is selected for the file destination, proceed to Step 9.
y If SMB is selected for the file destination, proceed to Step 7.
y If your desired file destination has not been registered in the equipment, press [DIRECT INPUT] and proceed to
Step 8.