


5 ADVANCED FUNCTIONS
104 Mailbox Communication
5
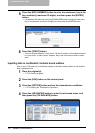
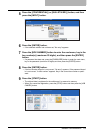
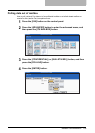
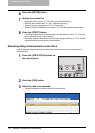
Press the [CONFIDENTIAL] (or [BULLETIN BD.] or [RELAY]) button,
and then press the [TRANSMIT] button.
6
Press the [ENTER] button.
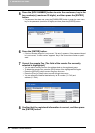
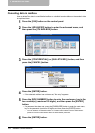
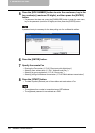
7
Press the [BOX NUMBER] button to enter the next menu, key in the
box number(s) (maximum 20 digits), and then press the [ENTER]
button.
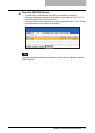
y If a password has been set, press the [PASSWORD] button to enter the next menu,
key in the password (maximum 20 digits) and then press the [ENTER] button.
A password entry is necessary for the data transmission of a bulletin board mailbox.
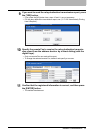
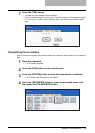
8
Press the [ENTER] button.
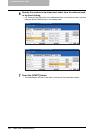
9
Specify the remote Fax
y Entering the Fax number ( P.40 “Direct entry with digital keys”)
y Selecting from address book ( P.41 “Address book entry”)
y Selecting by group registration ( P.42 “Group entry”)
y Selecting using multi-address transmission ( P.49 “Multi-address transmission”)
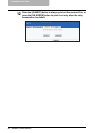
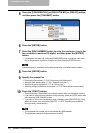
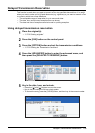
10
Press the [START] button.
y The original data is transmitted to the remote mailbox after it is scanned to memory.
y If you want to cancel the transmission during scanning, press the [STOP] button and
then press the [JOB CANCEL] button.
y If you want to cancel the transmission while underway, press [JOB STATUS], [FAX],
select the correct entry, and press [DELETE]. ( P.75 “Canceling transmissions
(during memory transmission)”)
y The registered box number will be transmitted as a SUB address.
y The registered password will be transmitted as a SID.