


66
Getting Started
Hard Drive Recovery Utilities
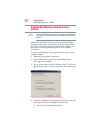
2 Select Recover without changing the hard drive partitions.
A confirmation message appears, reminding you that all
information on the C: drive will be lost during the recovery
process. Be sure you have saved your work to external media
before proceeding.
3 Click Next to begin the restoration.
Once complete, a message displays that the HDD has been
recovered.
4 Press any key on your keyboard to restart the computer.
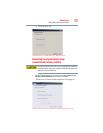
Recovering the C: partition with a user specified size
Resizing and recovering your C: drive to its factory default setting
reformats all partitions on the HDD (for example, if you created a D:
drive, it will be deleted during the recovery process) and your
information will be lost. Be sure to save your work to external media
first.
To resize and recover your C: drive:
1 On the Toshiba Recovery Wizard screen, select Recovery of
Factory Default Software, and then click Next.
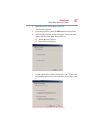
2 Select Recover to a custom size partition.
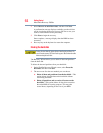
3 Specify the size of the C: drive. Click the up/down arrows to
increase/decrease the C: drive size in 1 GB increments.
The size of the C: drive will display on the progress bar as you make
your selections.
4 Click Next to begin the restoration. Once complete, a message
displays that the HDD has been recovered.
5 Press any key on your keyboard to restart the computer.
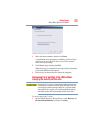
Hard Disk Drive Recovery using the Recovery media
If you need to recover your computer to its default factory state, you
can rebuild the system using your Hard Drive Recovery Utilities.
To recover your hard disk drive using the utilities burned to DVDs
(refer to “Creating Recovery DVDs” on page 60):
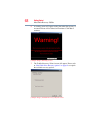
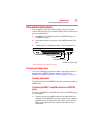
1 Insert the first recovery DVD into your optical drive and power
on the computer.
NOTE