Copyright 2008 Unitech Electronics Co., Ltd. All rights reserved. Unitech is a registered trademark of Unitech Electronics Co., Ltd.
14
Copyright 2008 Unitech Electronics Co., Ltd. All rights reserved. Unitech is a registered trademark of Unitech Electronics Co., Ltd.
15
Adding Paper
The printer can print text, bar codes and graphics on thermal receipt paper. See
“Supply Specications” on page 32 for the width, thickness requirements and approved
vendors. Follow these steps to load printer paper:
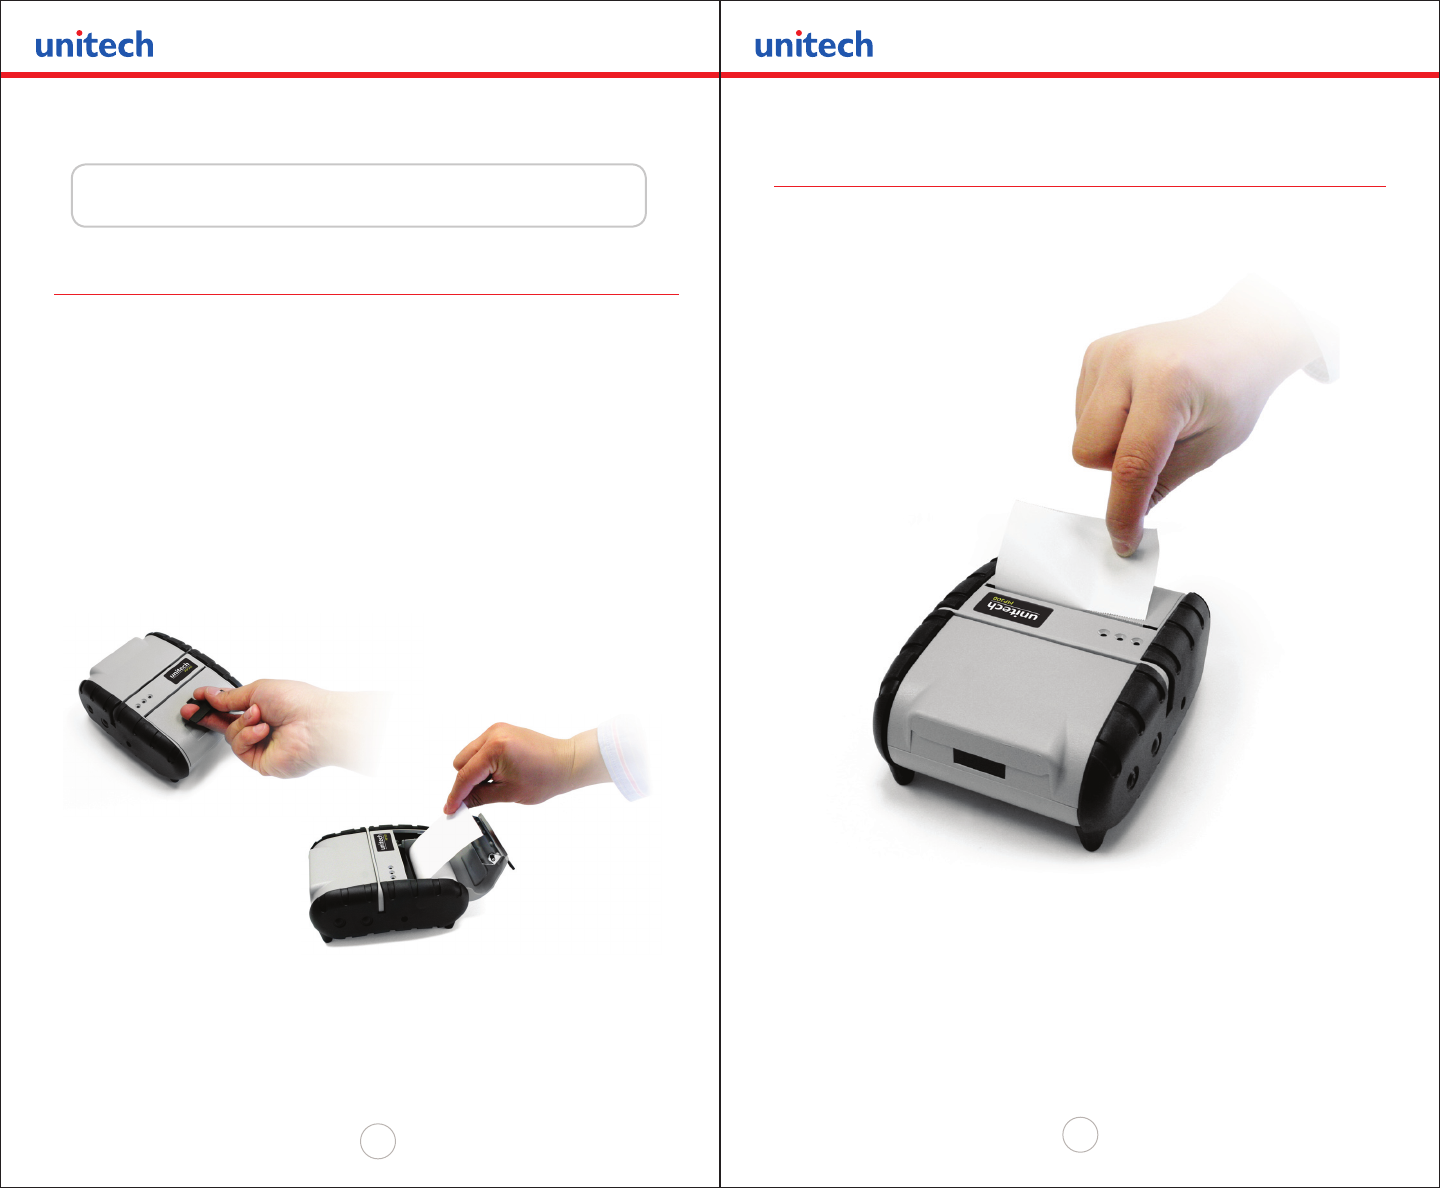
• Open the paper supply cover by placing your ngers under the “T” pull lever.
Pull up rmly on the supply cover until the lever stops moving.
Please be careful not to force the “T” pull lever too far back.
• Place the paper roll into the paper supply well. Make sure the paper supply
unwinds from the bottom as shown below.
• Position the paper supply between the print-head guides.
• Make sure some supply (2” - 3”) extends beyond the top of the paper supply well.
• Shut the paper supply cover and press close.
NOTE: To prevent any possible damage to the print-head mechanism, it is important to verify that the paper
has not been fastened to the inside core in any way. The paper should be wound on the core in such a way
that the end of the paper will unwind freely from the core. If fastened by tape or glue, the core will be pulled
into the mechanism causing jamming and possible gear damage.
Loading Supplies
Chapter 2
Tearing Paper
The printer’s paper door acts as a tear bar. Pull one edge of the paper against the tear
bar as indicated, then pull down and across against the tear bar to rip the paper.
NOTE: Using the tear bar is the only way to rip the paper. Pulling up and sideways without using the
tear bar can cause a paper jam due to paper misalignment in the print-head mechanism.
