


27
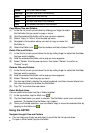
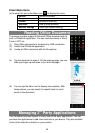
(6) Choose the server type for outgoing emails, and input required server information.
(7) Click “Next”to continue. Your NextBook will check the server settings. When it
prompts you that “Your account is set up, and email is on its way”, your account is
set up successfully.
(8) Input your name and then tap on “Done”to finish.
Note: If you have more than oneaccount, every time when you start up the email application, you enter the
default email account.
Manage Accounts
You can setup more than one account and manage these accounts by checking
information about the account, adding another account or deleting an account.
Add another Account
Following these steps to add another account if you want.
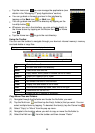
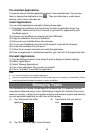
(1) Launch the email application and then tap on the Menu icon to display the
menu item. Choose “Accounts”to display accounts.
(2) Tap on the Menu icon to display the menu item, and then choose “Add
account”.
(3) Follow the steps of setting up a Email Account to add an account.
Delete an Email Account
(1) When you are in the email box, tap on the Menu icon to display the menu
items.
(2) Tap on “Accounts”to display all email accounts.
(3) Hold your tap on the account that you want to delete until a menu pop up.
(4) Tap on “Remove Account” and then tap on “OK”to confirm.
Check the Account Setting
(1) When you are in the email box, tap on the Menu icon to display the menu
items.
(2) Tap on “Accounts”to display all email accounts.
(3) Hold your tap on the account that you want to check until a menu pop up.
(4) Tap “Account settings” and then you should see all setting information about the
account. You can edit these settings as you want.
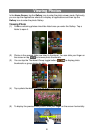
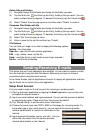
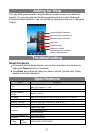
View Emails
You should enter your mailbox when you start up the email application.
In the mailbox, you can slide your finger up and down to scroll through the email
list.
Tap on an email to open it.
Holding your tap on the email can display a menu. With the menu, you can open,
reply, forward or delete the email.