12
If the projector is not placed on a flat surface or the screen and the projector are not perpendicular to each other, the
projected image becomes trapezoidal.
Do not look into the lens while the lamp is on. The strong light from the lamp may cause damage to your eyes.
Be careful when you press the adjuster button as it is close to the exhaust vent where hot air comes from.
Fine-tuning the image size and clarity
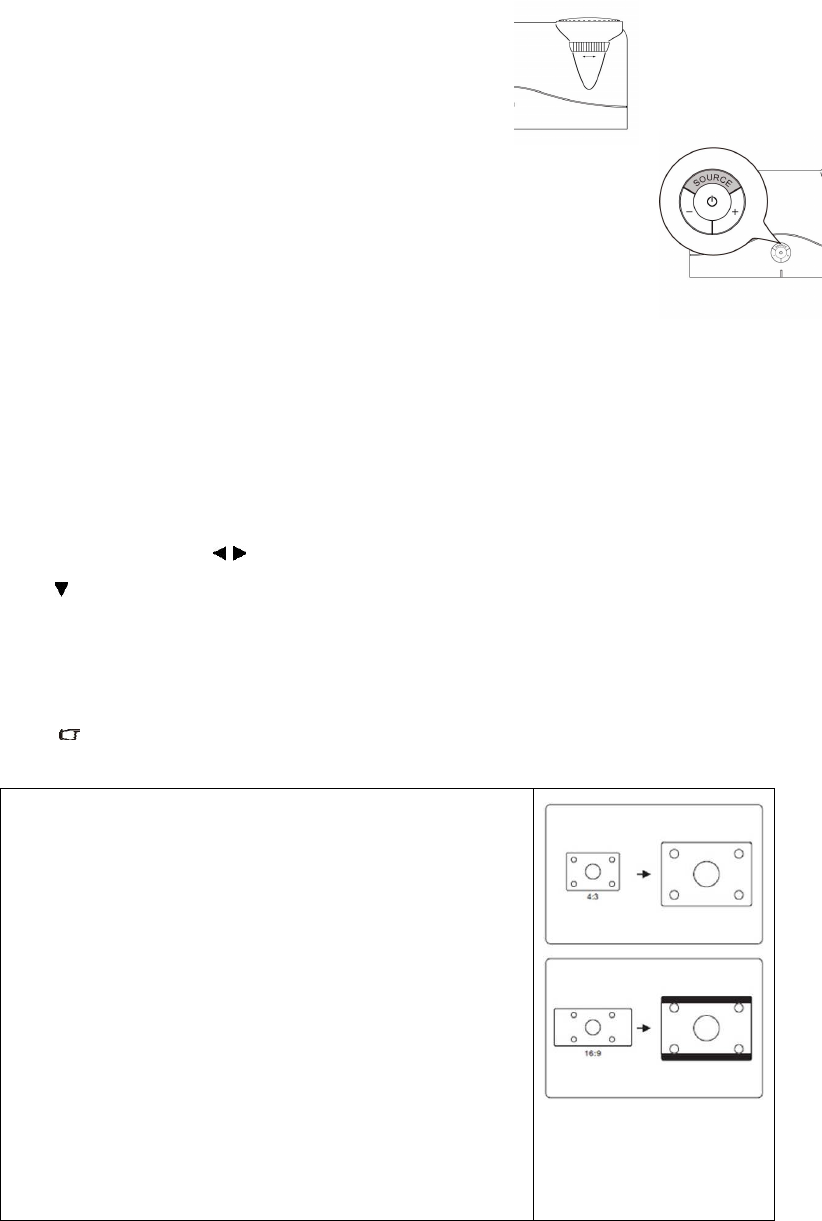
Sharpen the image by rotating the focus ring.
Correcting keystone
Keystoning refers to the situation where the projected image is noticeably wider at either
the top or bottom. It occurs when the projector is not perpendicular to the screen.
To correct this, press + / - on the projector.
Selecting the aspect ratio
The 'aspect ratio' is the ratio of the image width to the image height. Most analog TV and computers are in 4:3 ratio,
which is the default for this projector, and digital TV and DVDs are usually in 16:9 ratio
With the advent of digital signal processing, digital display devices like this projector can dynamically stretch and scale
the image output to a different aspect than that of the image input signal.
To change the projected image ratio (no matter what aspect the source is):
Press MENU and then press
until the DISPLAY menu is highlighted and press Enter.
Press
to highlight Aspect Ratio.
Select an aspect ratio to suit the format of the video signal and your display requirements.
About the aspect ratio
In the pictures below, the black portions are inactive areas and the white portions are active areas. OSD menus
can be displayed on those unused black areas.
1 Fill: Scales an image to fill the projection size no matter the aspect
ratio is 4:3 or 16:9.
2 Native: Scales an image proportionally to fit the projector's native
resolution in its horizontal width.
3 4:3: Scales an image so that it is displayed in the center of the
PJD2121ViewSonic
