


16 VISIONEER ONETOUCH 7600 SCANNER INSTALLATION GUIDE
drive or SyQuest drive which must be connected directly to the
computer and the scanner then connected to the drive). Plug the
scanner into the computer’s parallel port first, then plug the next
device into the scanner.
• Did you restart the computer after installing the software? If you didn’t
restart the computer, it may not have loaded all of the software files.
Try restarting your computer.
Please see the Readme file in the PaperPort directory on your computer’s
hard drive. The Readme file contains additional information that may
help you diagnose problems connecting the scanner.
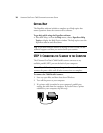
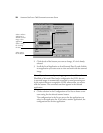
To connect the scanner:
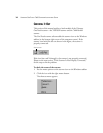
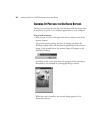
1. After checking all of the above problems, place the mouse pointer
on the scanner icon with the red X over it and click the right mouse
button.
The shortcut menu appears.
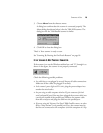
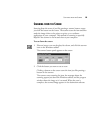
2. Choose Connect from the shortcut menu.
The software finds the scanner and makes the connections. The
scanner icon will no longer have a red X through it, and you’re
ready to begin scanning.
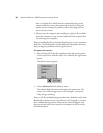
If you try all the troubleshooting procedures described above and in the
Readme file, and the scanner icon still has a red X through it, you may
have a malfunctioning scanner. Please see the technical support card
that you received with your scanner for the numbers to call to receive
technical assistance.